
After buying mailbox slots and creating mailboxes, you need to connect them to a sending platform like Salesforge to start sending out emails.
You can go to the Mailbox tab in Mailforge, near the top of the screen you will seen an export tab, click it and select 'Export to Salesforge'

Once you click on 'Export to Salesforge', a dialog box will open which will have 2 options:
1. Select Salesforge workspace and export to Salesforge account
2. download CSV file
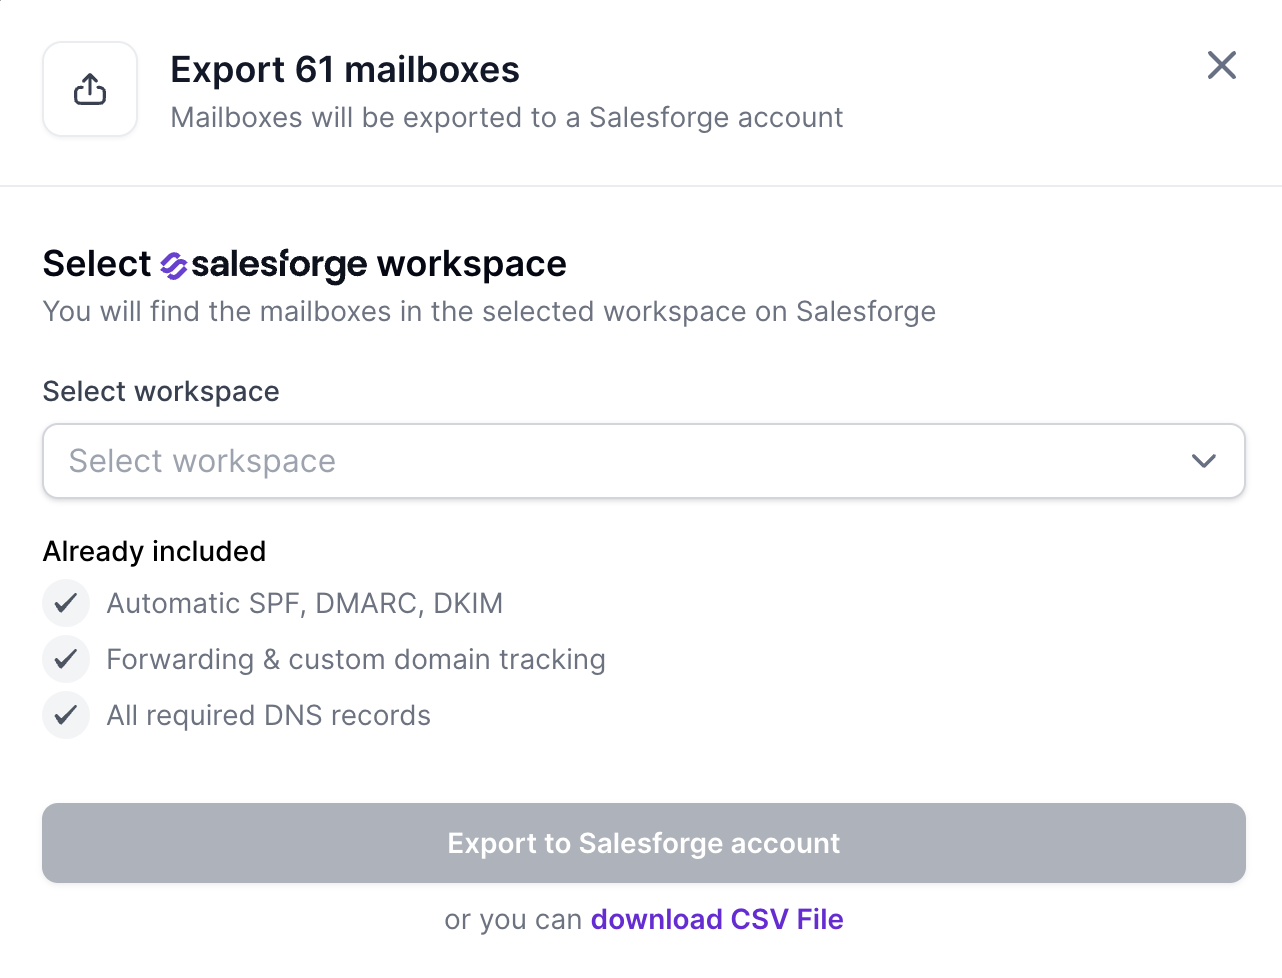
In case you don't already have a workspace on Salesforge, it will prompt you to create an account, in that case, go to salesforge.ai, login with same credentials as Mailforge and create a workspace.
Now, assuming that you already have an workspace on Salesforge, select your preferred workspace from the drop-down menu.
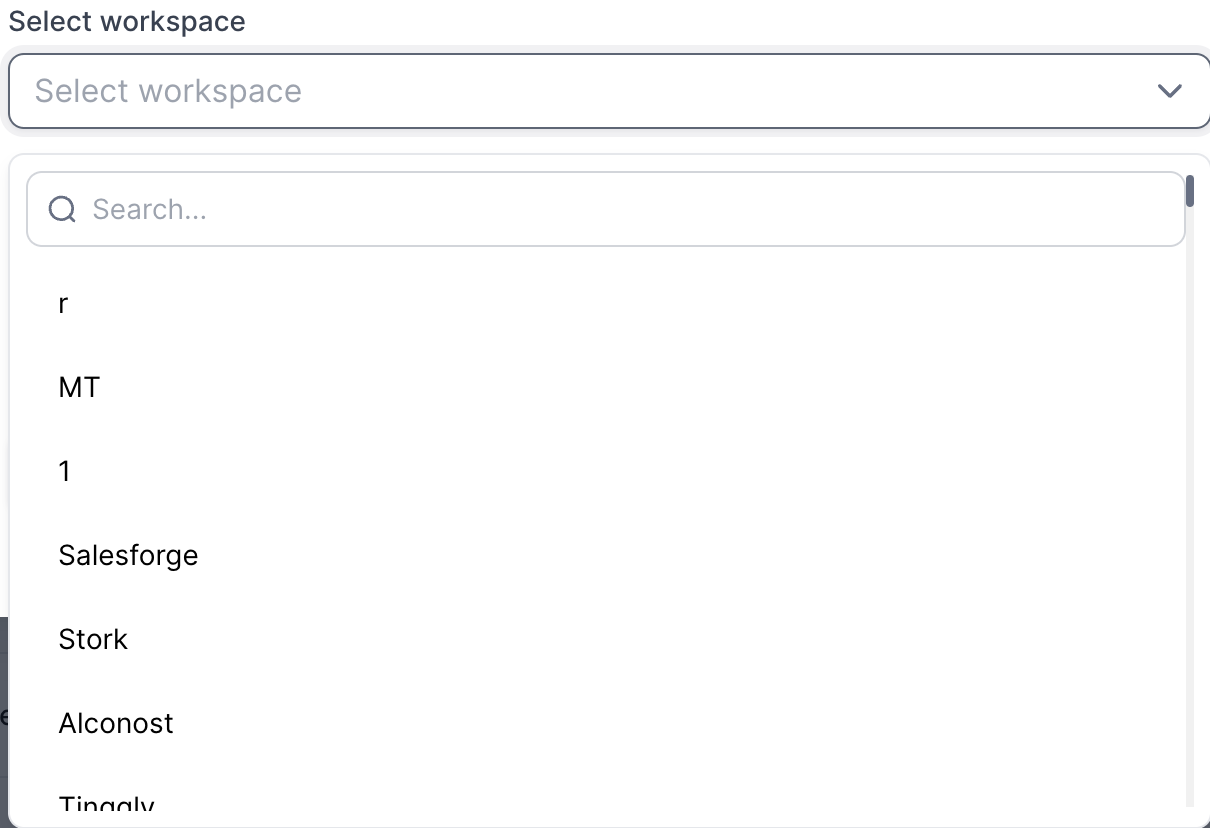
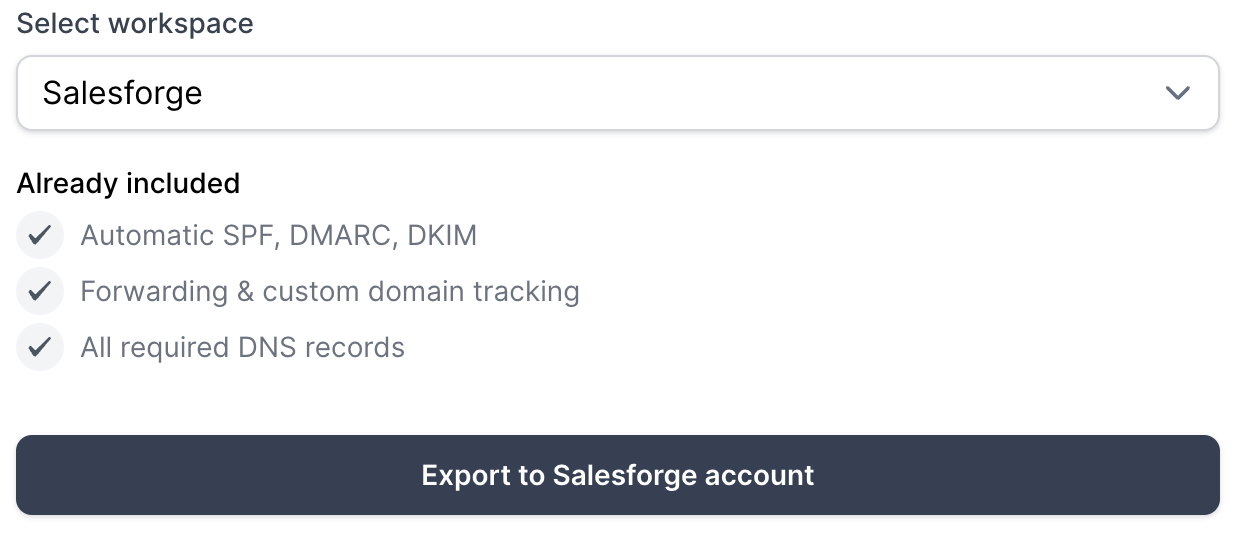
Once selected, click on Export to Salesforge account
Once you export, you will get a success message
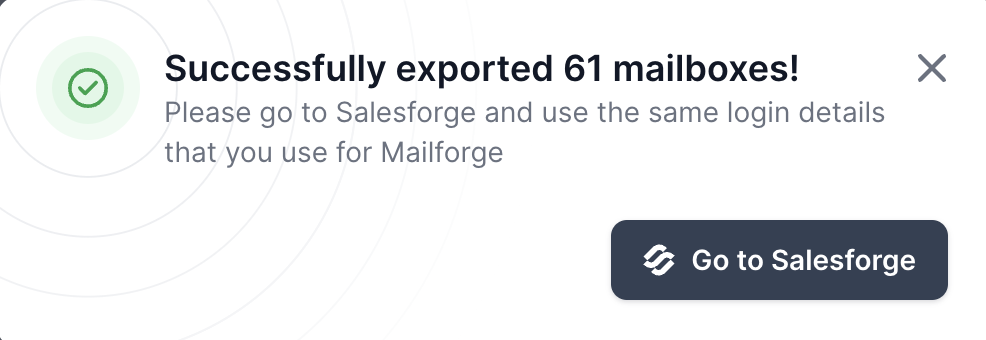
This way all your mailboxes will be added to your Salesforge workspace with custom tracking domain and warm up already enabled and active.
In case you face any difficulty and are unable to export to Salesforge this way, you can choose 2nd option 'download CSV file'. It will download a CSV file for you which can be uploaded in Salesforge.
After downloading CSV, go to Salesforge.
In Salesforge, go to Mailboxes tab.
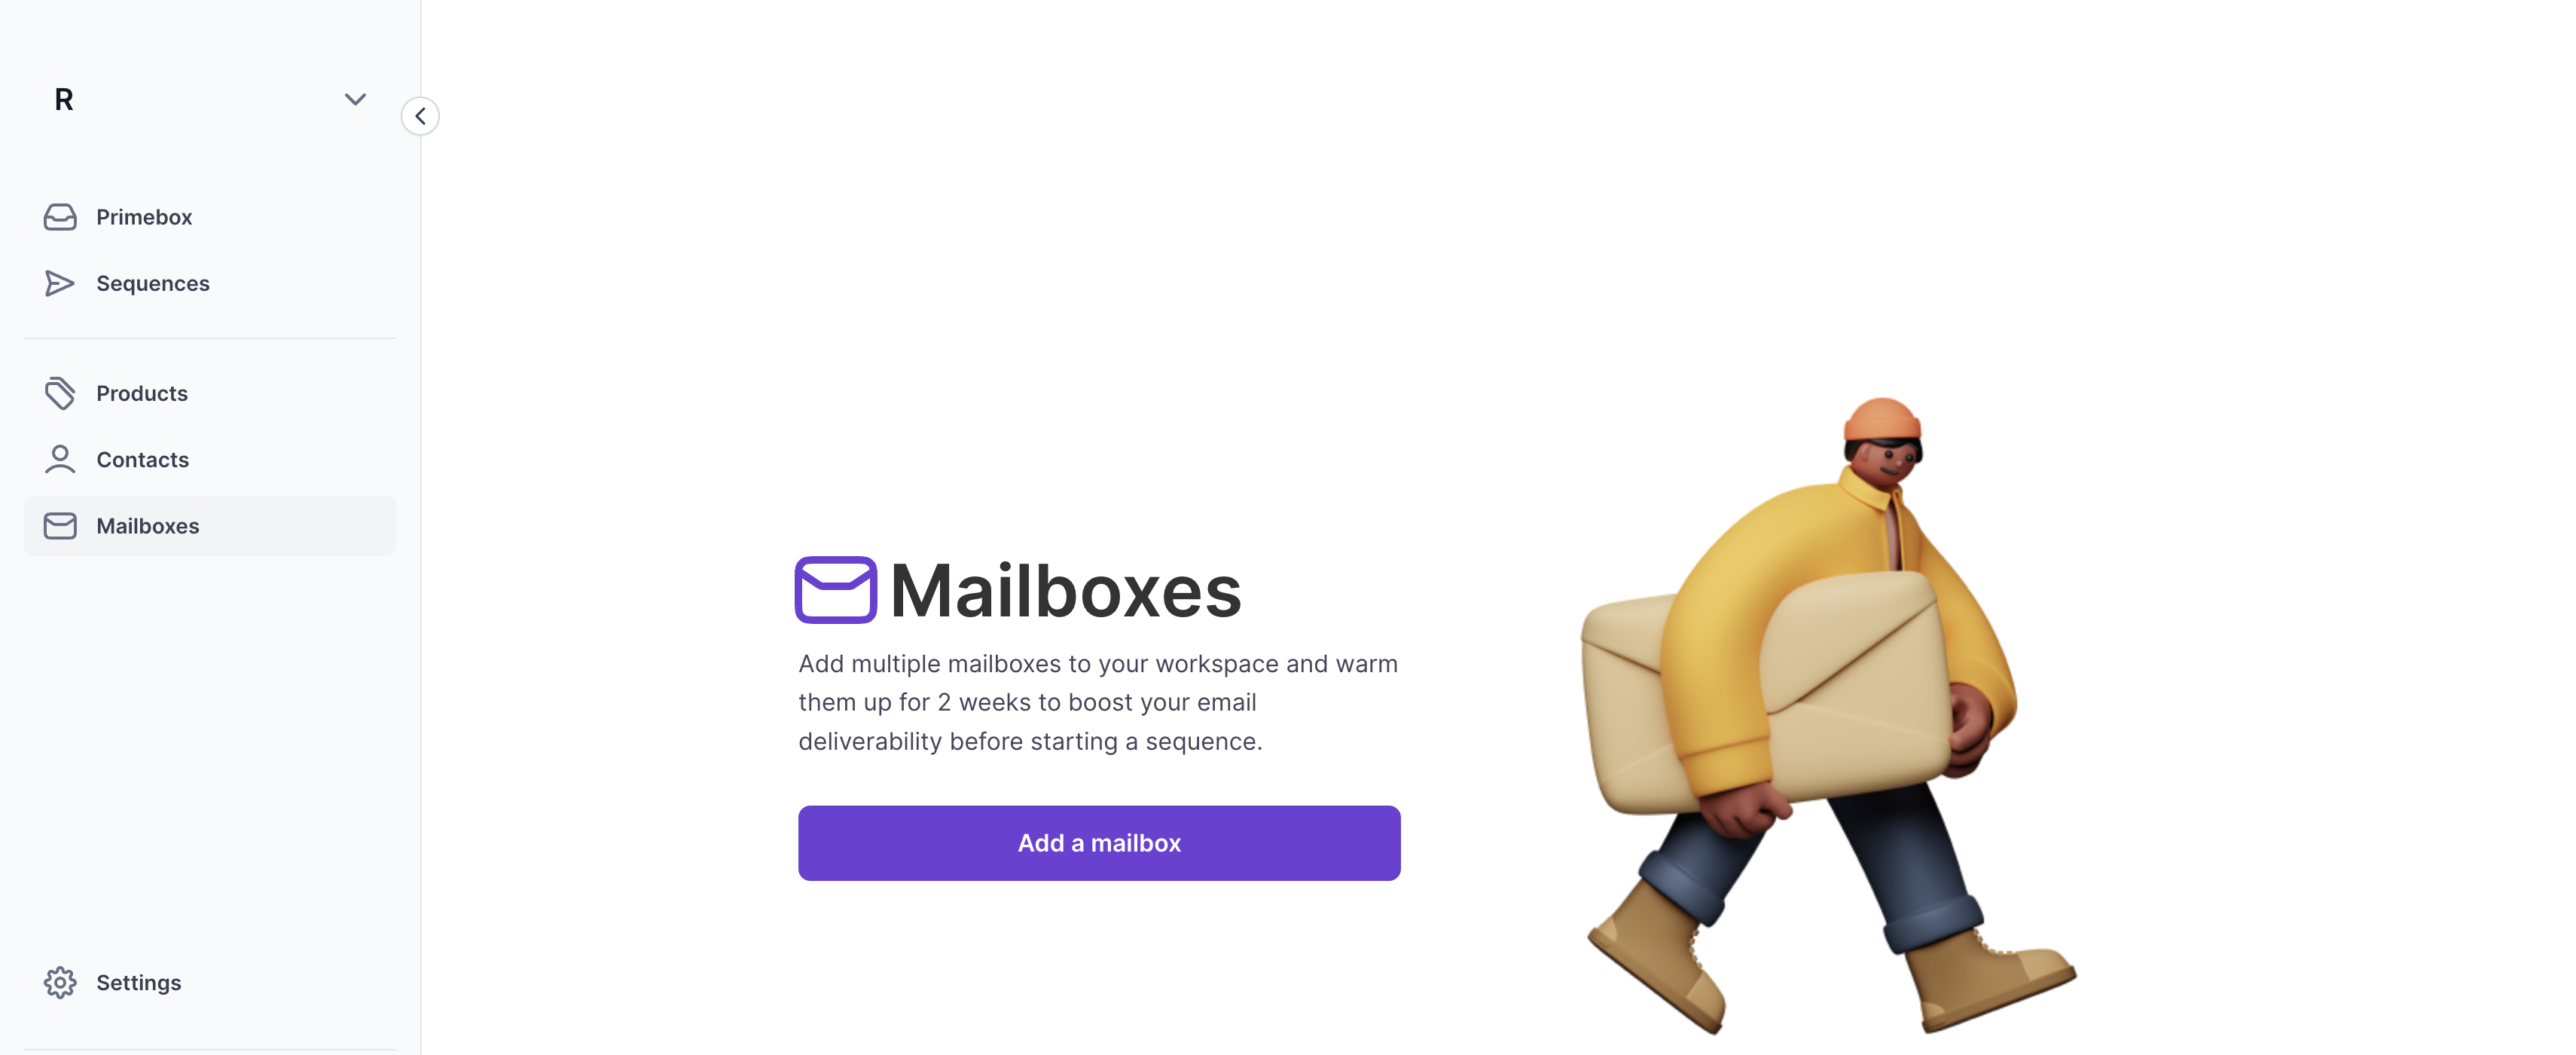
Click on Add a mailbox and choose Bulk email connect by clicking on Upload CSV.
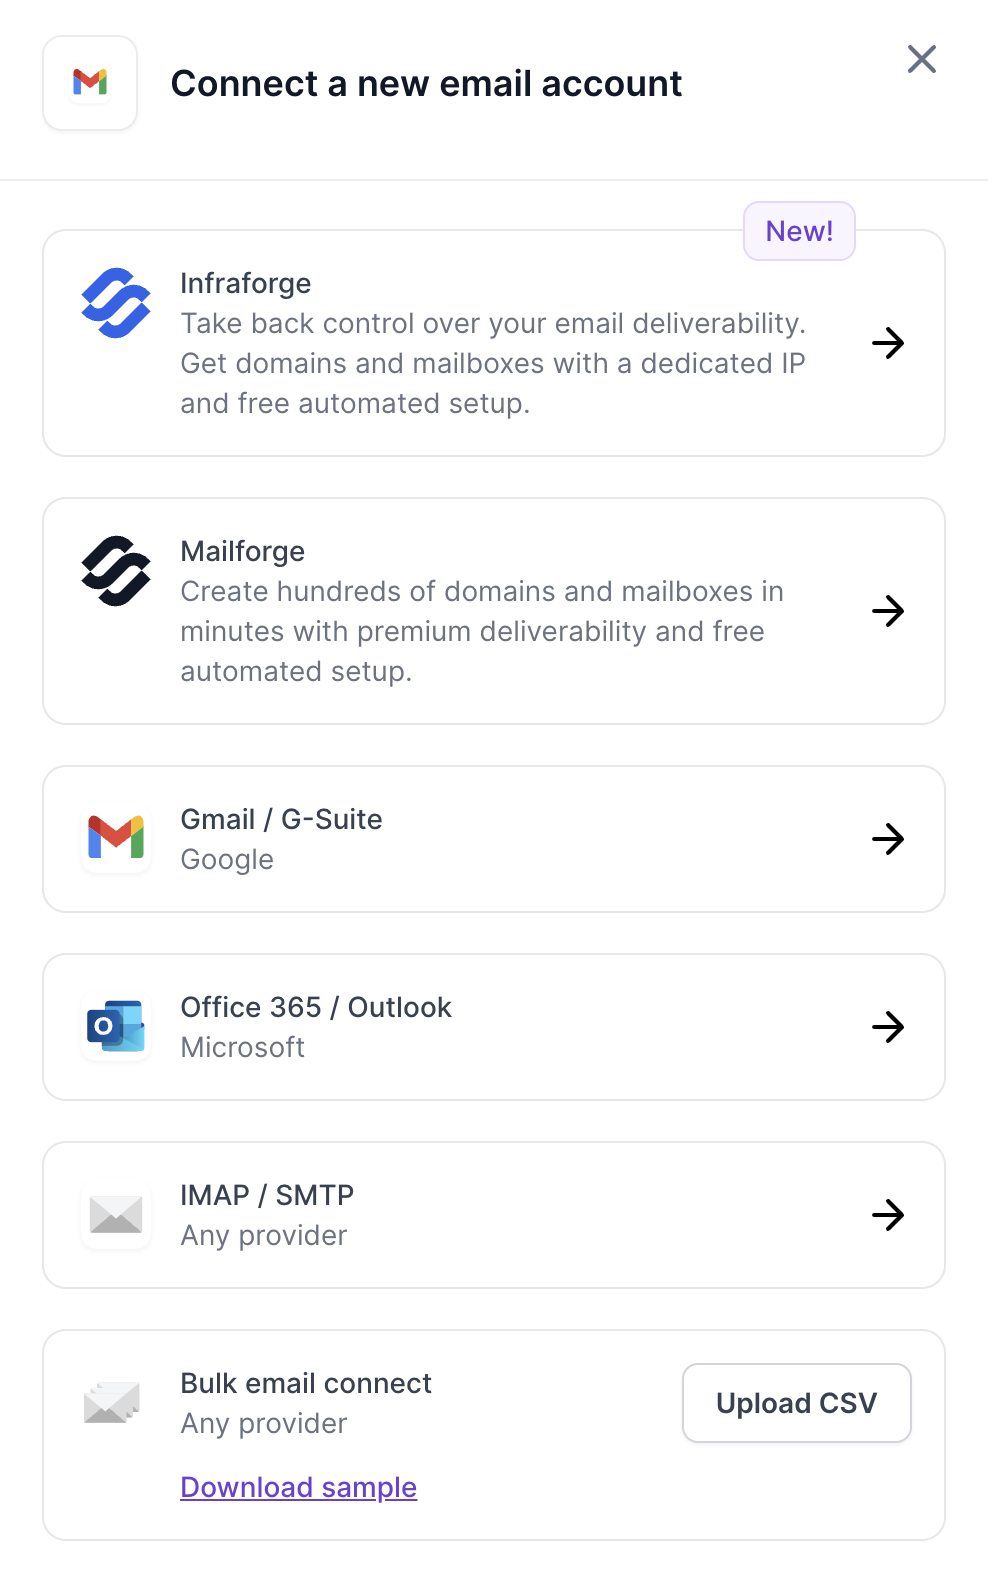
Choose the CSV file and upload.
To export only selected mailboxes, again download the CSV file as instructed above and edit the CSV file, delete all the mailboxes which are not required from the CSV file and Upload CSV to Salesforge according to above step.