The Do Not Contact (DNC) list is the list of email addresses, domains and LinkedIn profiles that Salesforge must never contact again. Anyone on it is skipped by every sequence in Salesforge, including Multichannel sequences, so you can respect opt-outs and keep your outreach compliant without checking each sequence by hand.
This article covers how people get onto the list, what you will see in your sequences when they do, and how to add, import, export and share DNC entries across workspaces.
There are three ways, and they all end up in the same list:
The contact opts out of your email. You turn on an opt-out option in your sequence settings, and the recipient uses it to unsubscribe.
You add them from Primebox. When a contact replies asking not to be contacted, you mark the thread as Do not contact.
You add them yourself. You add or import emails, domains or LinkedIn URLs in Settings > DNC list.
To give recipients a way to unsubscribe, add an opt-out to the bottom of your emails from the sequence settings:
Open your sequence and go to its Settings tab.
Find the Opt-out of emails section and turn on Custom opt-out at the bottom. It adds a hyperlink or text for recipients to unsubscribe at the bottom of the email.
Under Type, choose Hyperlink or Text.
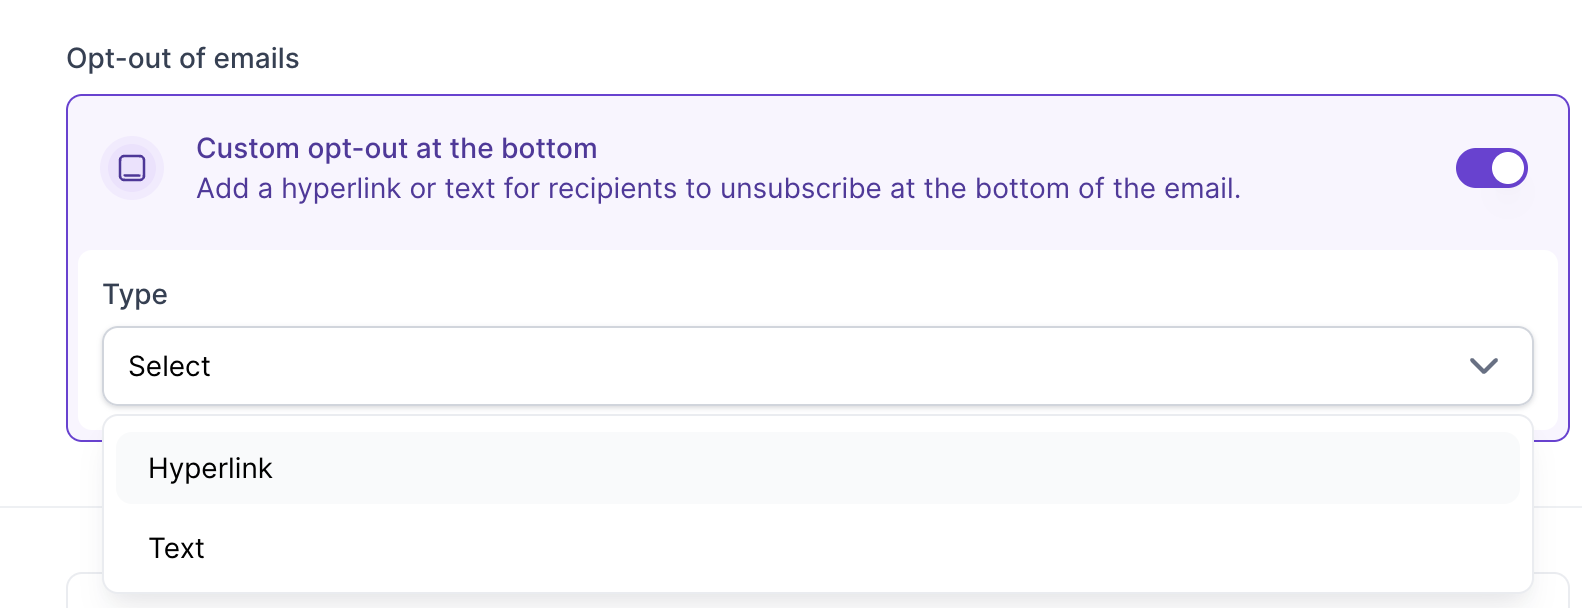
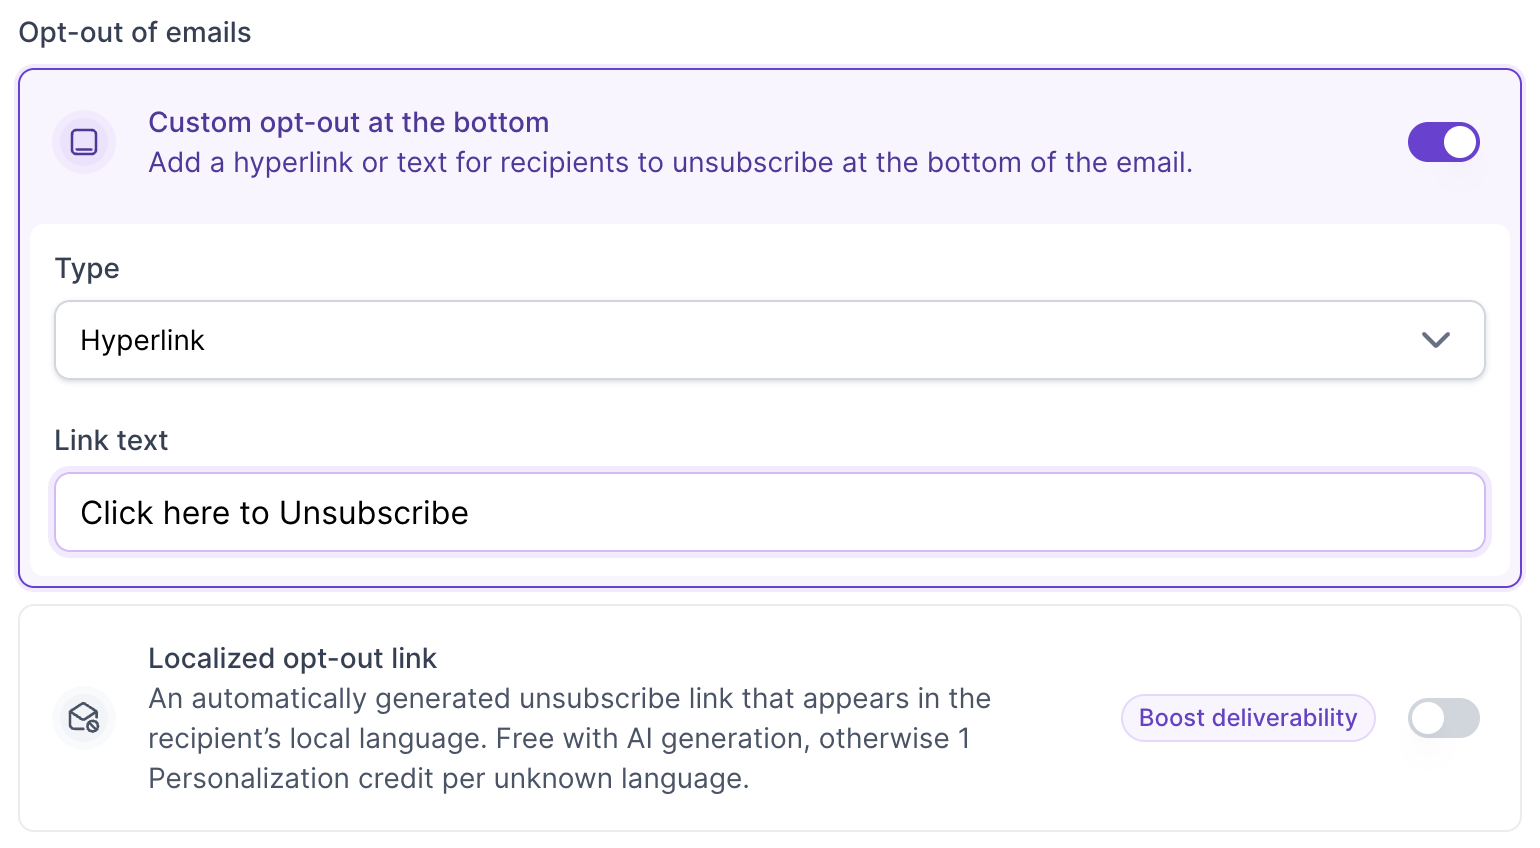
Hyperlink: enter the Link text that recipients will see, for example "Click here to Unsubscribe". Salesforge turns it into an unsubscribe link at the bottom of the email.
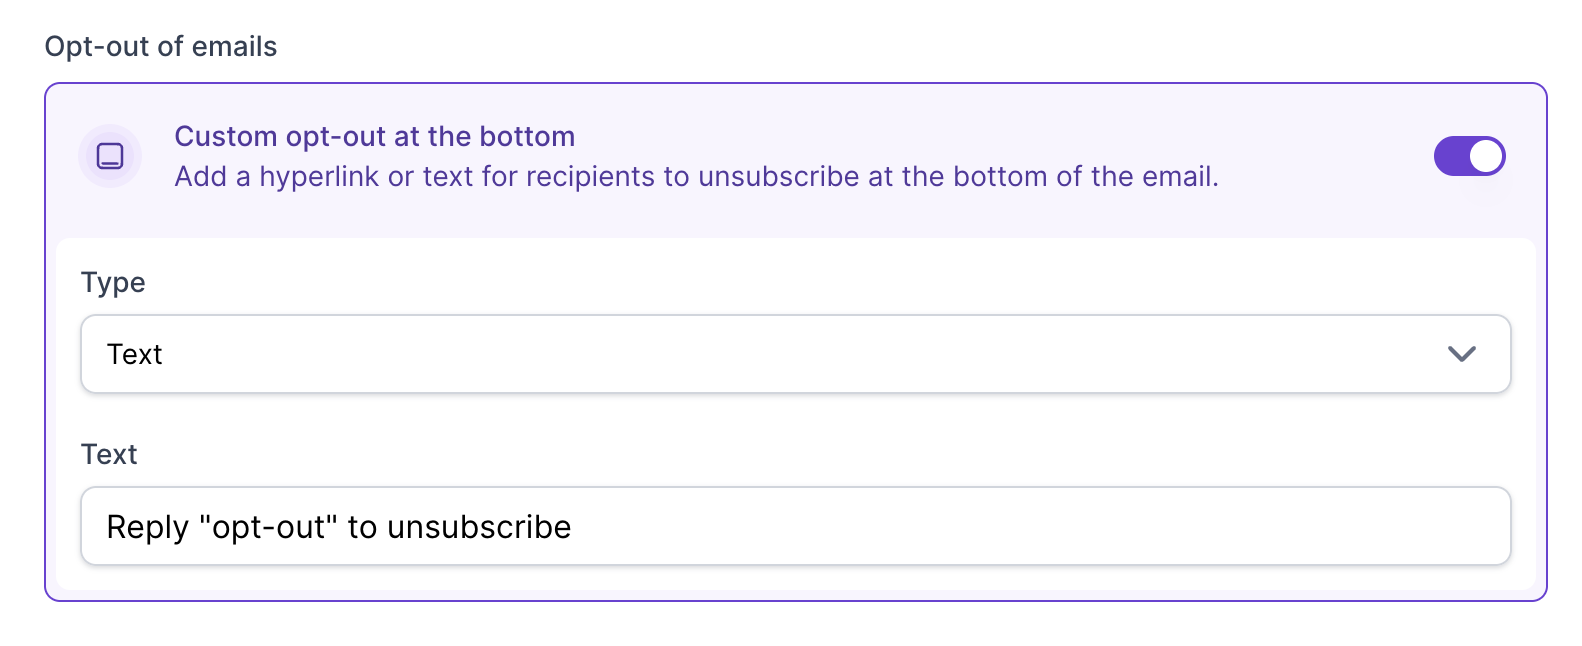
Text: enter the Text that appears at the bottom of the email, for example: Reply "opt-out" to unsubscribe. This type has no unsubscribe link, so recipients who want out reply to you. You can then add them to the DNC list from Primebox, as described below.
When the type is Hyperlink, the Localized opt-out link option appears under the custom opt-out settings. When it is on, Salesforge generates the unsubscribe link in the recipient's own language. This is free with AI generation, otherwise it costs 1 Personalization credit per unknown language. To learn how to set it up, read Localized opt-out link.
When a recipient clicks Unsubscribe, they are shown a window with several opt-out reasons to choose from. The reason they select appears as a tooltip when you hover over the Unsubscribed status, both in the sequence's contact list and in the contact view inside the sequence.
When a contact replies and asks you to stop, you can add them to the DNC list straight from the reply:
Open the reply in Primebox.
Click the three dots in the top right of the conversation.
Click Do not contact.
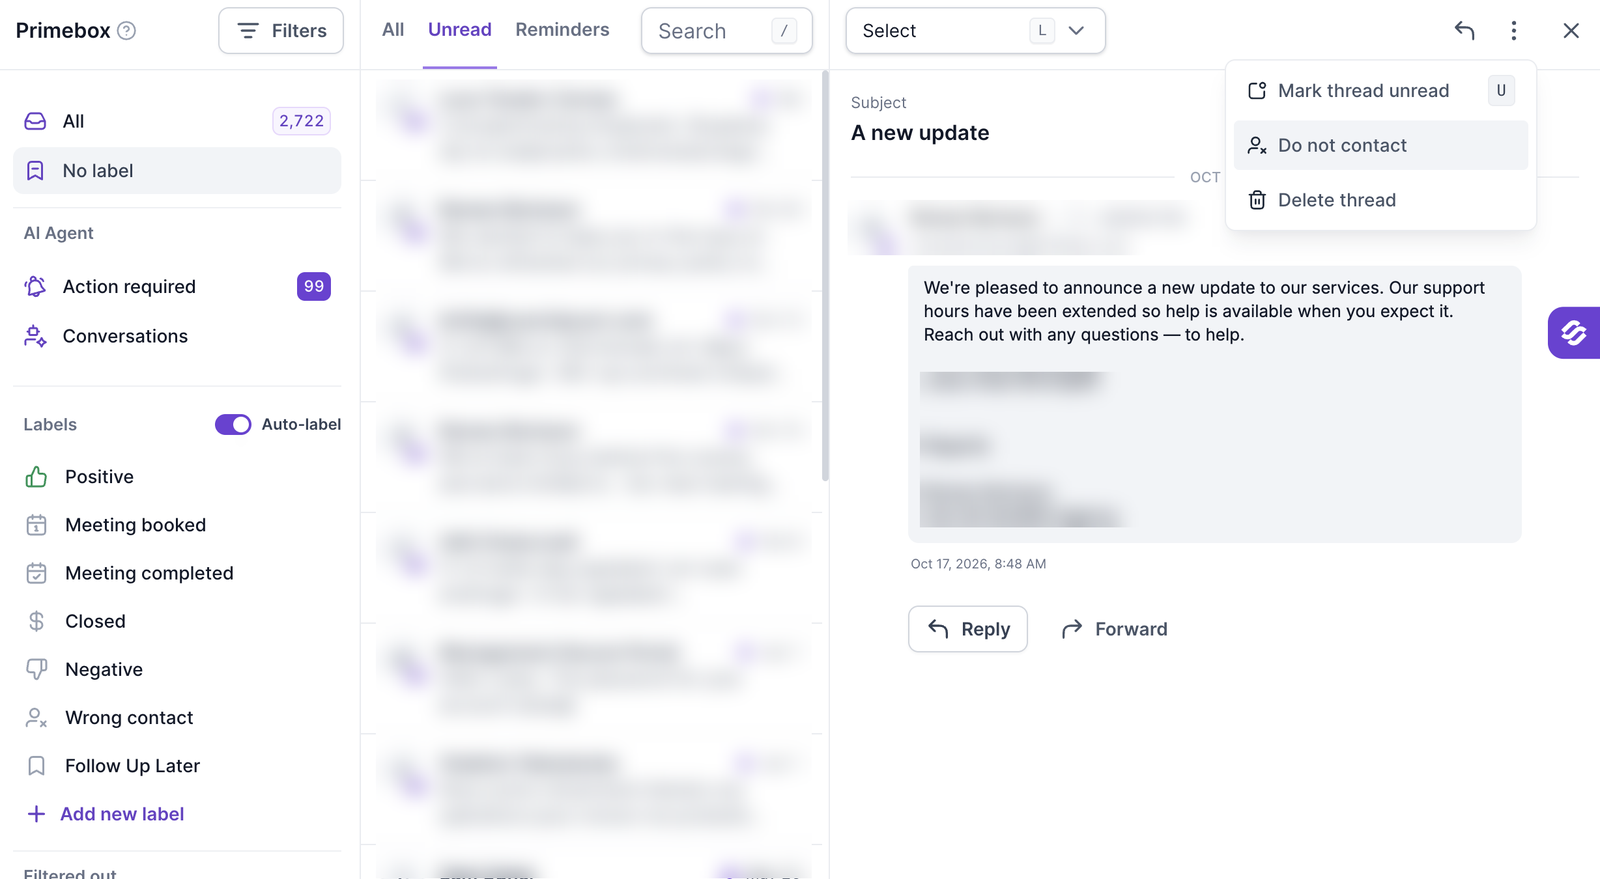
The contact is added to your DNC list and will not be contacted again by your sequences. For more on replies and labels, read What is Primebox?.
Whichever way someone ended up on the list, Salesforge never contacts them again from any of your sequences, whether they are Multichannel sequences or not. What you see inside a sequence depends on the order of events:
Do Not Contact: the contact was already on the DNC list when you added them to the sequence. Salesforge does not block you from adding them, but marks them Do Not Contact right away and sends them nothing from the sequence.
Unsubscribed: the contact was not on the DNC list, received an email from the sequence, and then opted out. The sequence marks them Unsubscribed, so you can tell who opted out from your email and who was already on the list.
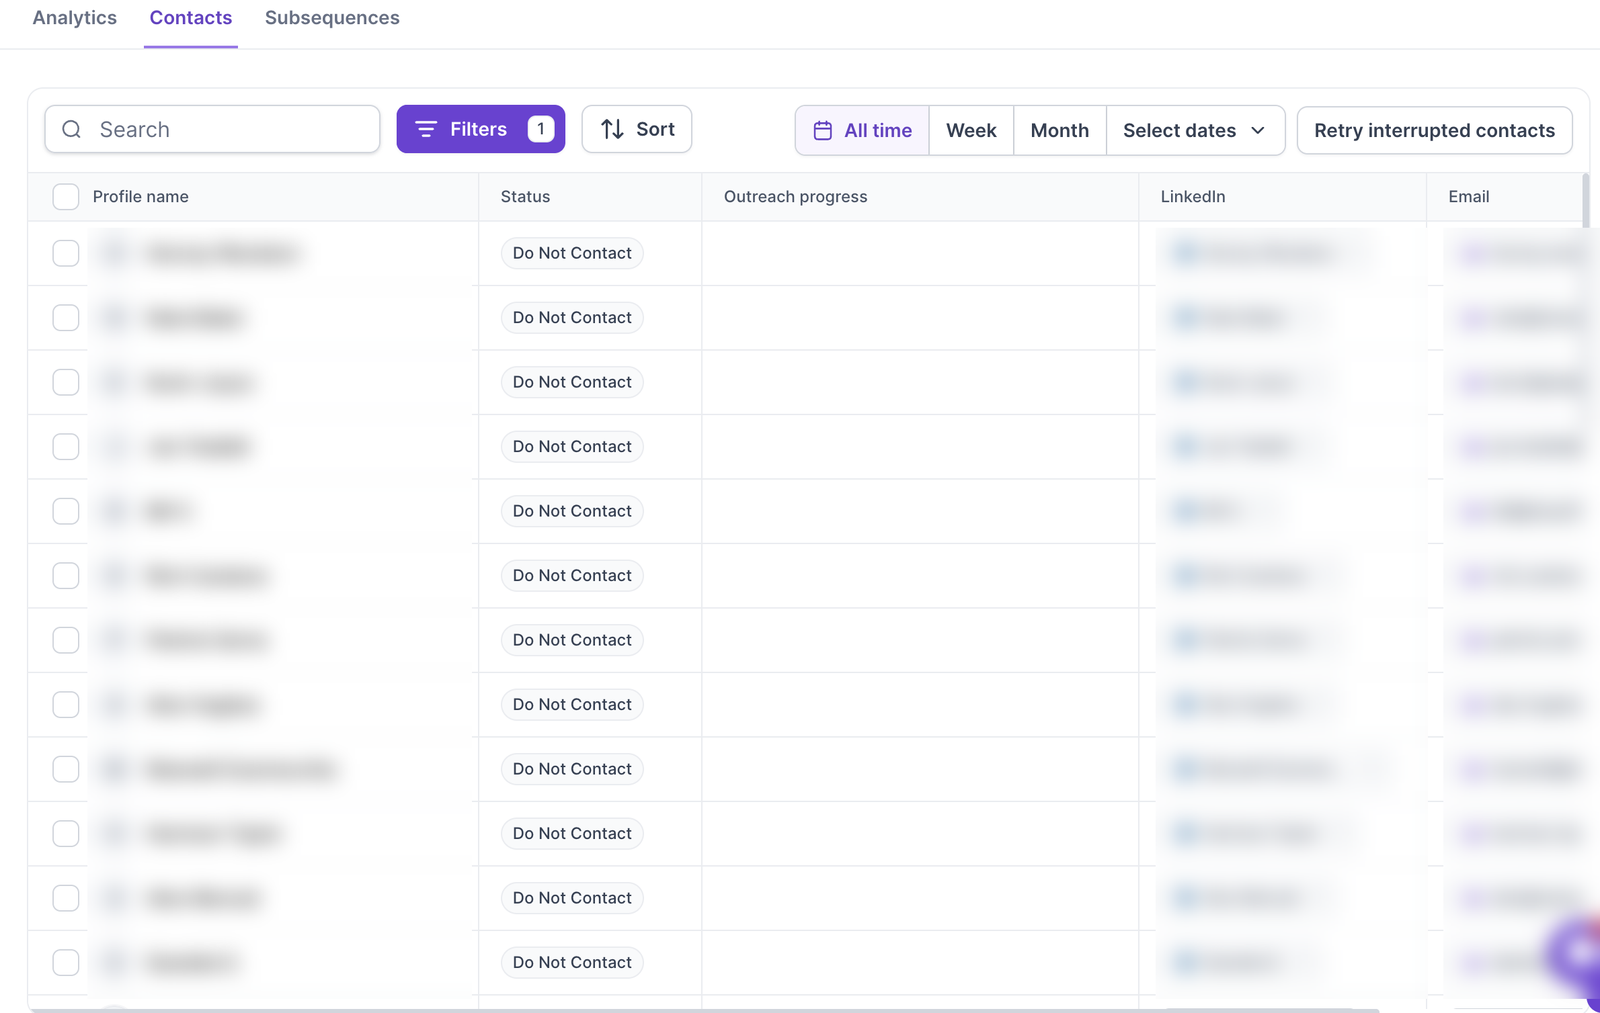
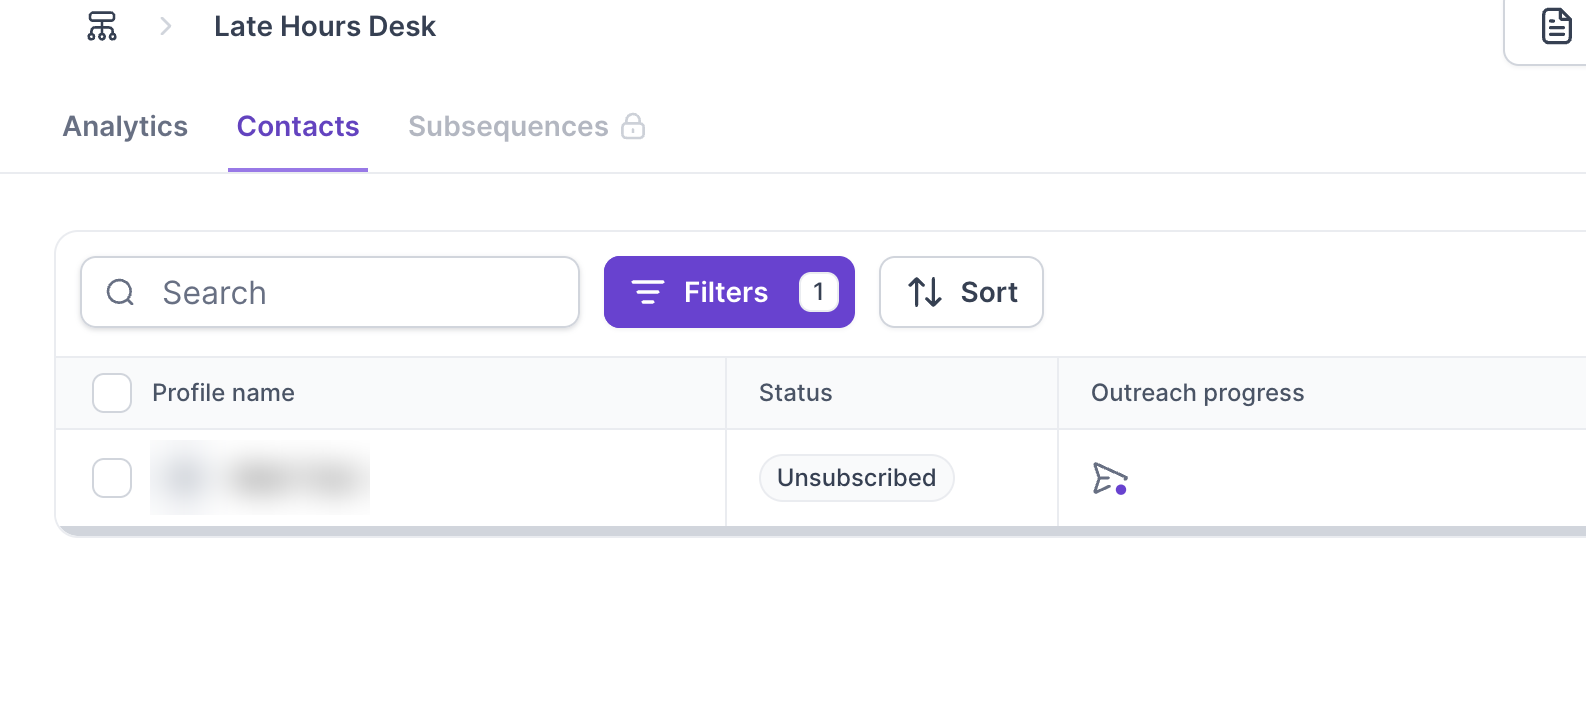
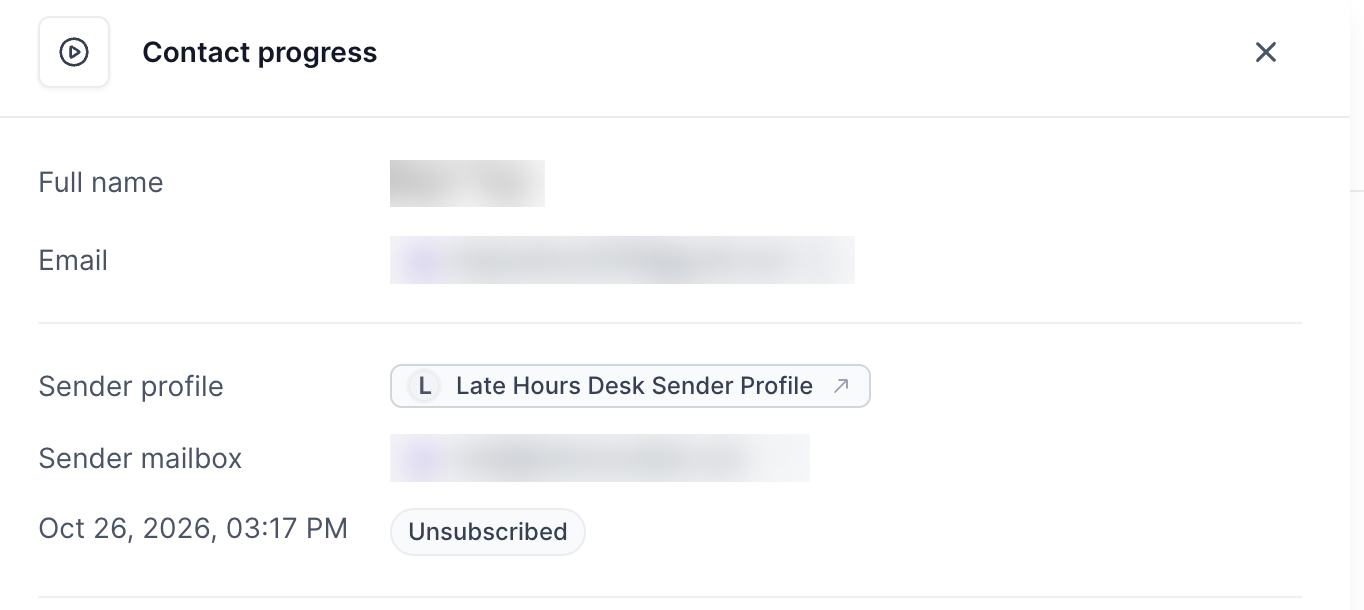
Contacts who opted out from a sequence email are added to the DNC list as well, so they are protected in all your future sequences too.
You can also add entries to the DNC list yourself. You can add:
An email address, to block one person.
A domain, to block every email address at that domain.
A LinkedIn URL, to block one LinkedIn profile.
Go to Settings and open the DNC list tab.
Click Add DNC.
Under DNC Type, choose Email, Domain or LinkedIn.
Enter the value in the Value field and click Add DNC.
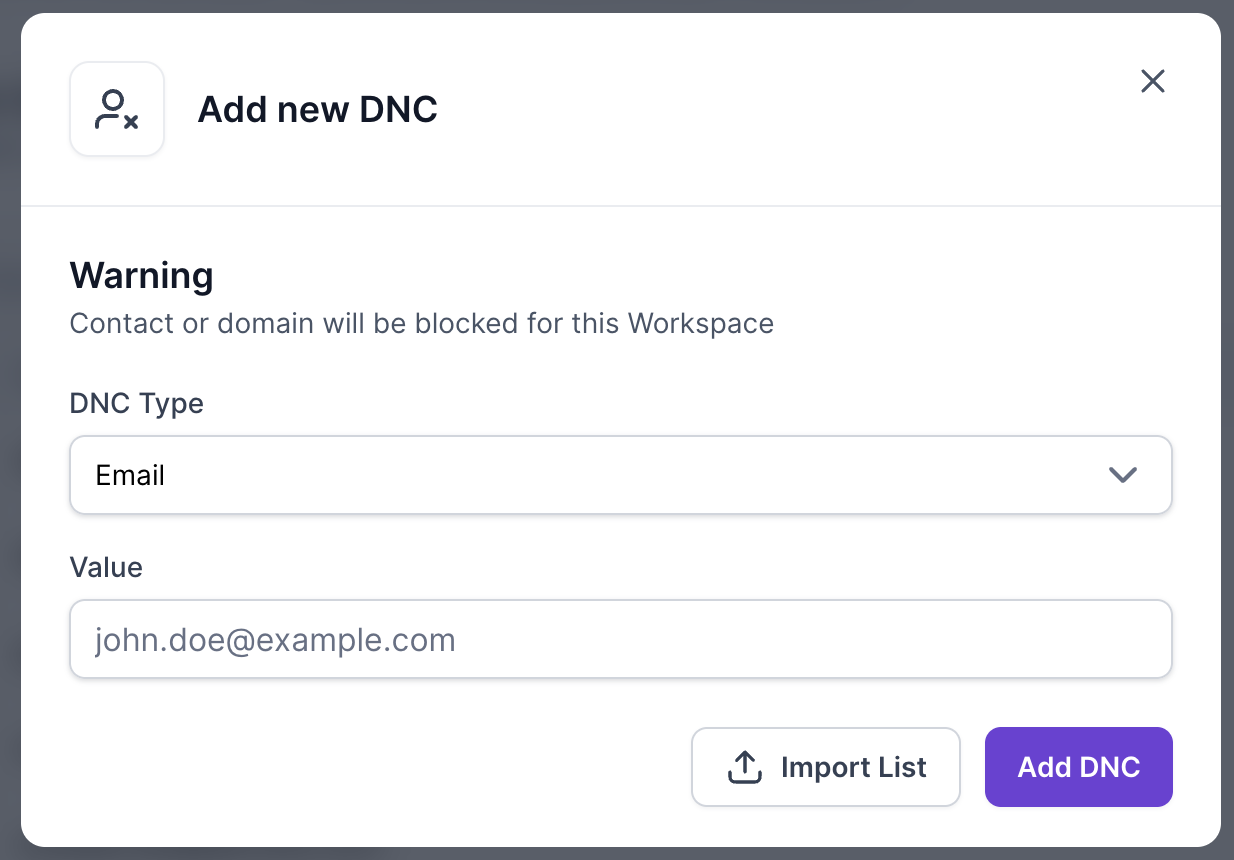
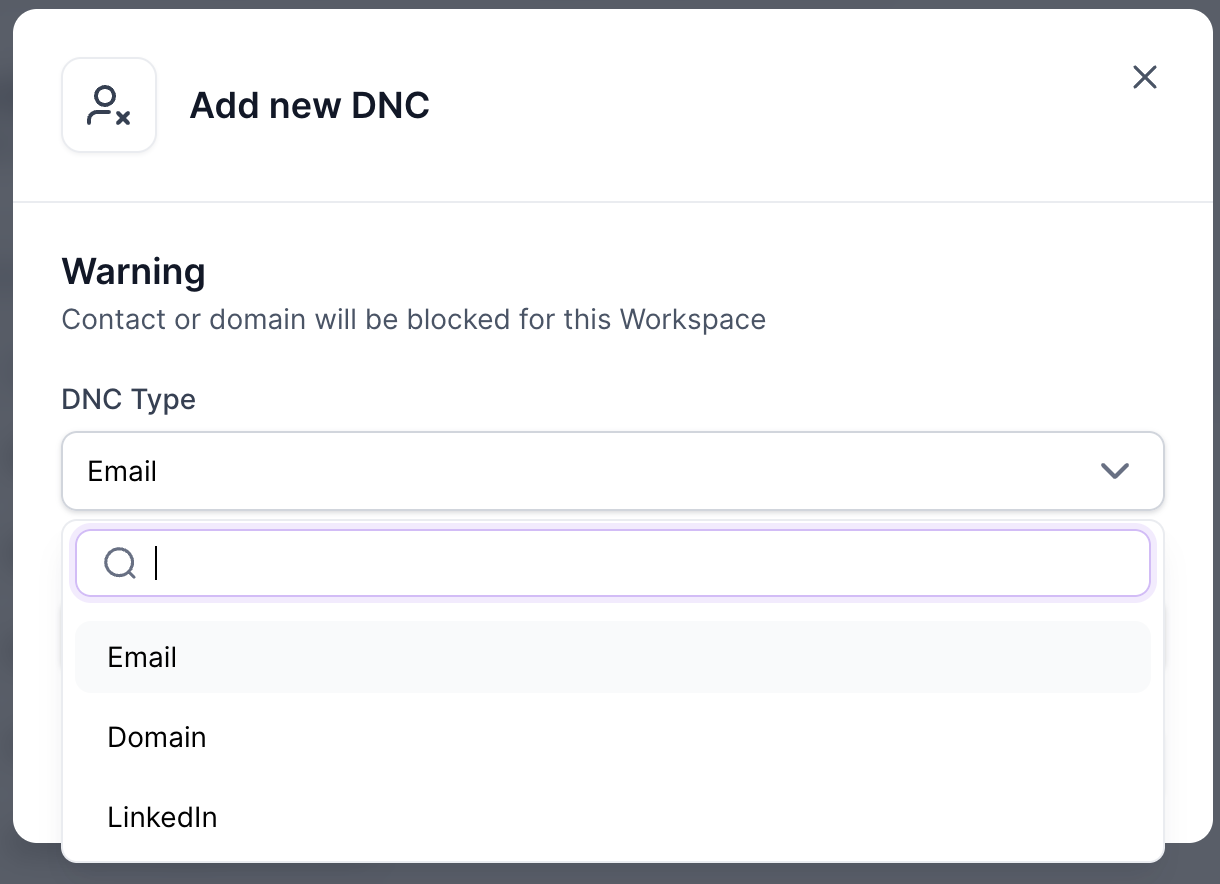
To add many entries at once, import a CSV file:
Prepare a CSV file with a column that holds the values: email addresses, domains or LinkedIn URLs.
In Settings > DNC list, click Add DNC, then click Import List and upload your file.
Map the column that contains the values and select the matching DNC Type.
Click Import DNCs.
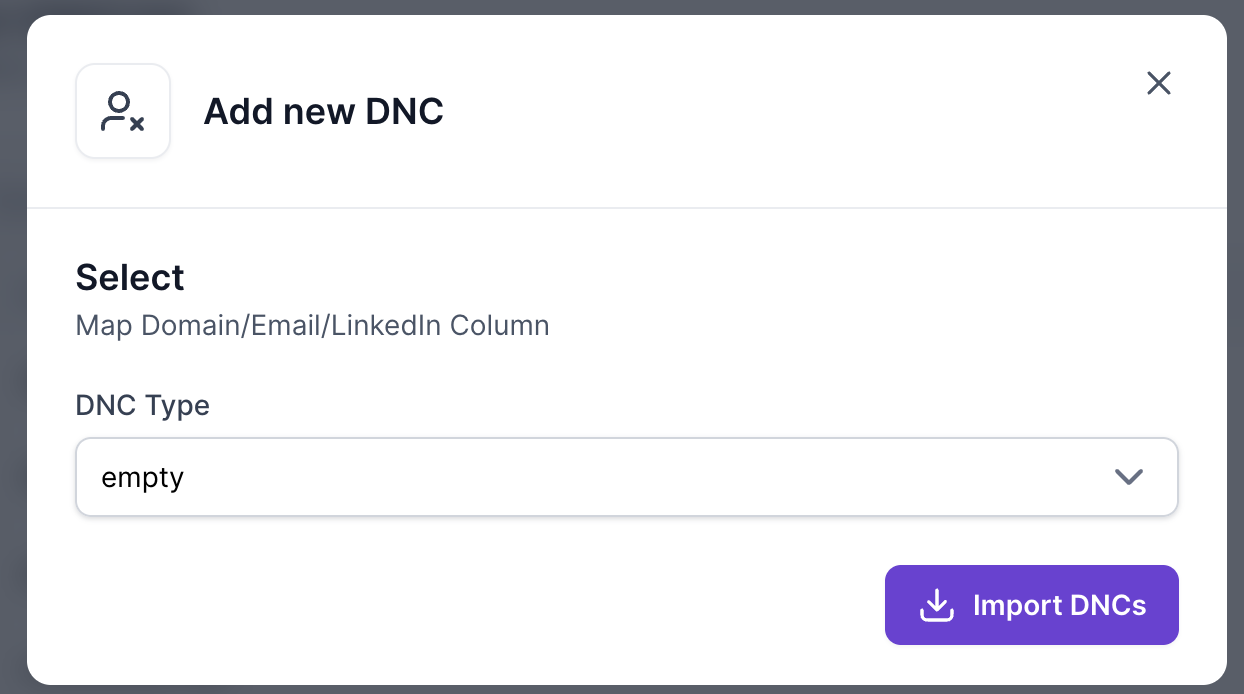
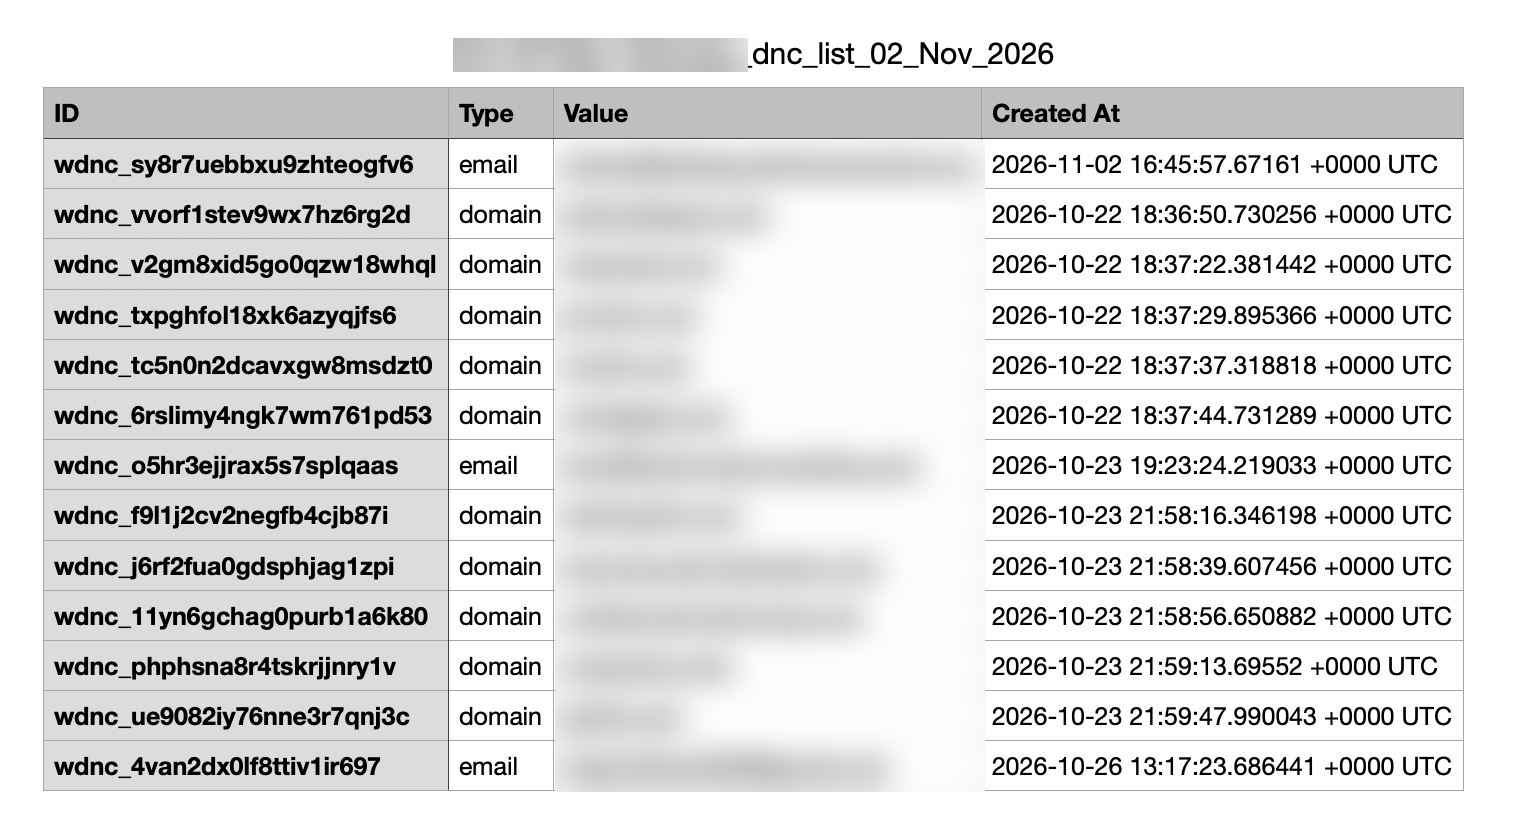
To download your DNC list, go to Settings > DNC list and click Export DNC list. You get a CSV file with these columns:
ID: the unique ID of the entry.
Type: email, domain or LinkedIn.
Value: the email address, domain or LinkedIn URL.
Created At: the date and time the entry was added to the DNC list.
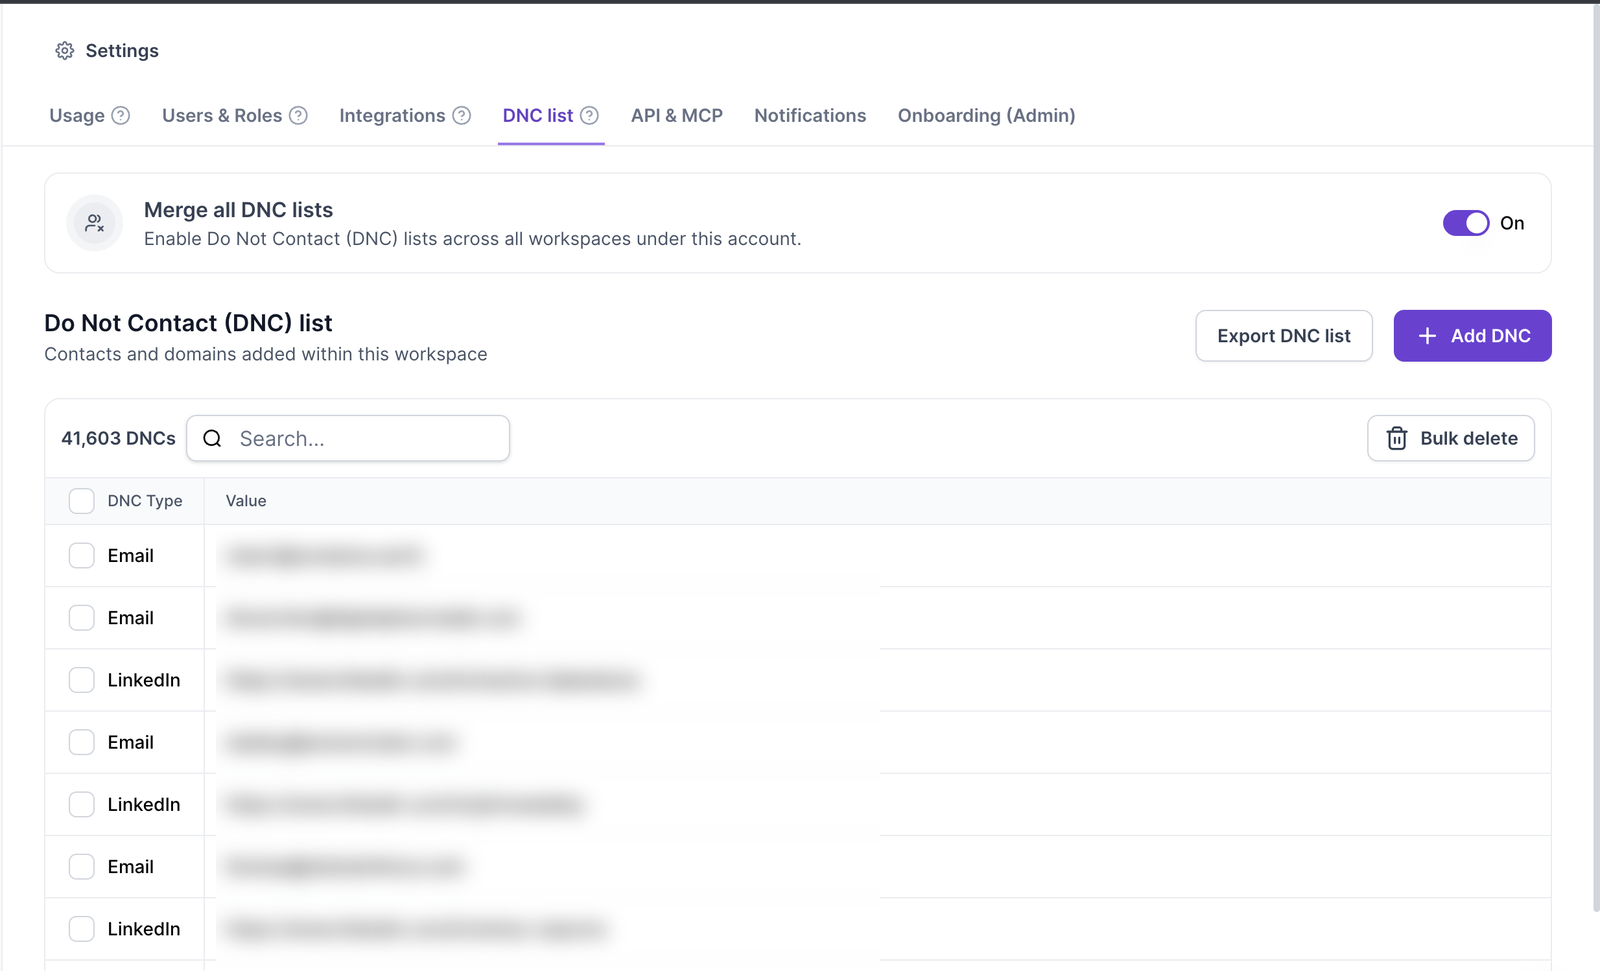
The DNC list page shows the total number of entries and a search box to find an entry. To remove entries, tick them and click Bulk delete. Keep in mind that once an entry is removed, that contact or domain can be contacted again.
By default, the DNC list belongs to the workspace you are in, and it shows the contacts and domains added within that workspace. If your account has several workspaces, an admin can turn on Merge all DNC lists at the top of the DNC list page.
When it is on, the DNC lists of every workspace in the account are respected. You no longer have duplicate entries or need to sync the lists manually, so one person opting out is covered everywhere.
If you have a question about your DNC list, reach out to our support team through the chat widget and we will be happy to help.