Salesforge's integration with Attio empowers sales teams to connect their outreach workflows with live CRM data — saving time, improving accuracy, and unlocking automation across the funnel.
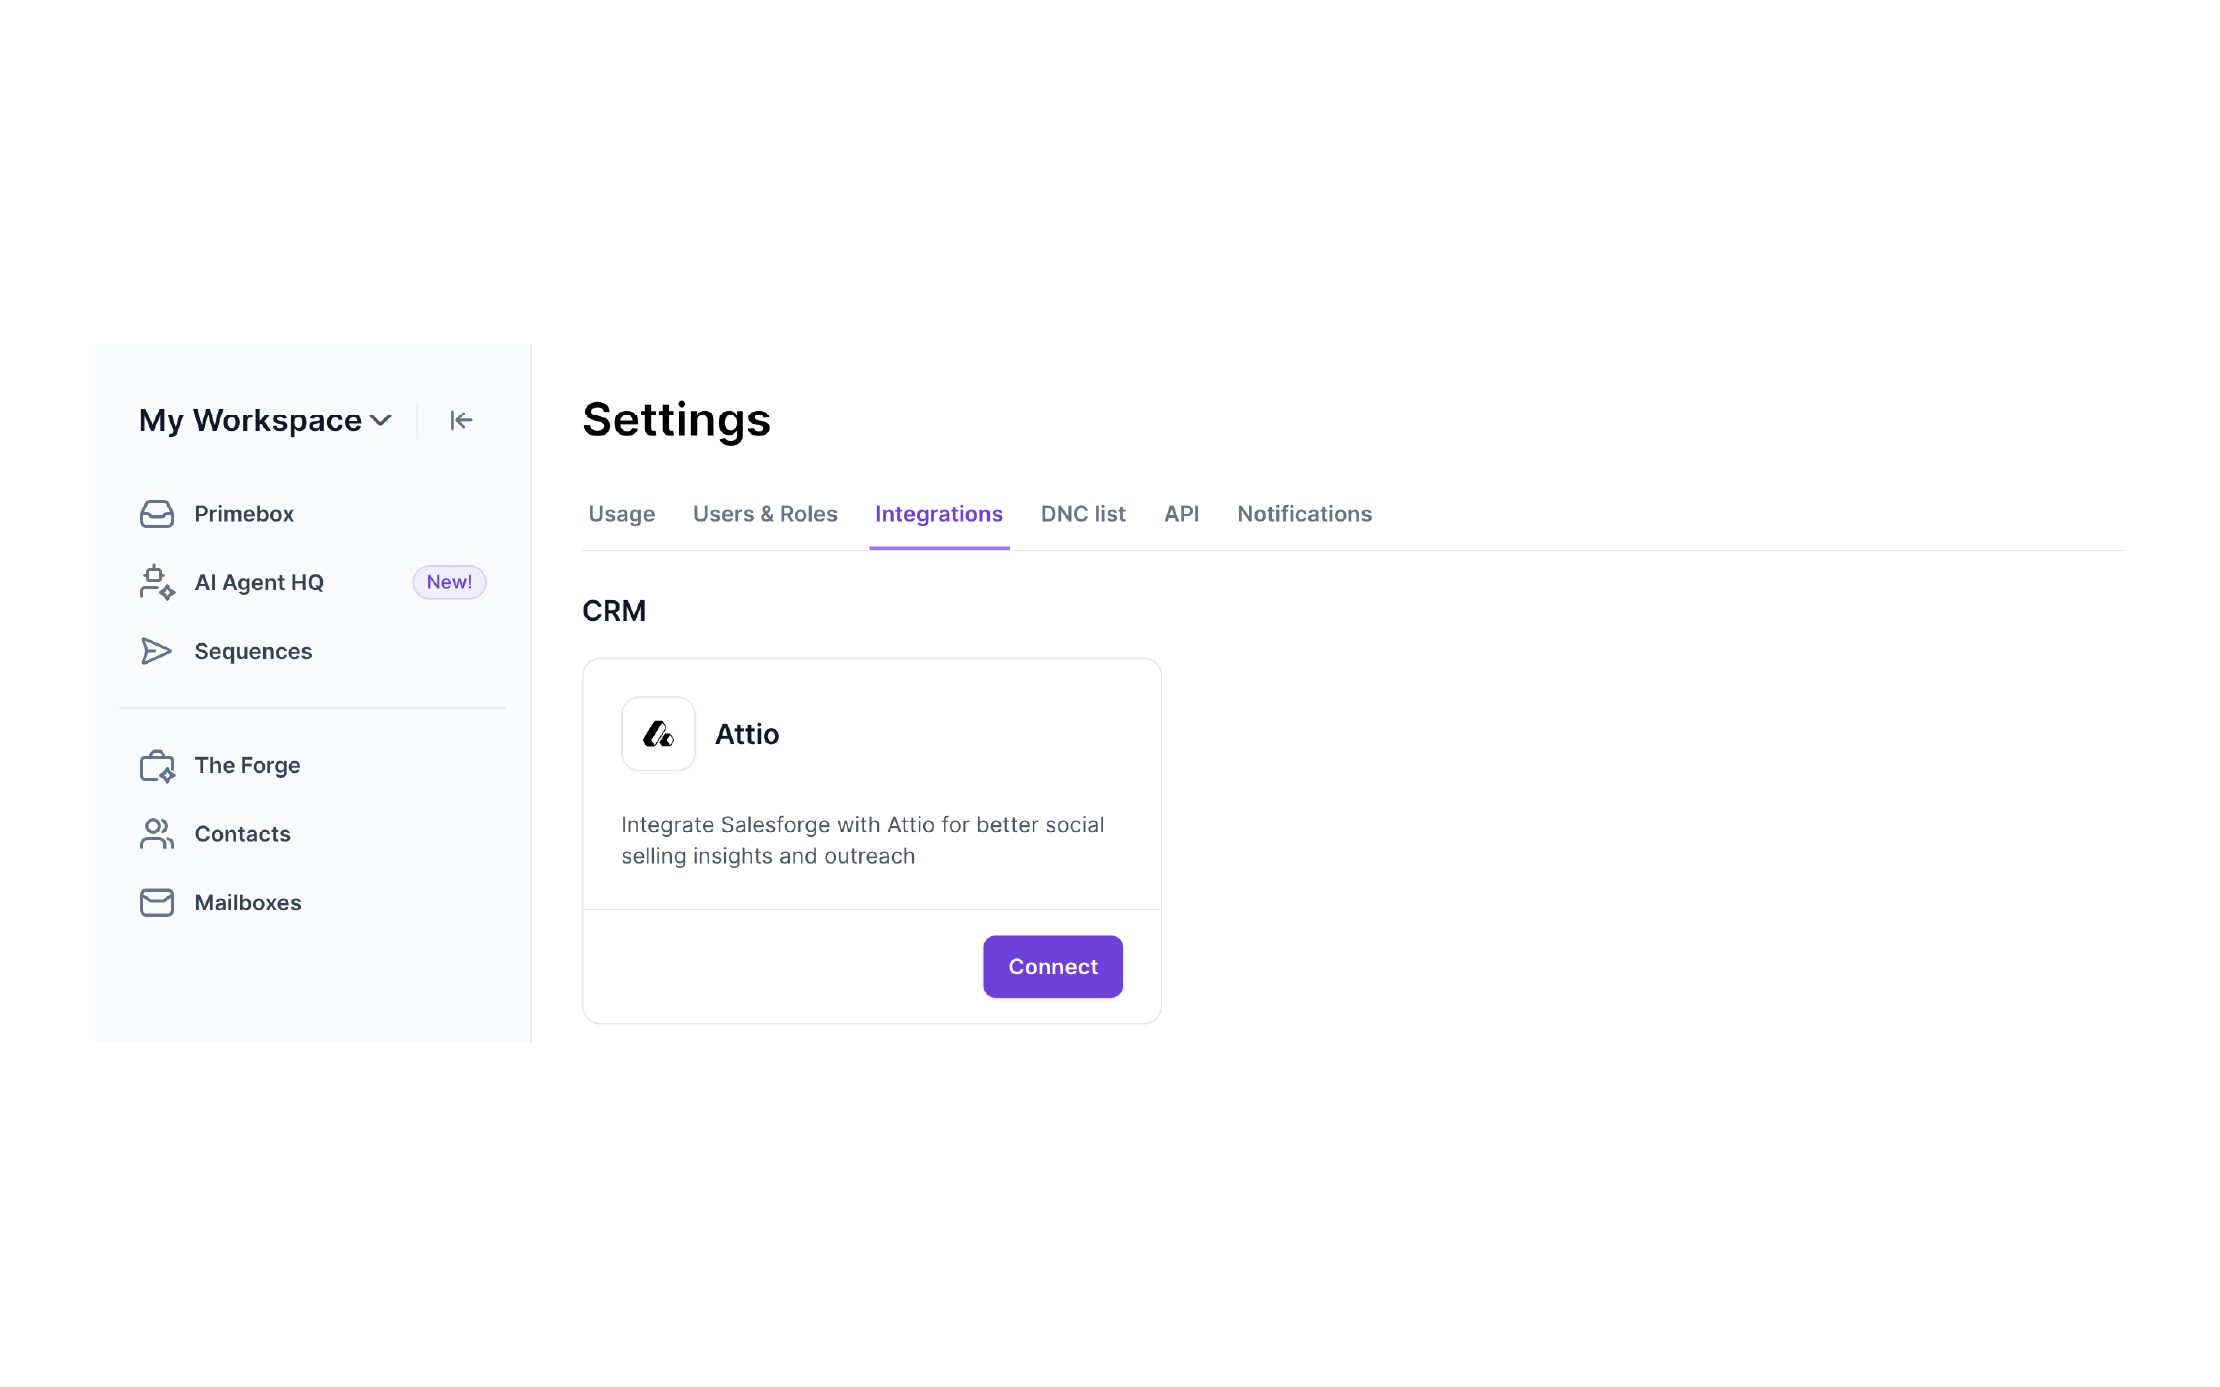
Navigate to Settings → Integrations in Salesforge.
Under the CRM section, locate Attio.
Click Connect and authorize access via secure OAuth.
Once connected, you’ll be redirected to the Attio settings screen.
This connection uses OAuth and is secure — no need to manage API keys.
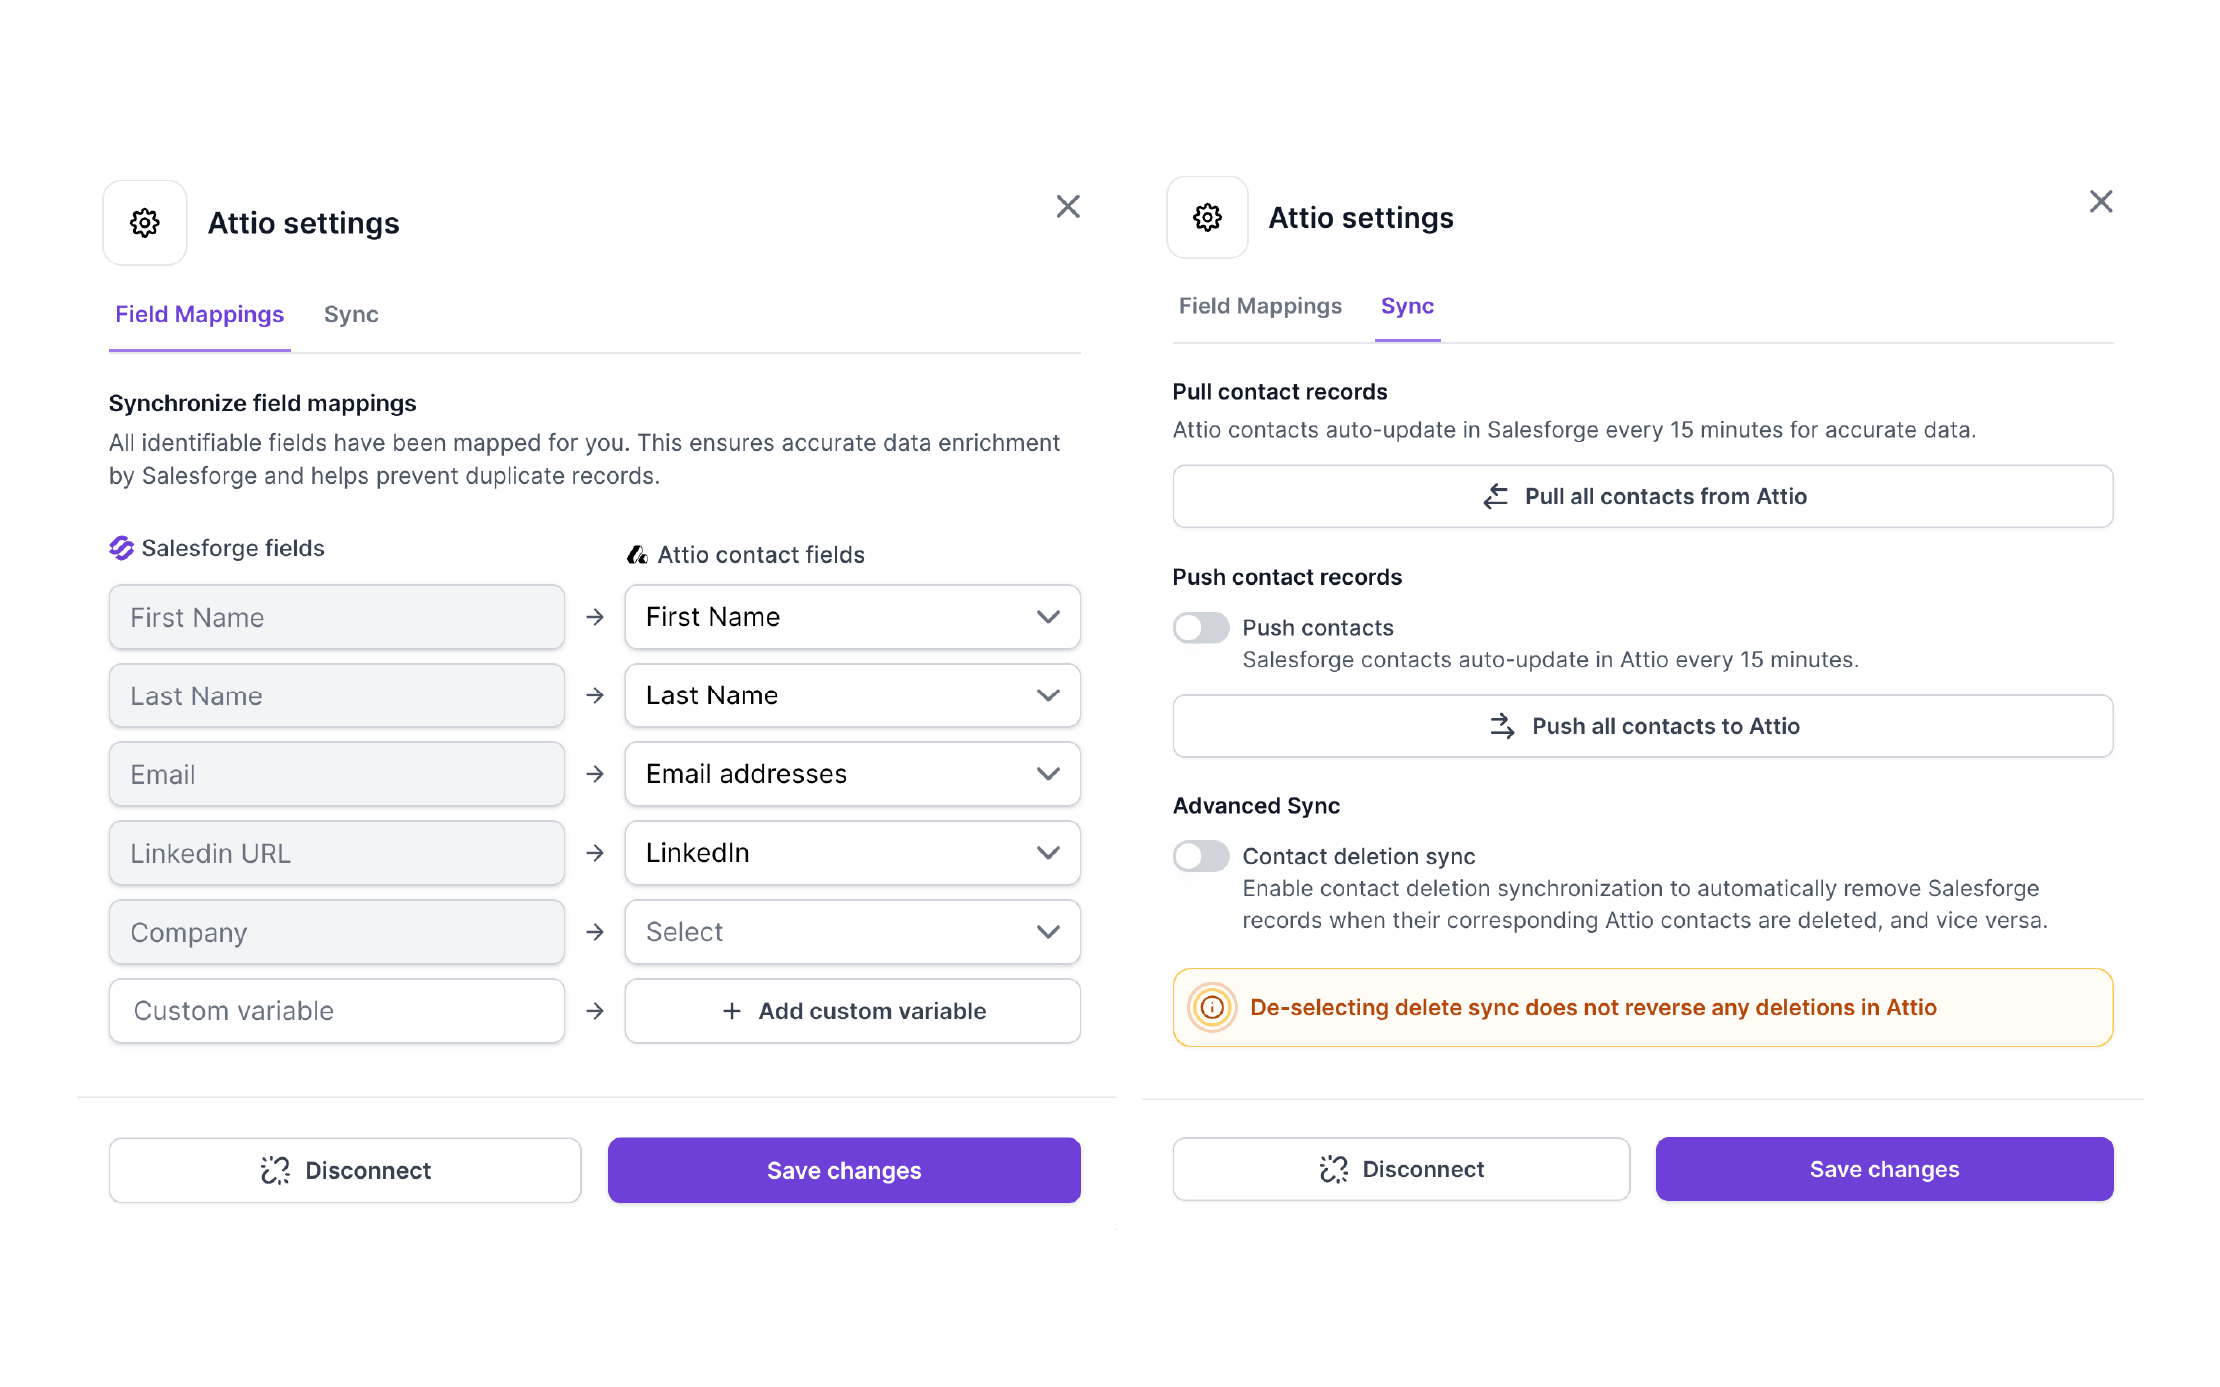
Once connected, you’ll be prompted to map your Salesforge fields to Attio contact fields.
Salesforge will auto-map standard fields (e.g., First Name, Email).
You can manually adjust mappings or add custom variables from Attio.
Example field mapping:
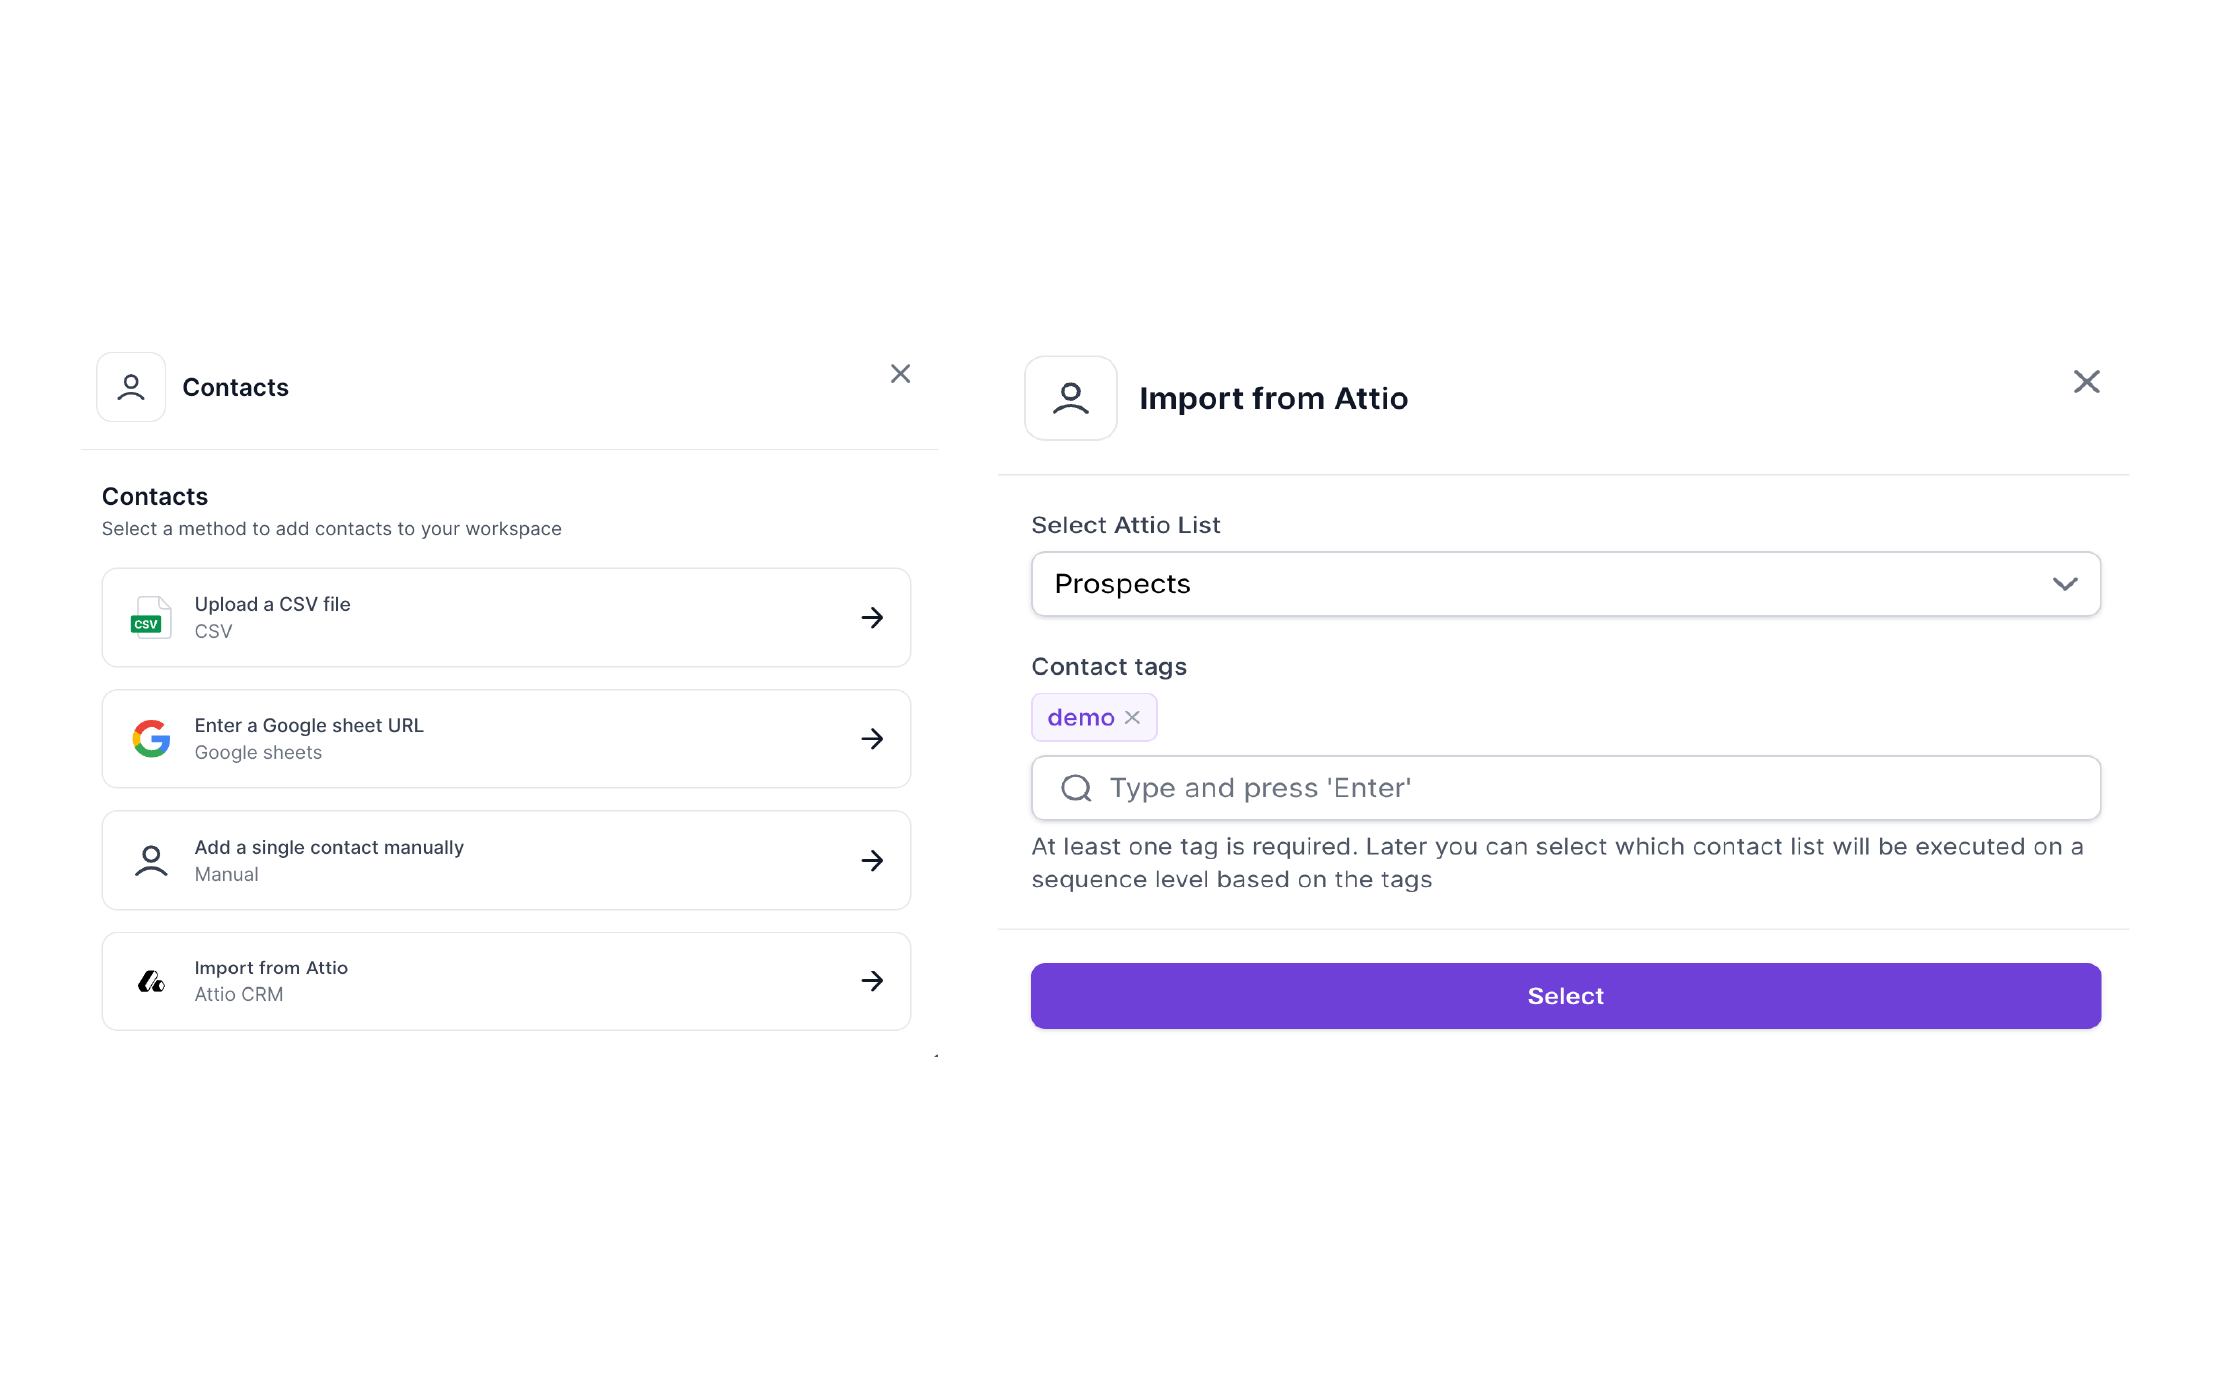
To import contacts into Salesforge from Attio:
Go to Contacts → Import from Attio.
Choose an Attio list (e.g., “Prospects”).
Add at least one tag to organize the contacts in Salesforge (e.g., demo).
Click Select.
Tags allow you to segment imported contacts for use in sequences and automation.
Click on the Sync tab within the Attio settings modal to define how your data should stay updated.
Pull contact updates: Salesforge checks Attio every 15 minutes for changes to contacts previously imported through the Attio import workflow in Step 3. Contacts that were not imported are not included.
Syncs run every 15 minutes by default.
Push contact updates (optional): When enabled, supported changes made in Salesforge to contacts previously imported from Attio are sent back to Attio.
Syncs every 15 minutes.
Contact deletion sync (optional): When enabled, deletions are synchronized only for contacts included in the Attio integration's imported contact scope.
De-selecting deletion sync does not reverse any previously synced deletions.