
Salesforge is excited to announce a native integration with Databar AI, making it easier than ever to enrich and export leads directly into your outbound workflows.
With this integration, you can seamlessly move prospects from Databar into Salesforge with enriched data and without manual copy-pasting. Here’s how to get started in just a few steps:
 How to Set Up the Salesforge x Databar Integration
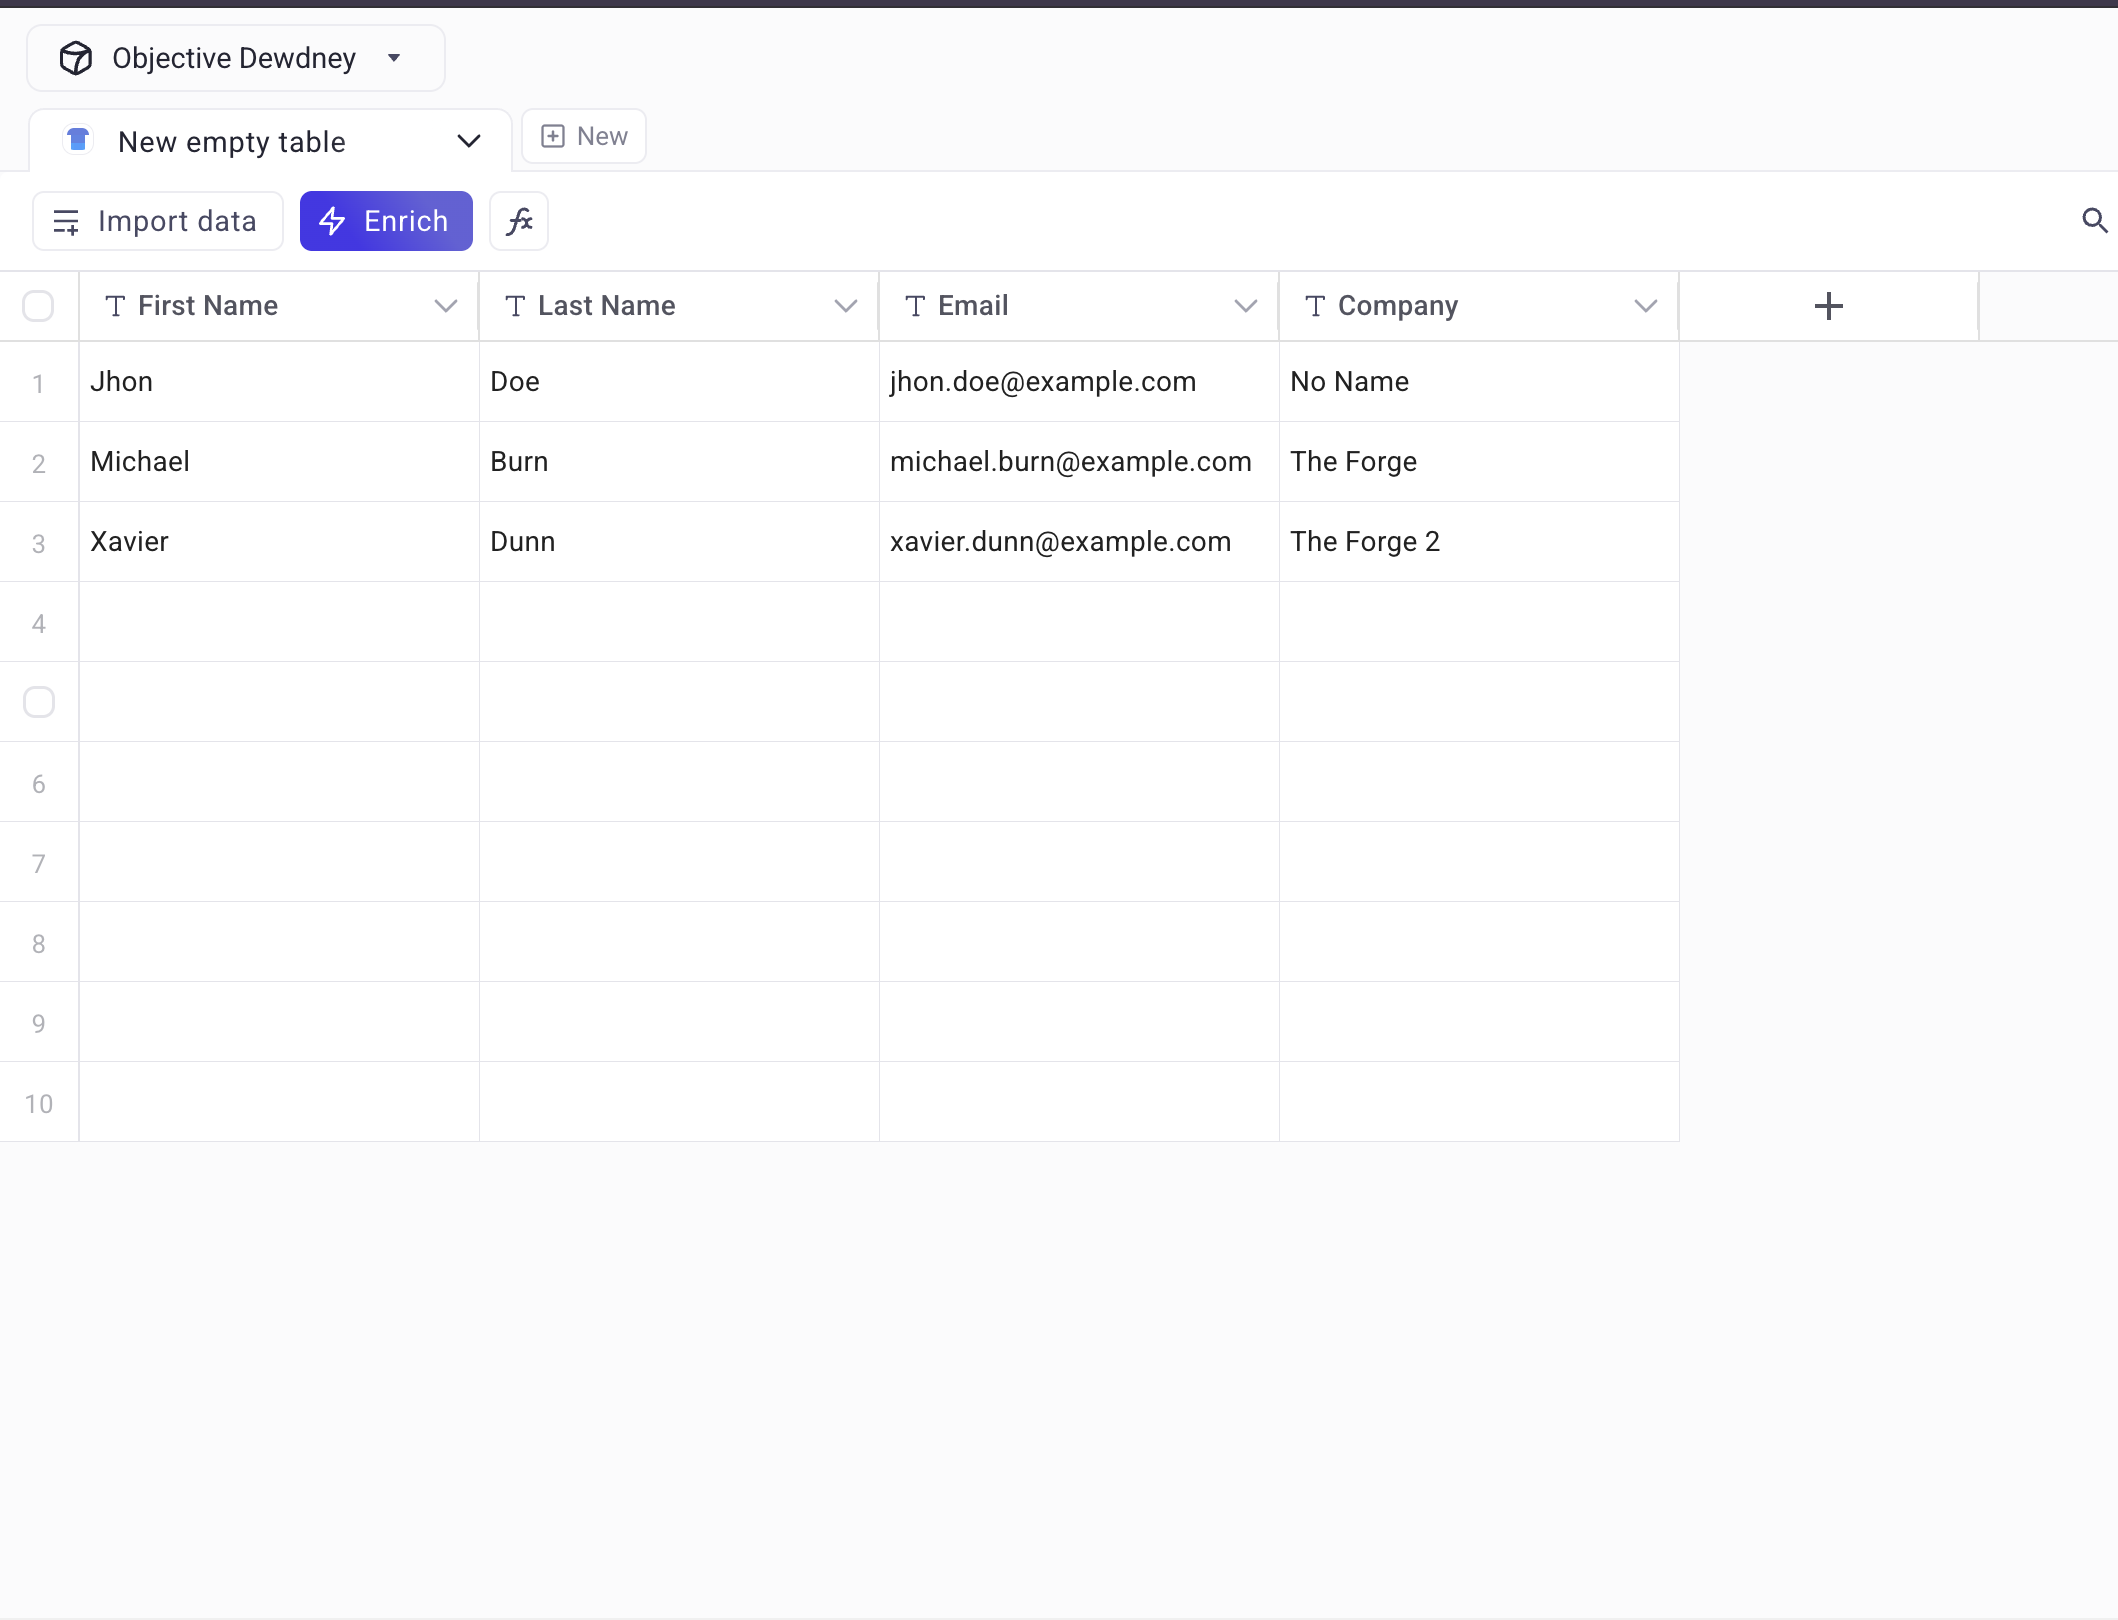
1. Prepare Your Databar List
Make sure you have a list of prospects ready in your Databar workspace.
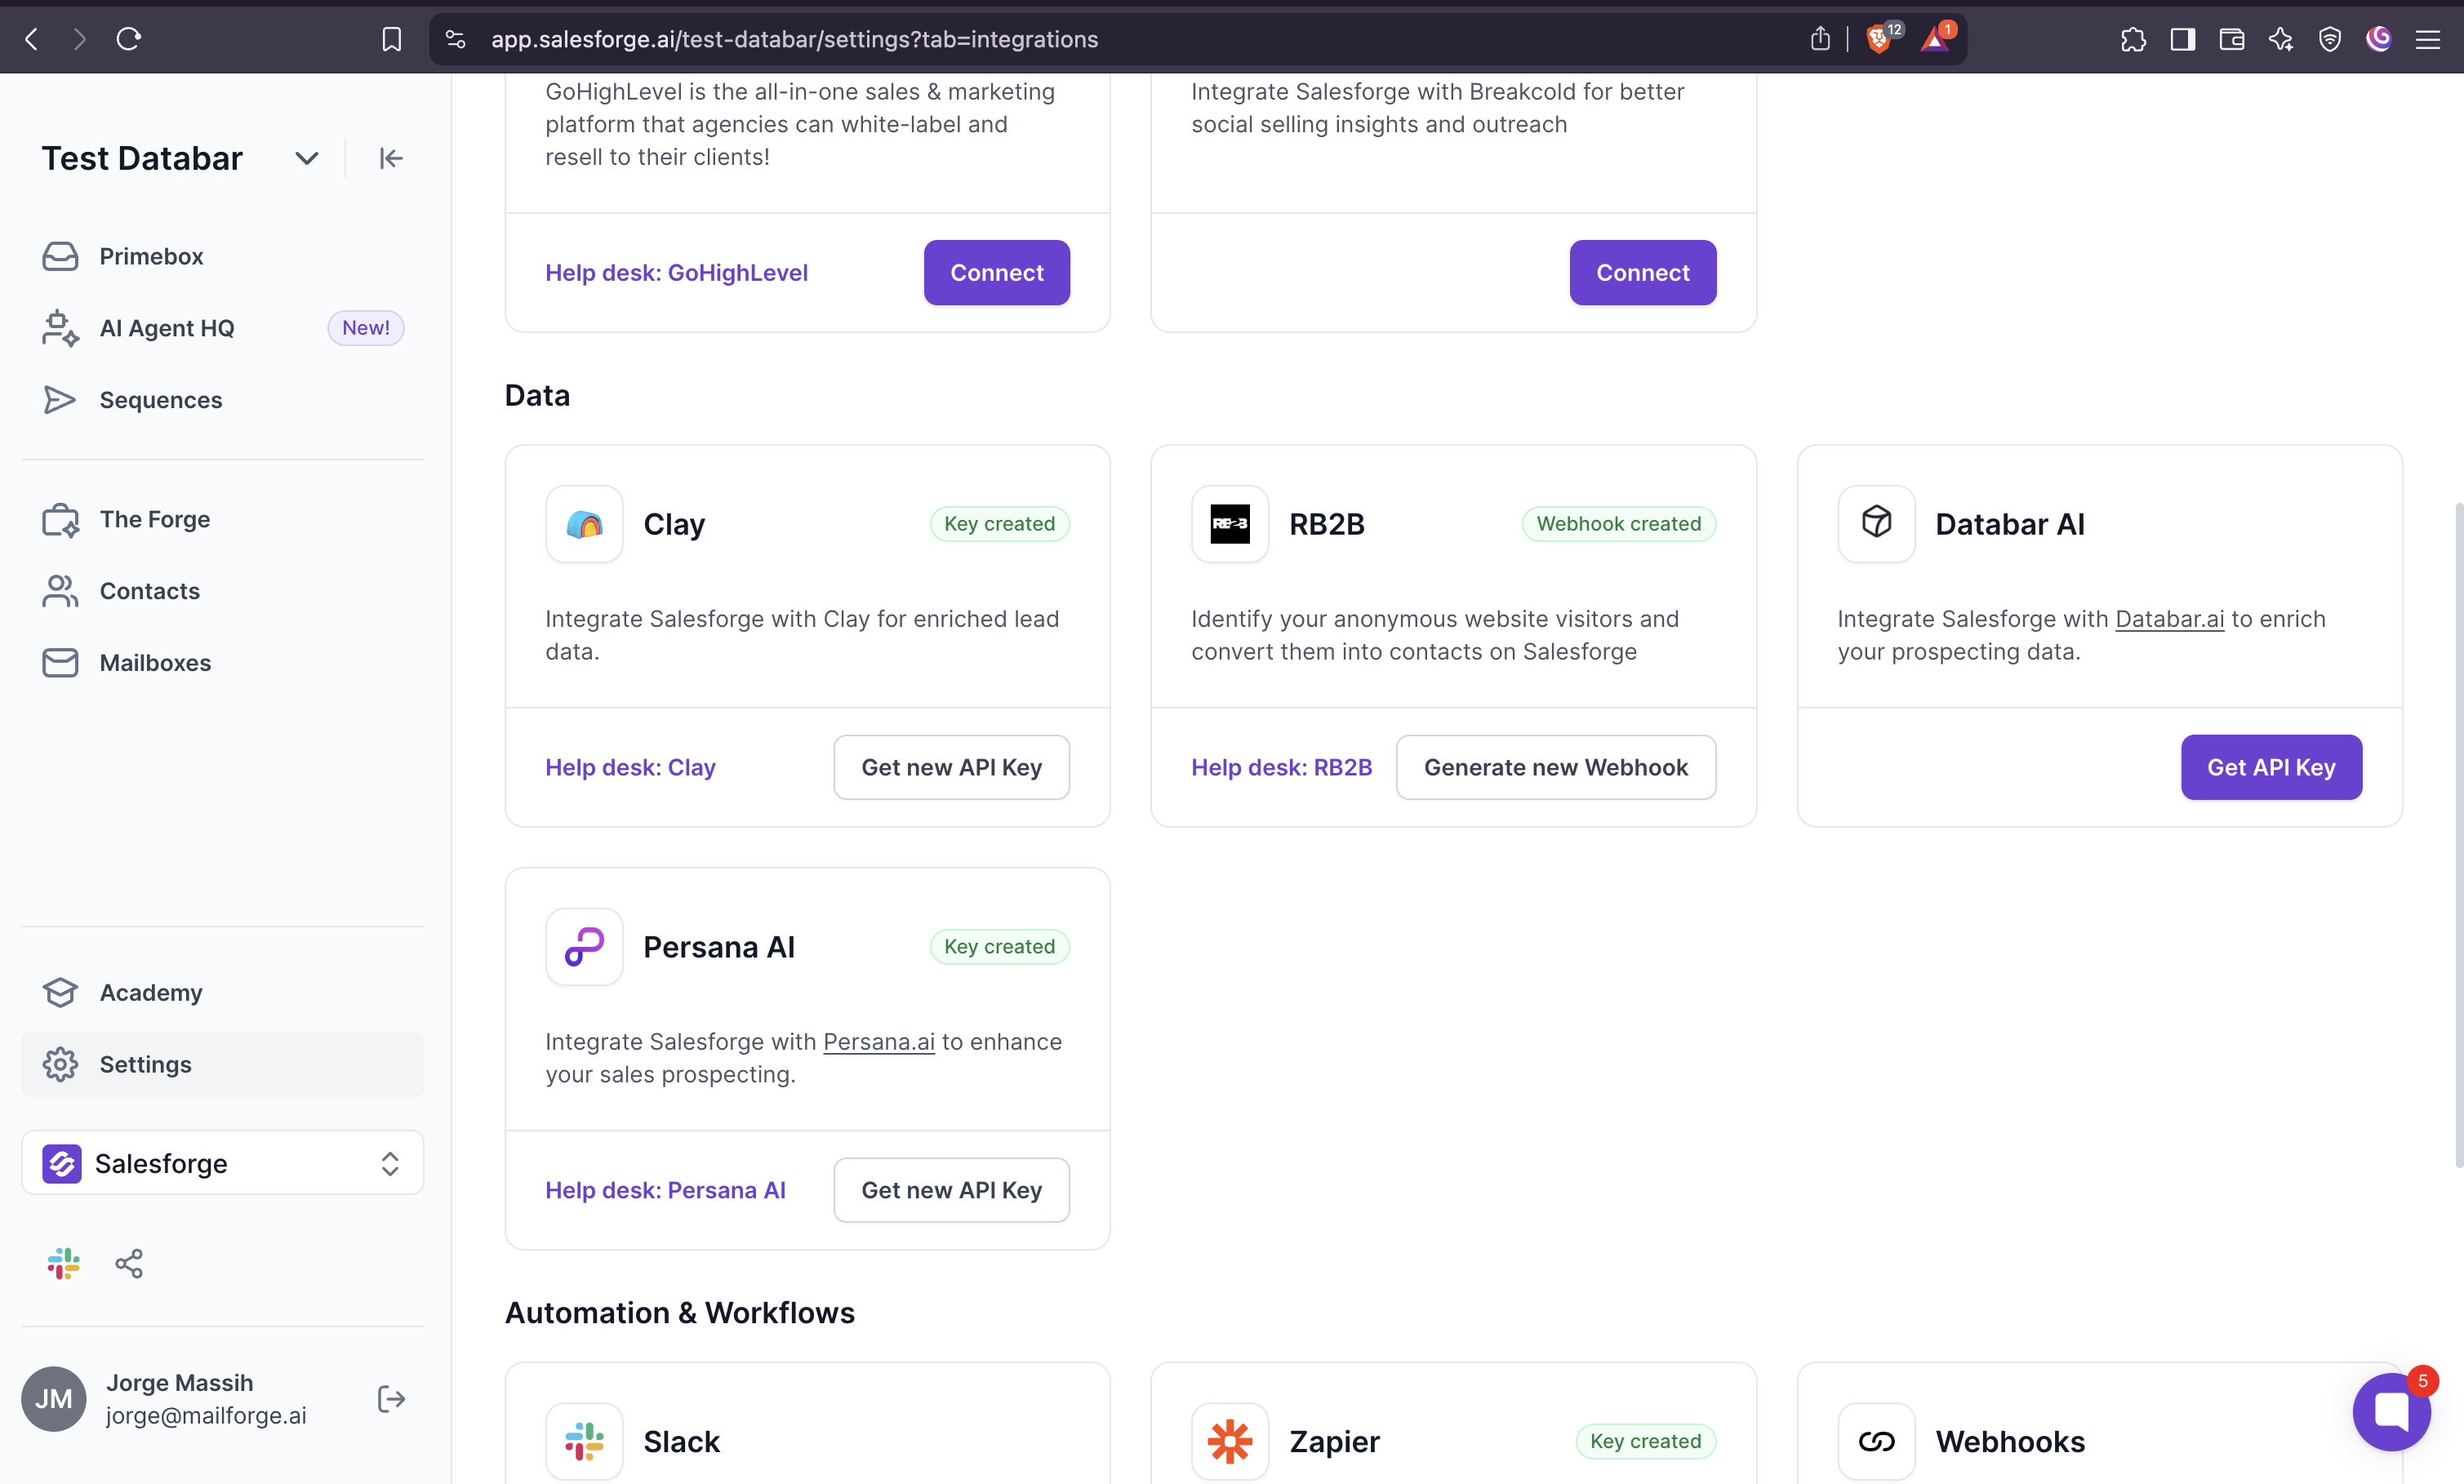
2. Get Your API Key from Salesforge
Log into Salesforge.
Go to Settings > Integrations > Databar AI.
Click Get API Key and copy the generated key.
3. Connect Salesforge in Databar
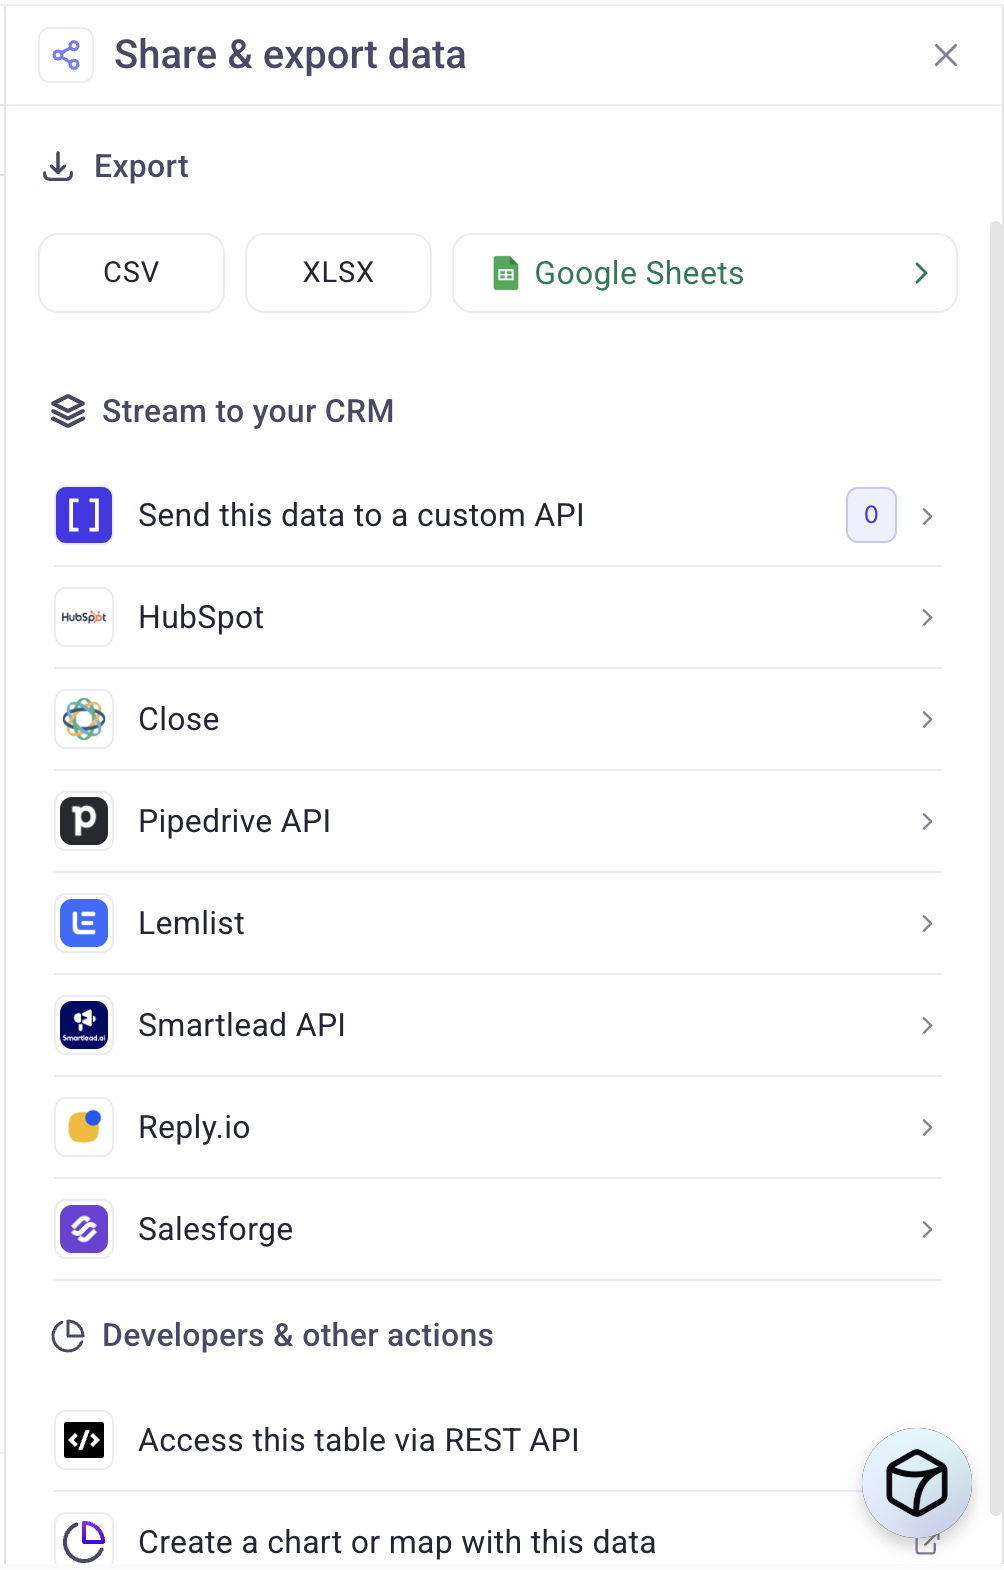
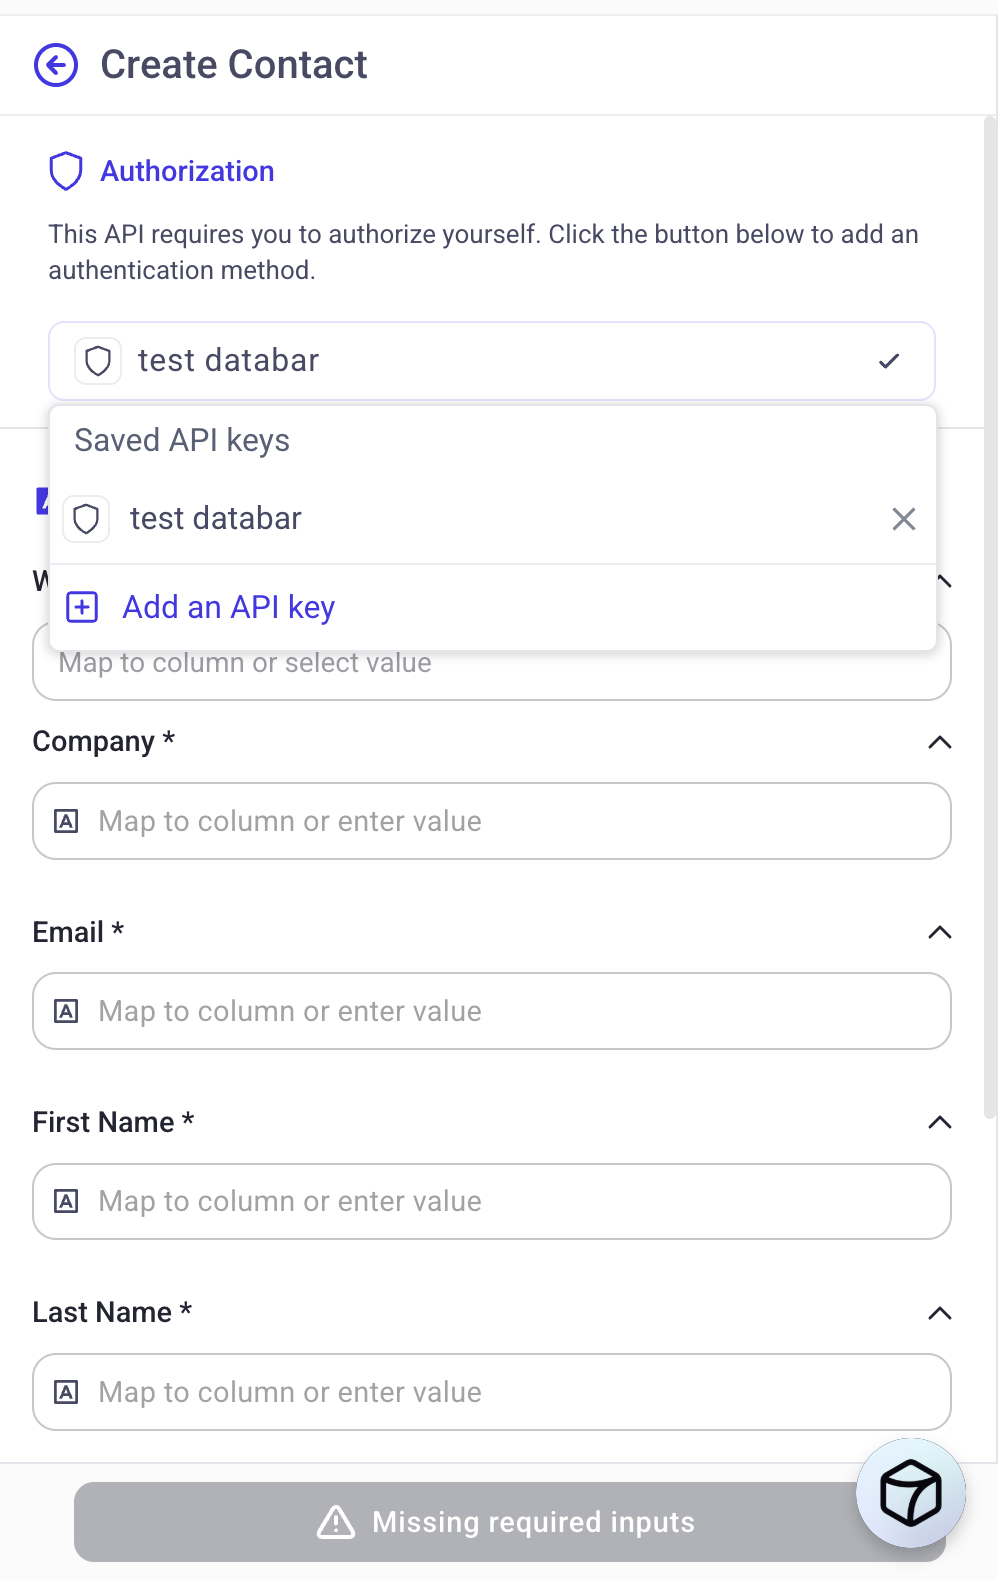
In your Databar prospect list, click Share in the top-right corner.

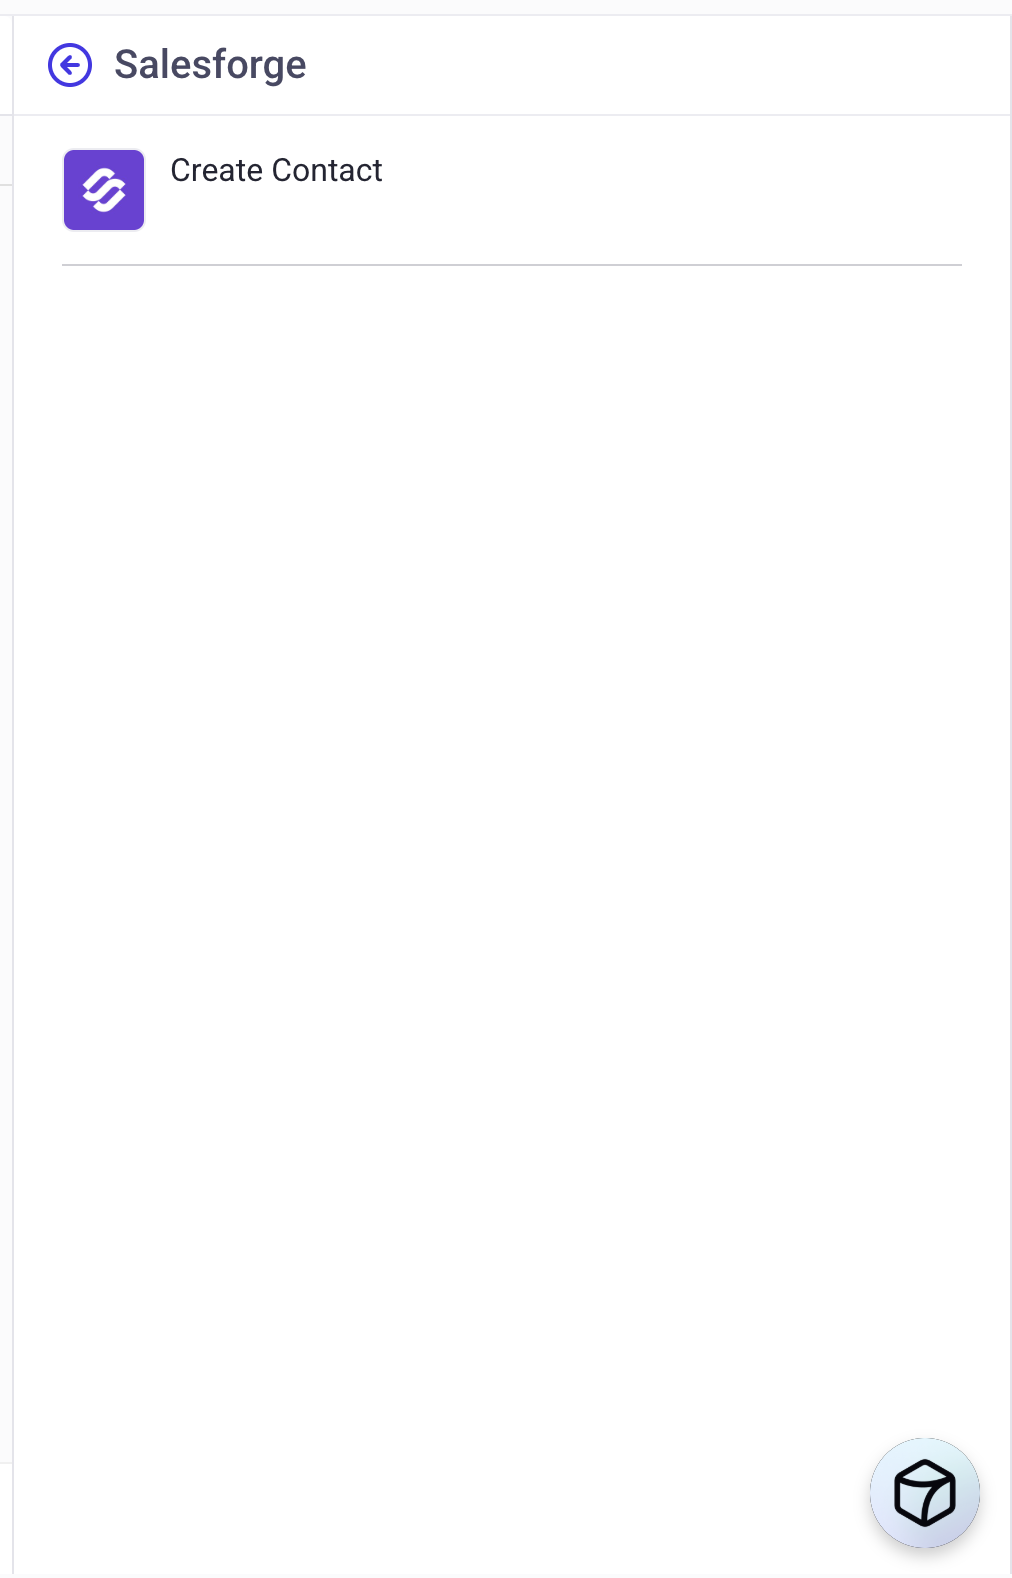
Select Salesforge > Create Contact.
Create a New API Key and paste the one you copied from Salesforge.
4. Map Your Data Fields
Choose your desired Workspace in the dropdown selector.
Map each column from your table to the correct fields (e.g., name, email, company).
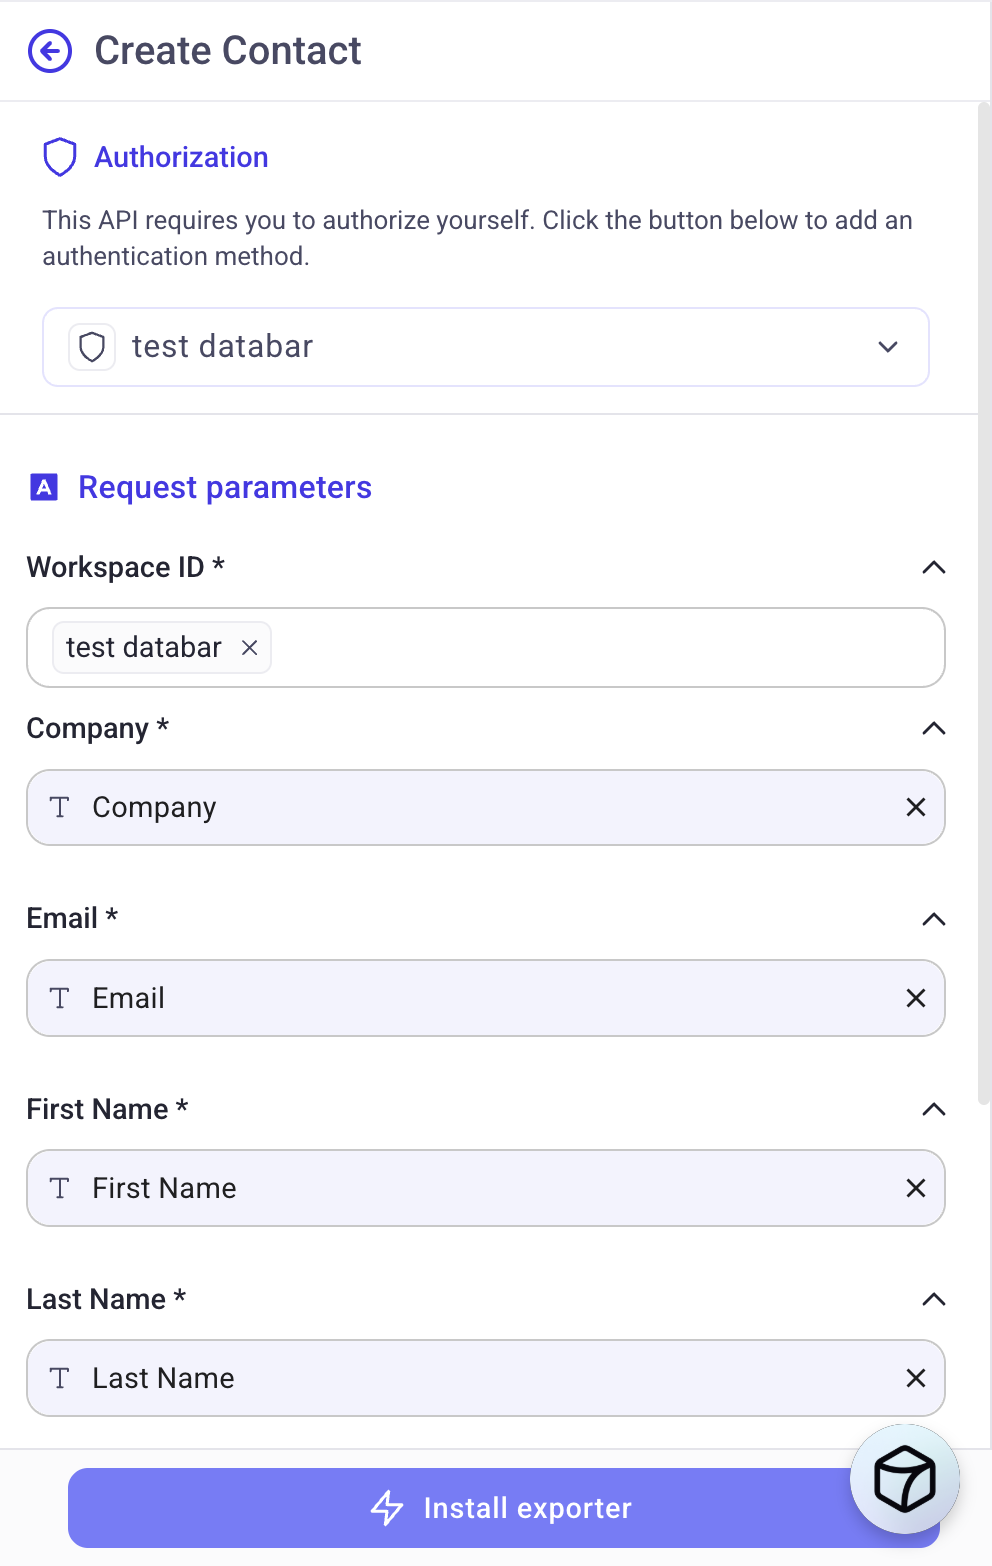
Click Install Exporter.
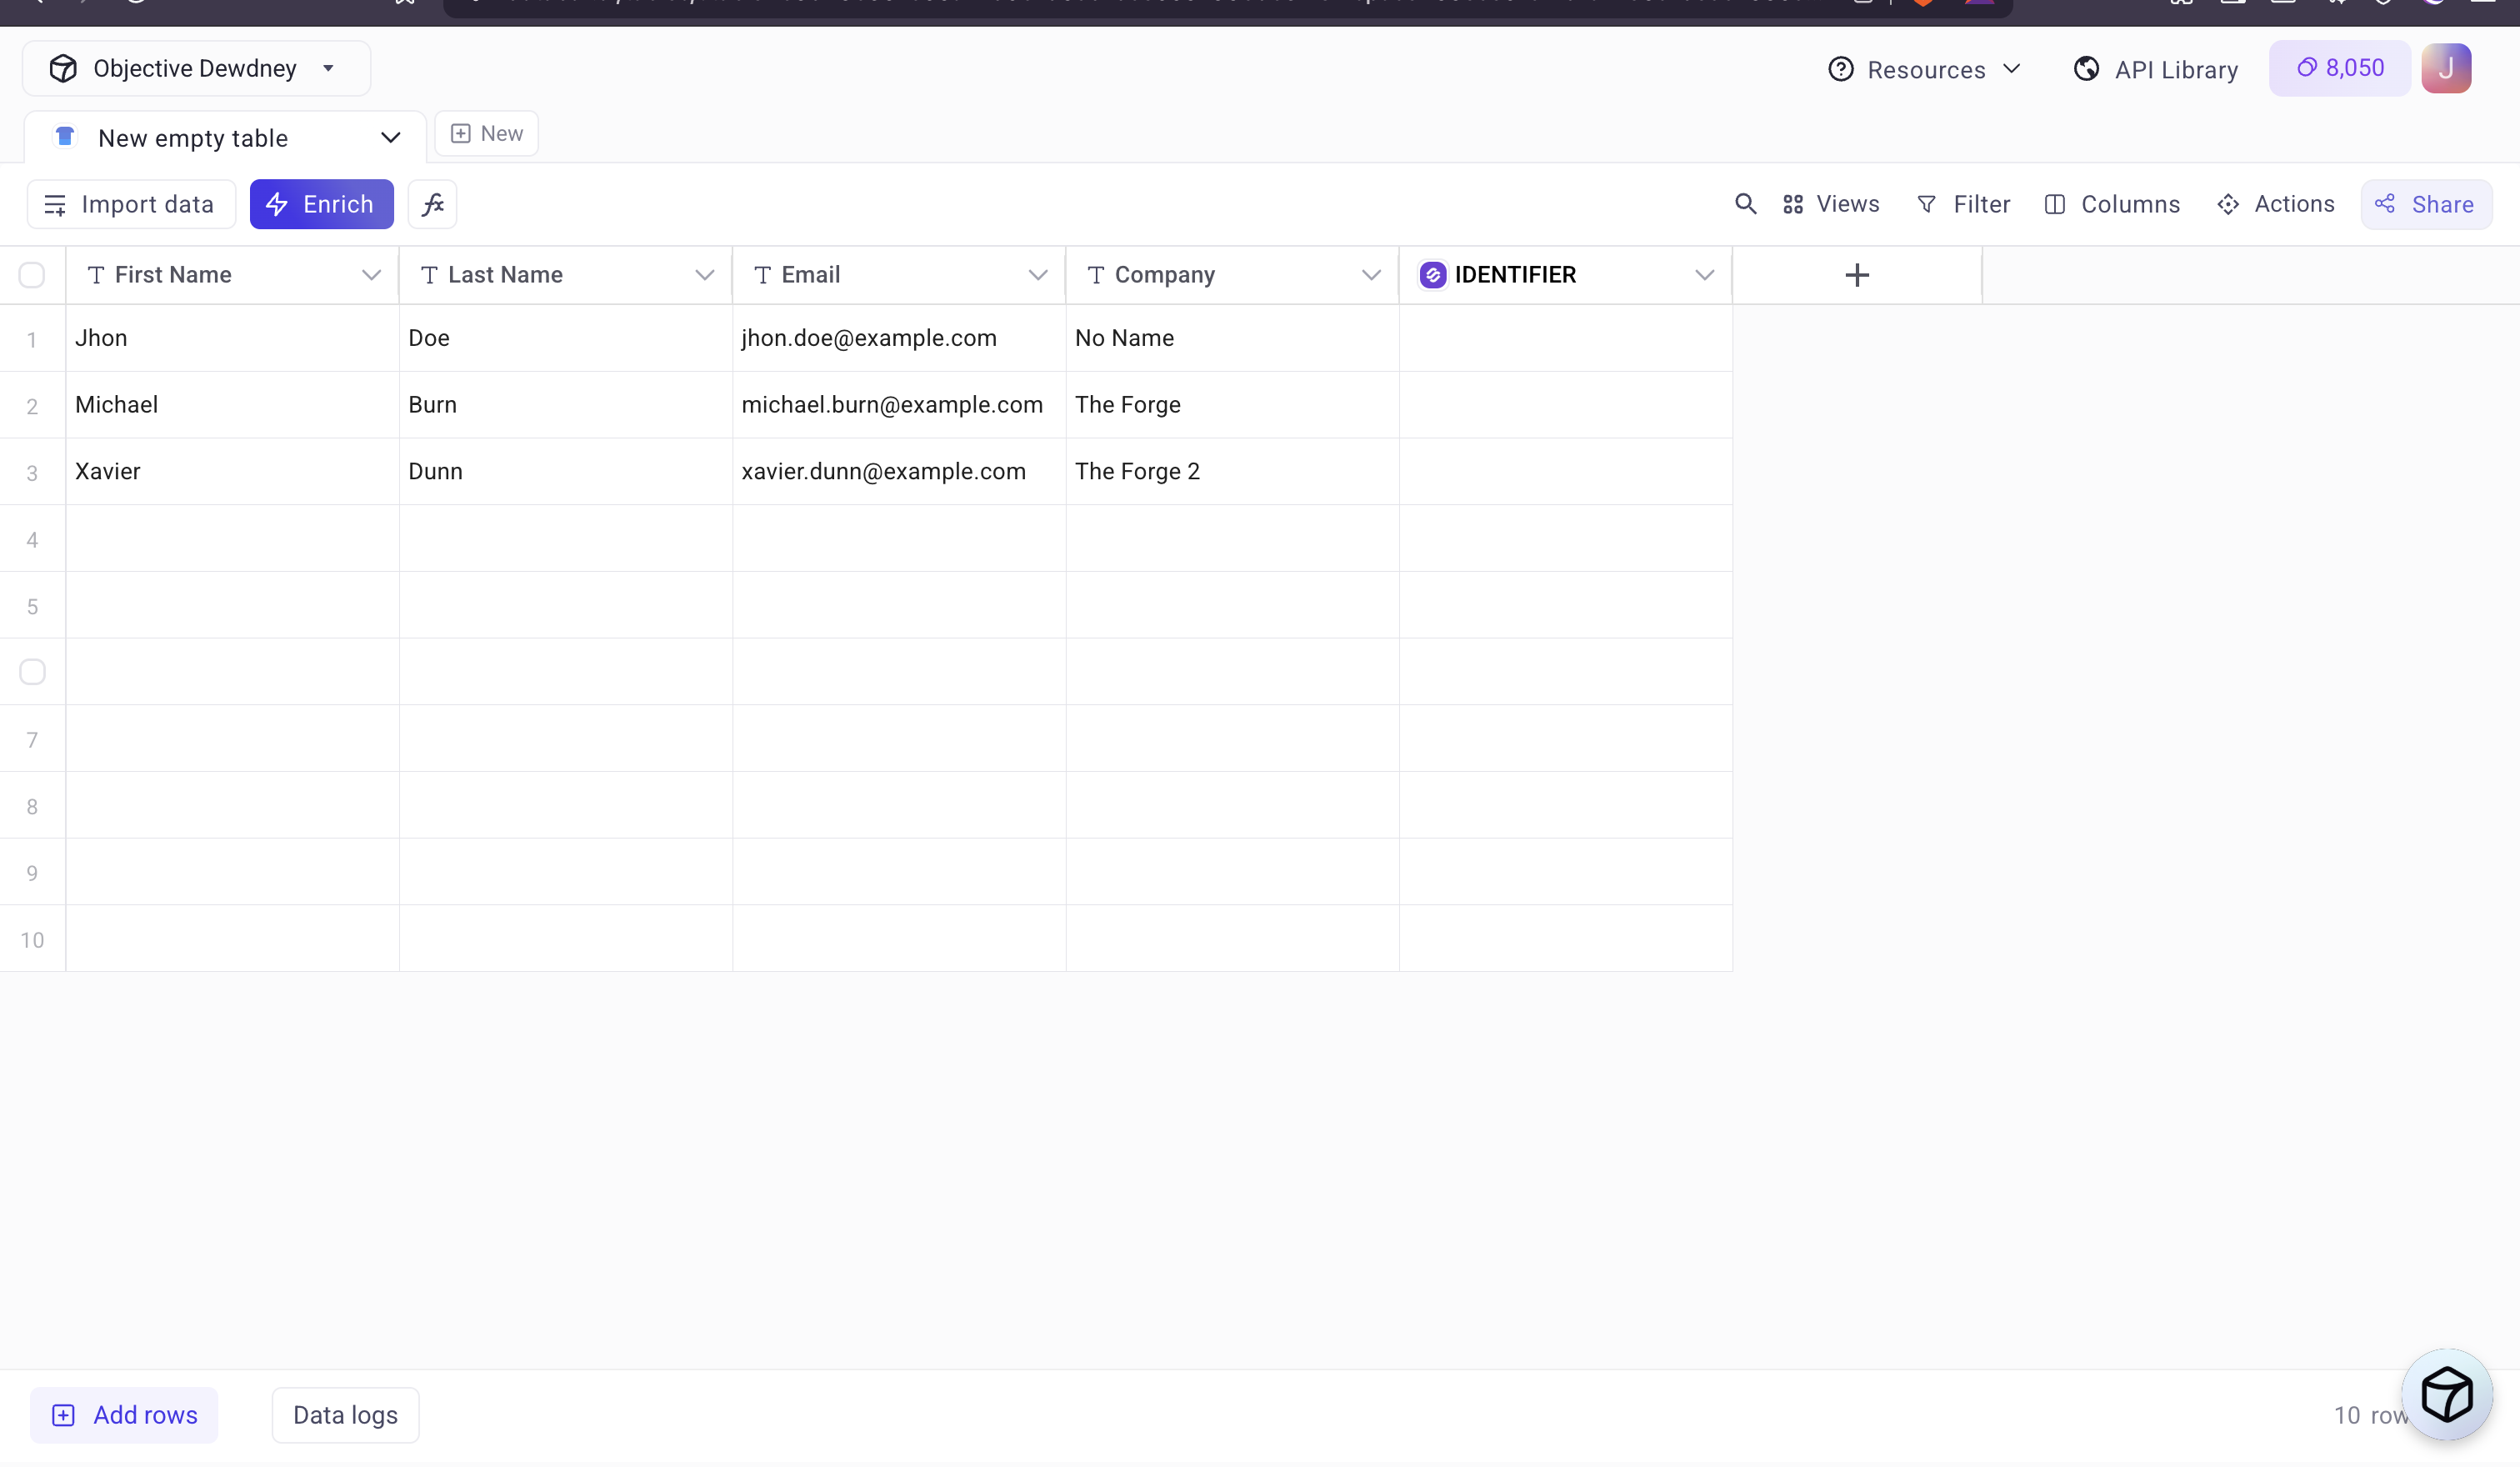
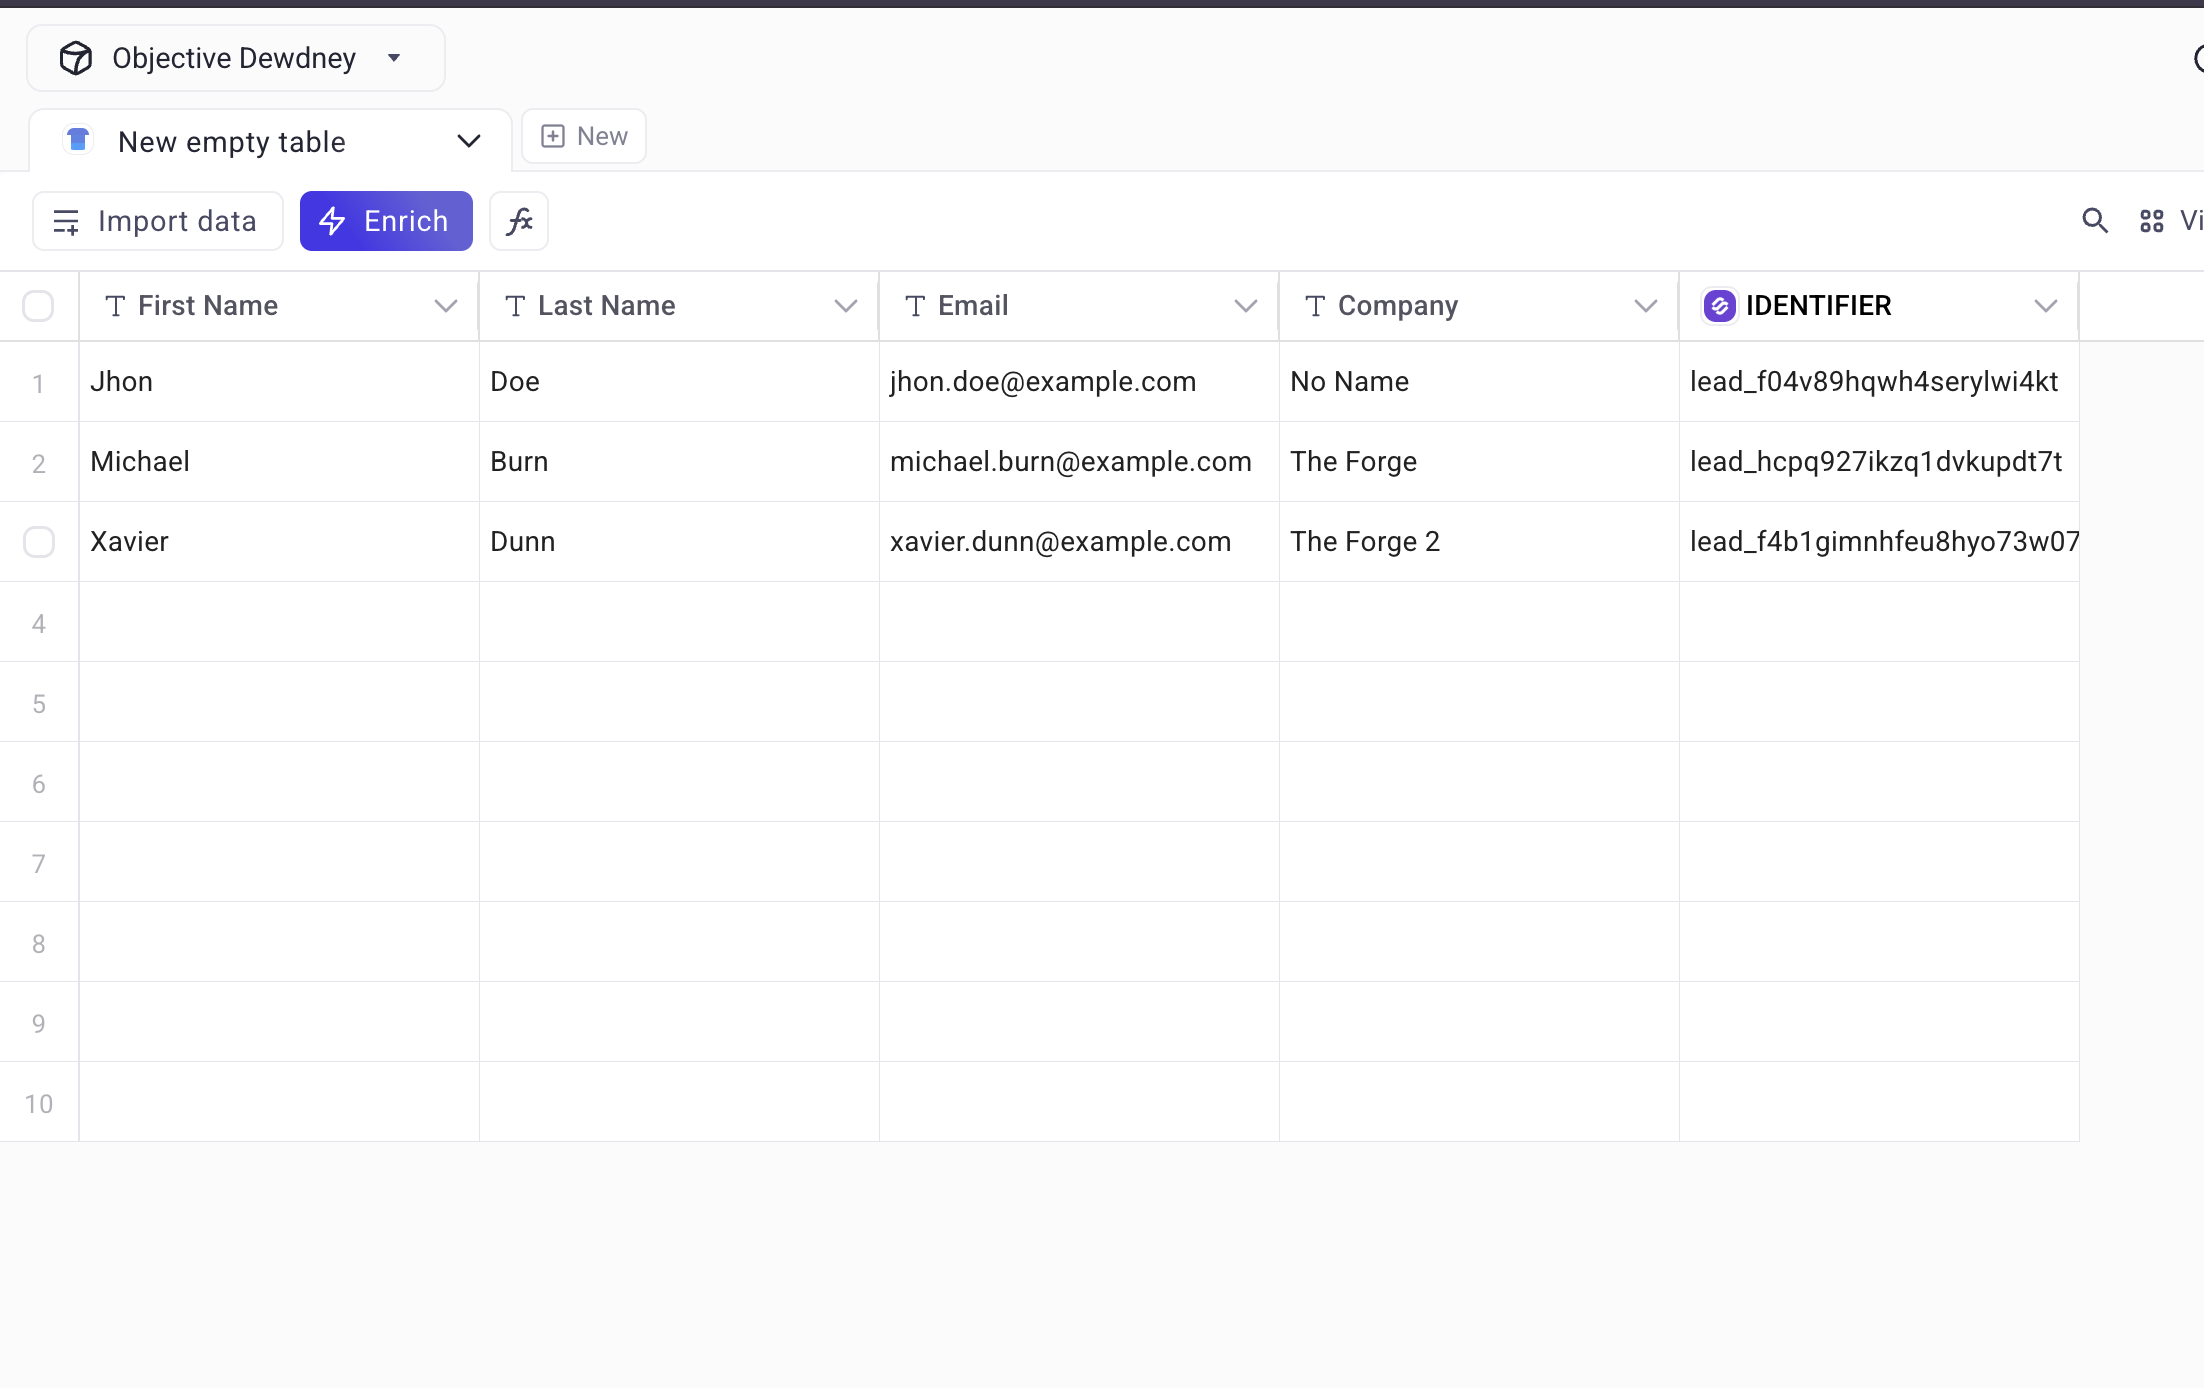
5. Enrich Your Data
After installation, a new column called IDENTIFIER will appear in your list.
Click on that column, hover over Enrichment actions, and click Run all rows.
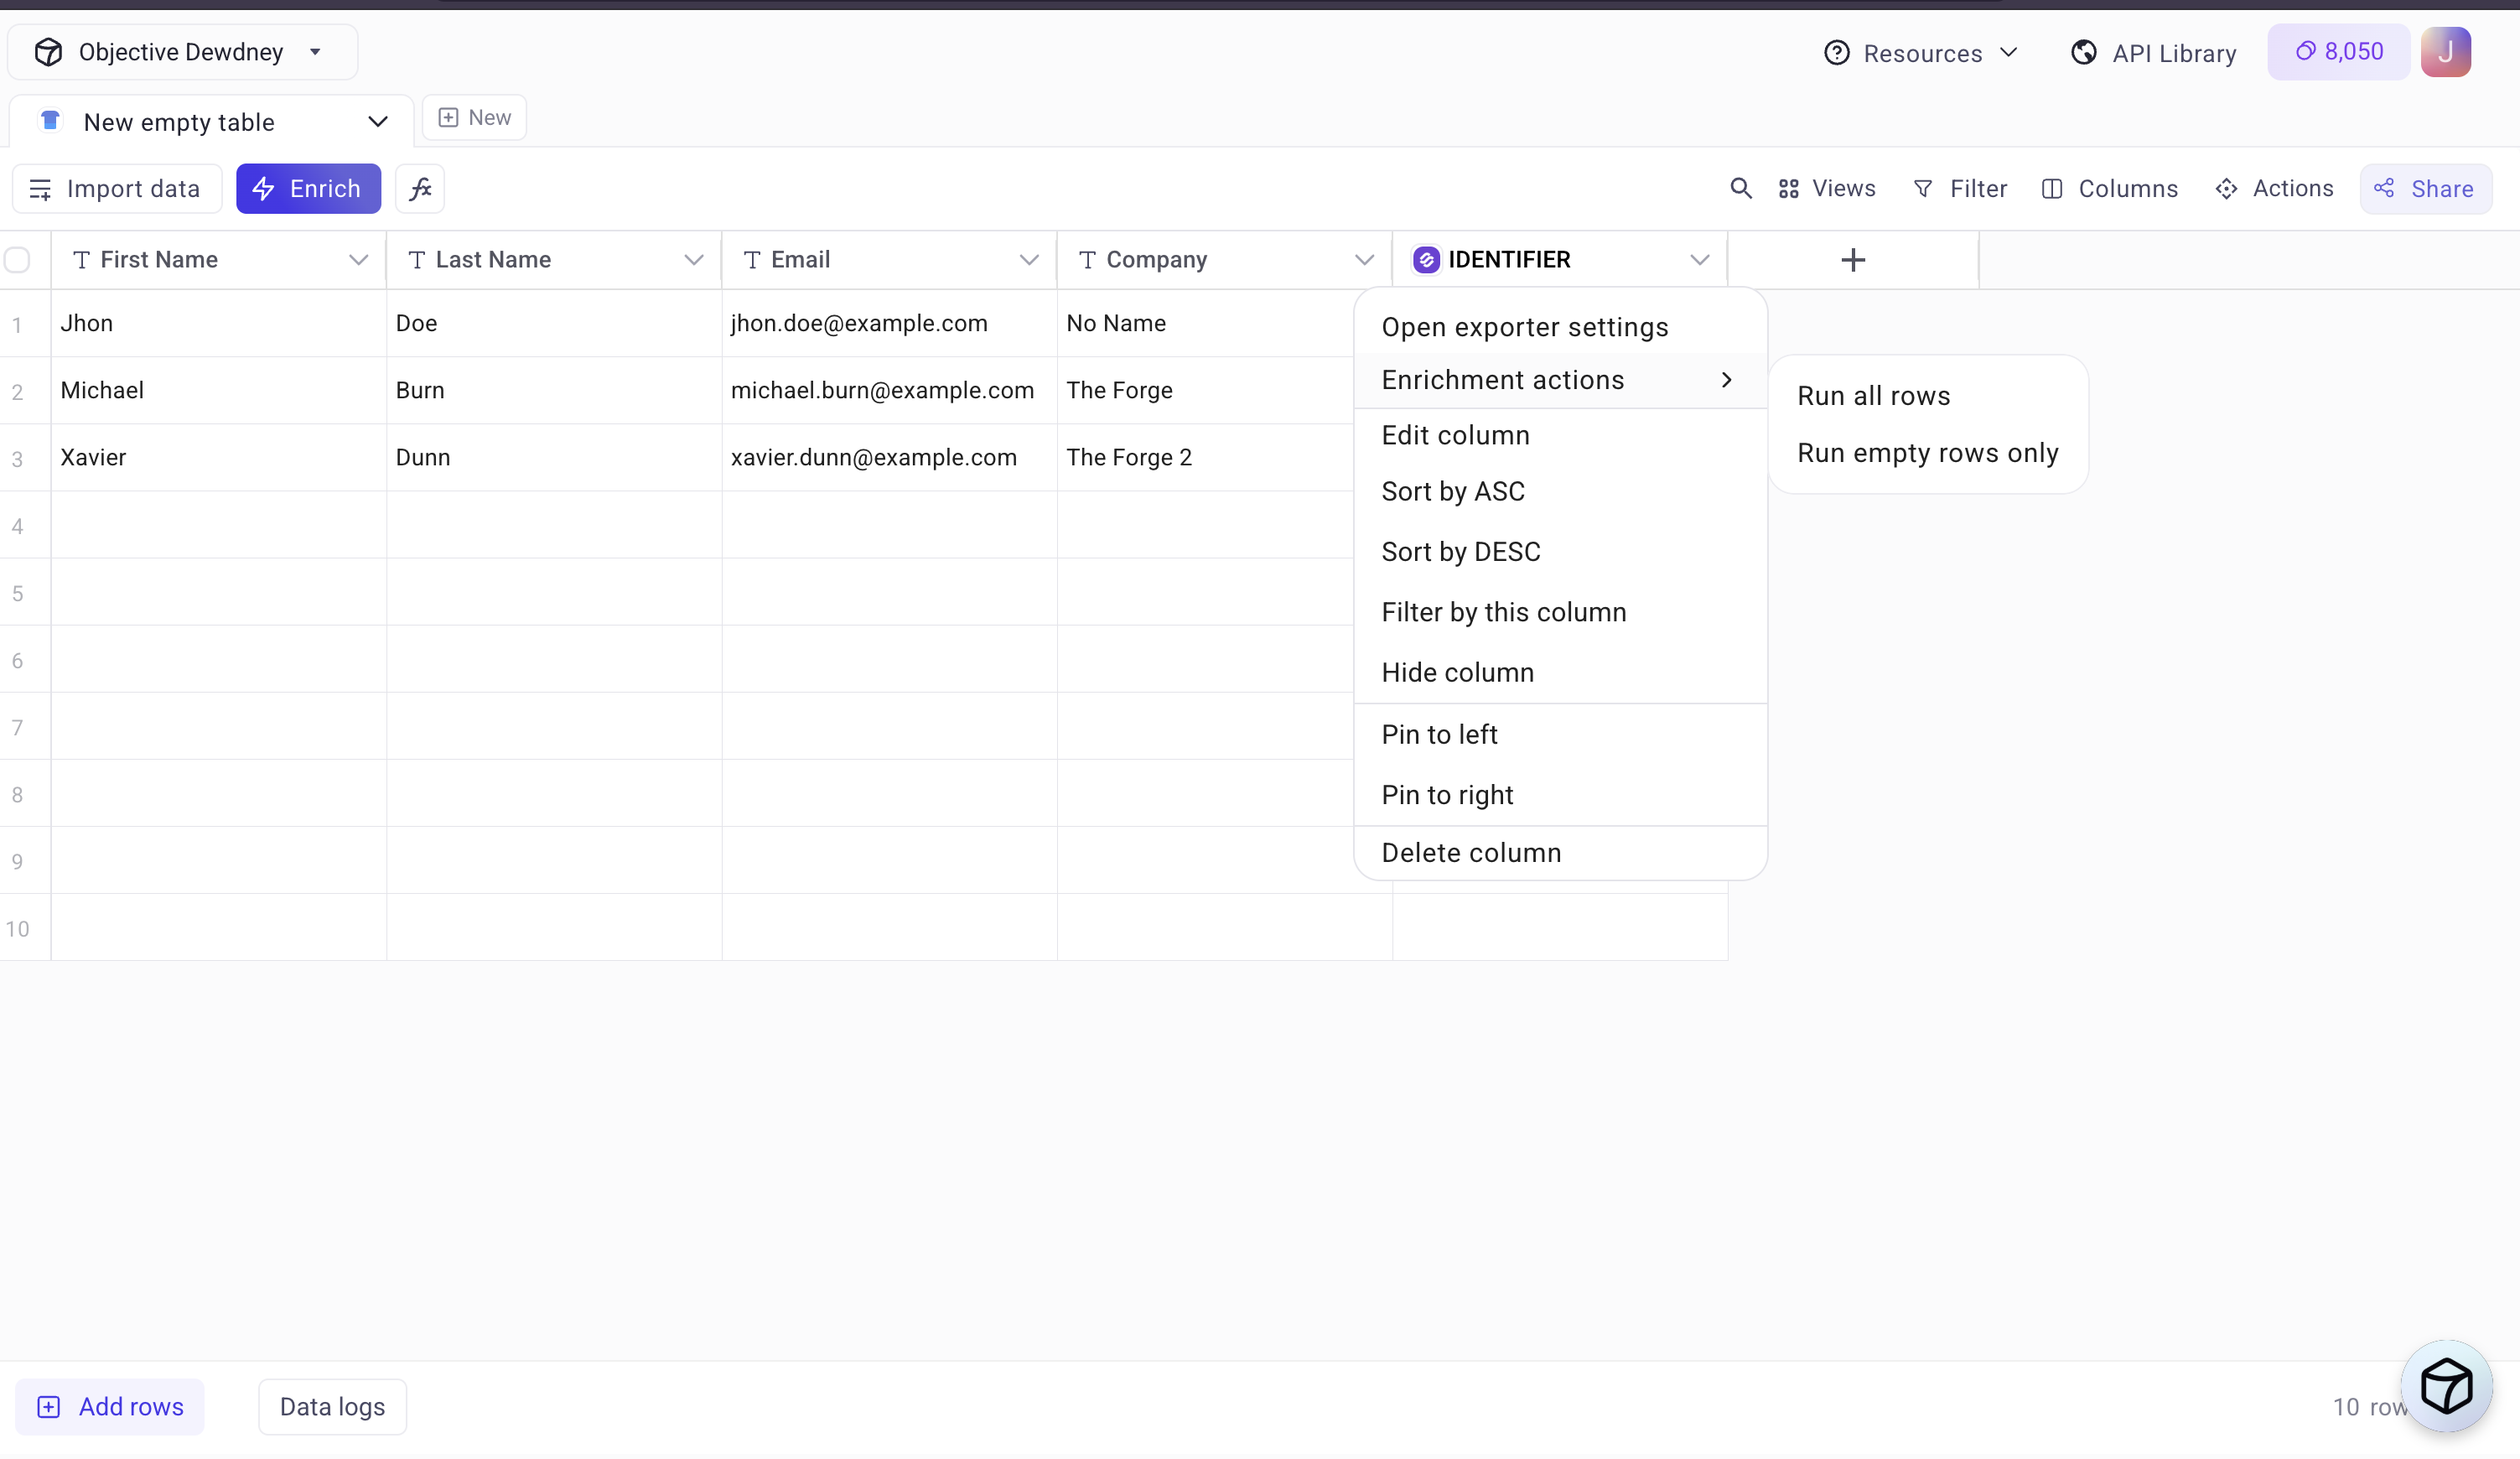
6. Wait for Enrichment to Complete
Once it finishes loading, the IDENTIFIER column will be filled with data.
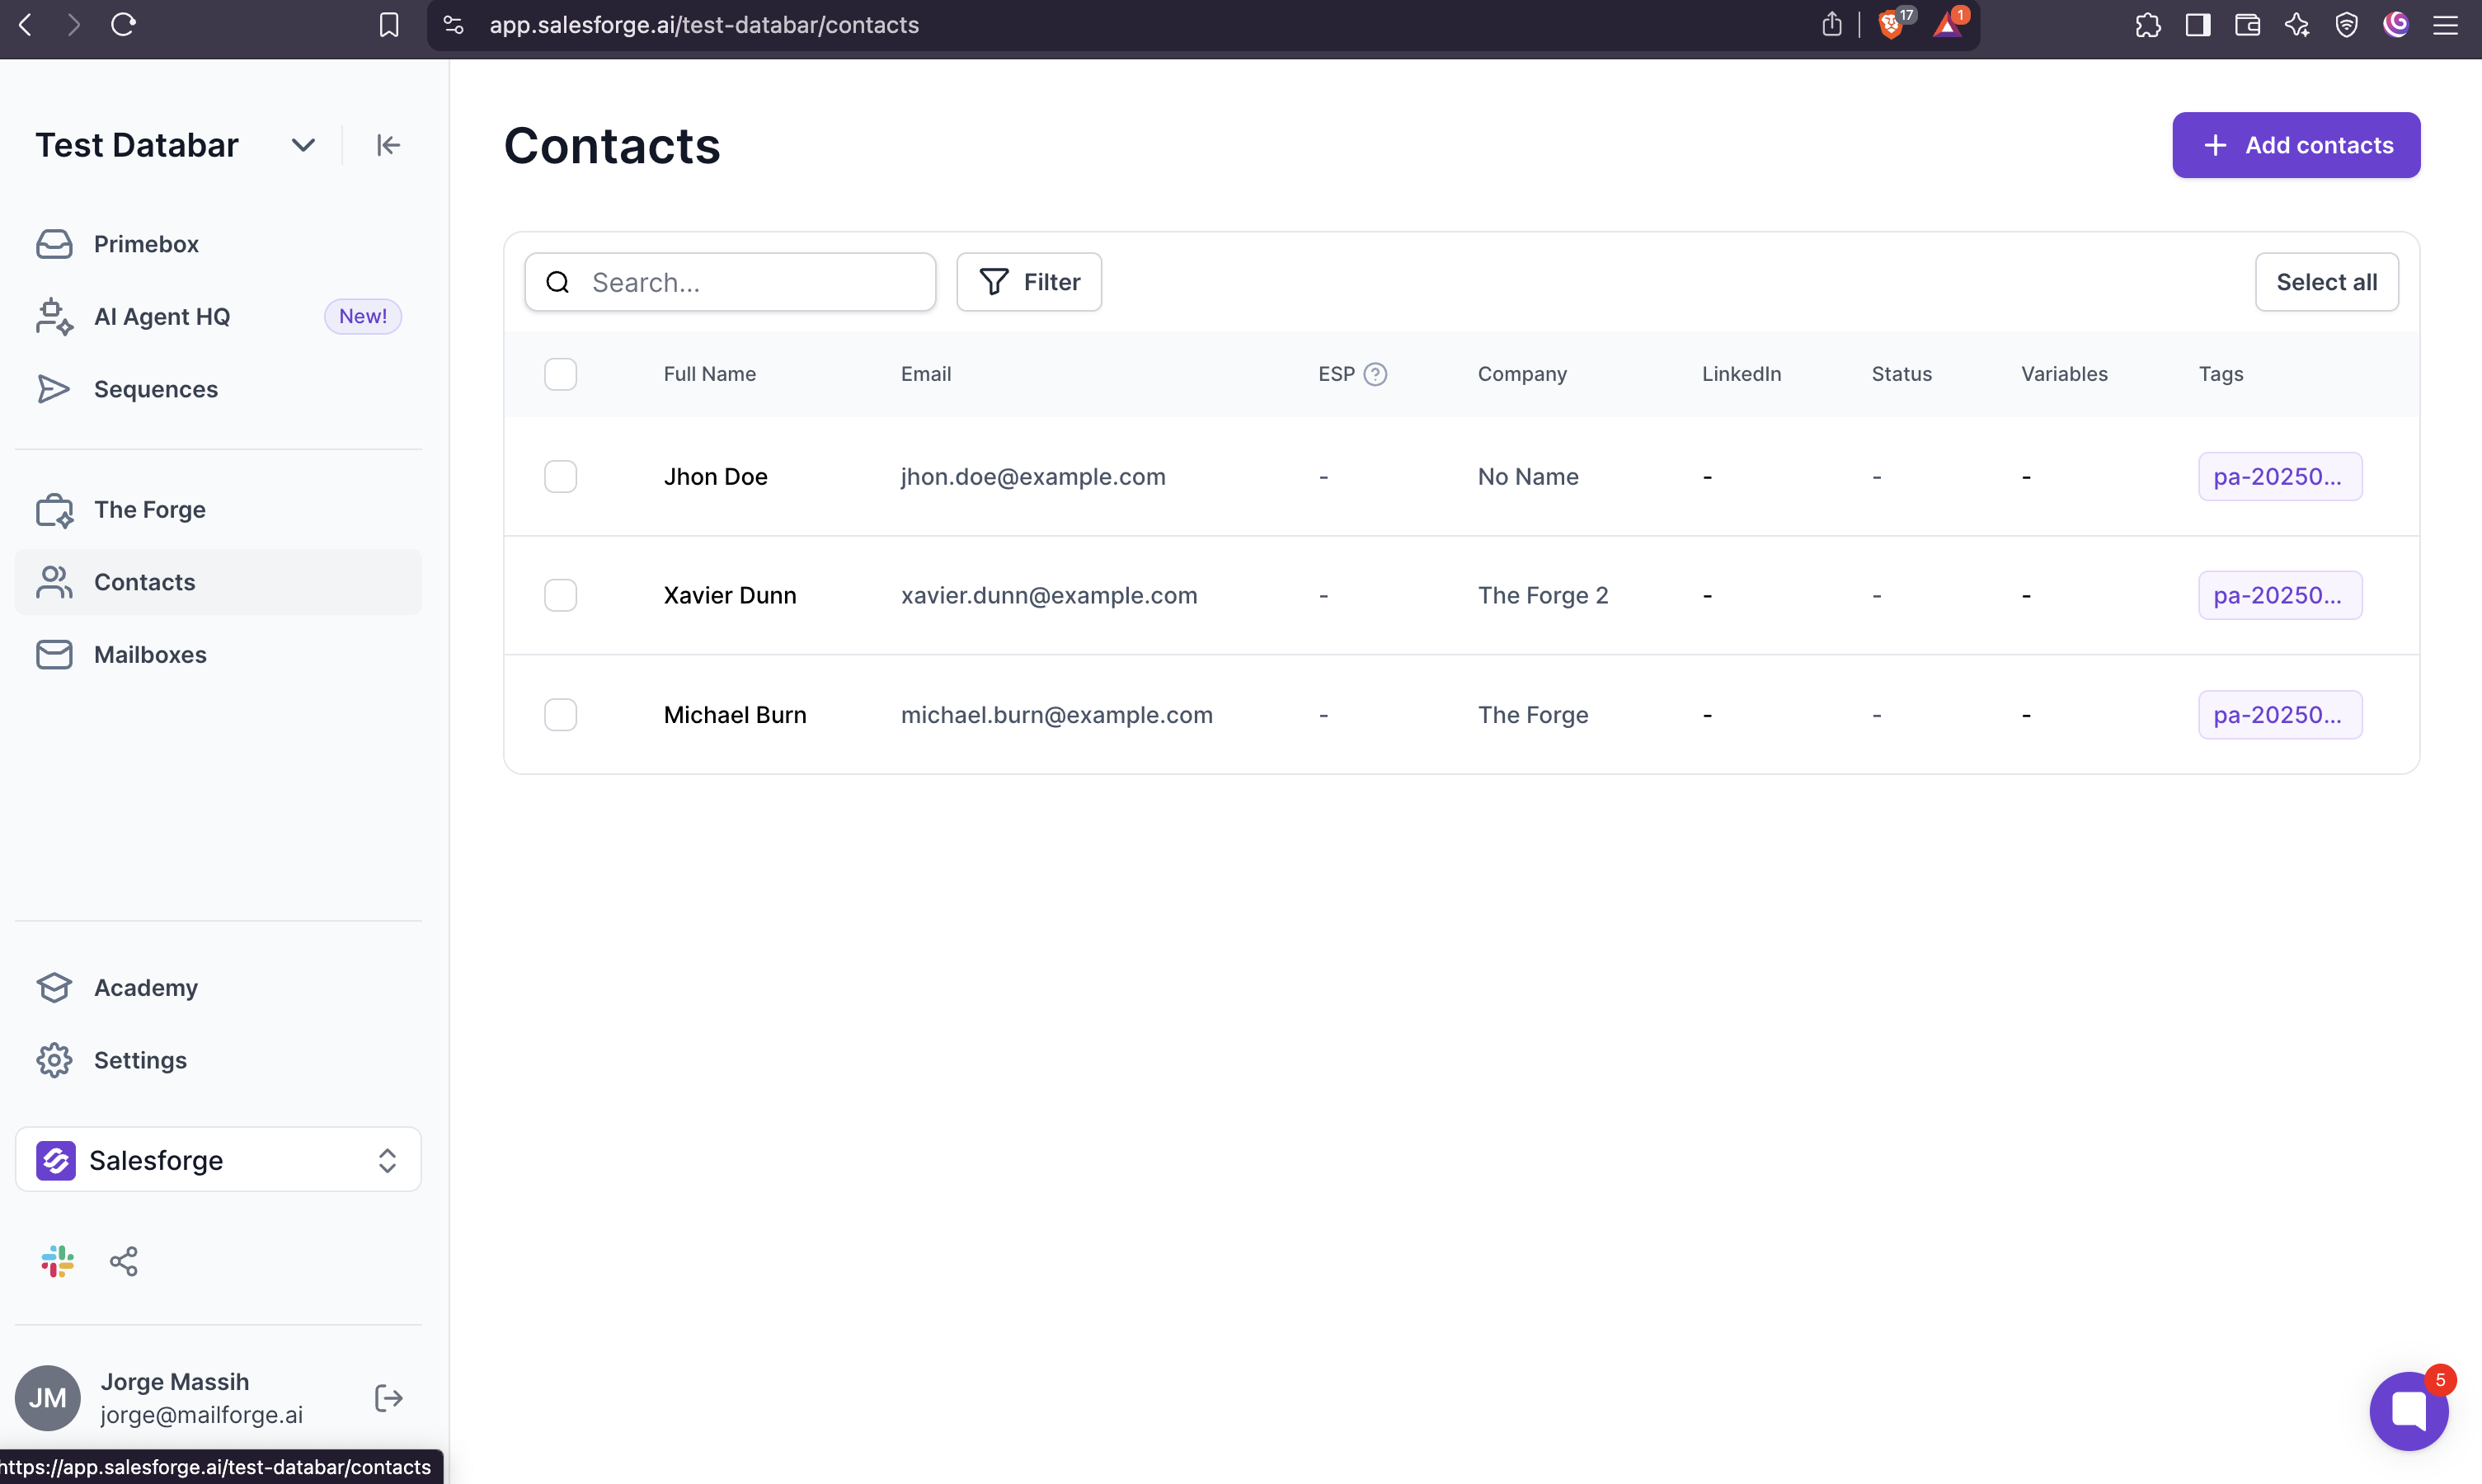
7. Check Your Imported Contacts in Salesforge
Go to Salesforge > Contacts and you’ll see your newly imported contacts from Databar.
 Why This Matters
This integration removes friction in your lead generation and enrichment process. No more exporting spreadsheets or manually entering contacts — just a few clicks and you're ready to launch personalized, data-driven cold email campaigns.
Also we have this video comparing Databar versus Clay!