Importing CSV file:
To add a contact to your Salesforge workspace, navigate to the Contacts window located on the left-hand side of the screen. In the top-right corner, you'll find the "Add Contacts" button. You have three options for adding contacts: via Google Sheets, manually entering them one by one, or importing them using a CSV file. In this document, we will focus on how to add contacts using a CSV file.
Here is a sample of how your CSV could look like.

Contact tags:
A tag allows you to filter and organize your contacts, especially when you have a large number of them. Whenever you upload a new batch of contacts, you'll need to assign an existing tag or create a new one. This allows you to easily filter your contacts by the tag when adding them to a sequence in the future.
Custom Variables:
Custom variables can be defined while importing contacts to Salesforge and then can be used in emails
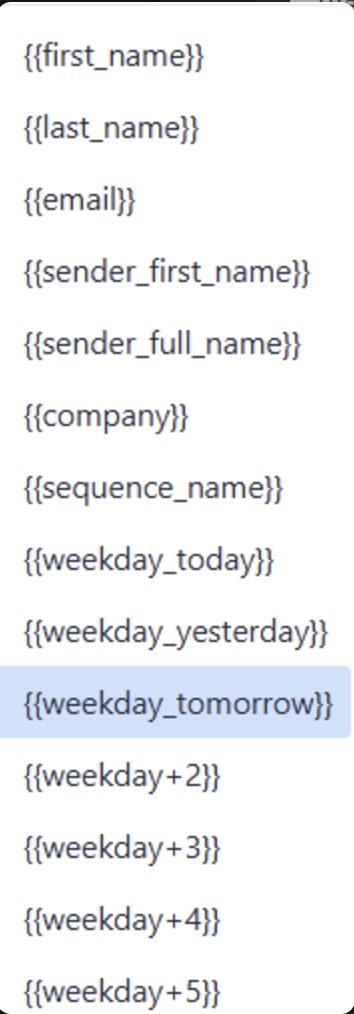
These are main ones, you can simply type in {{source}} or whatever is variable name to use it :
To add a custom variable, such as "Industry," follow these steps:
Here’s an example:
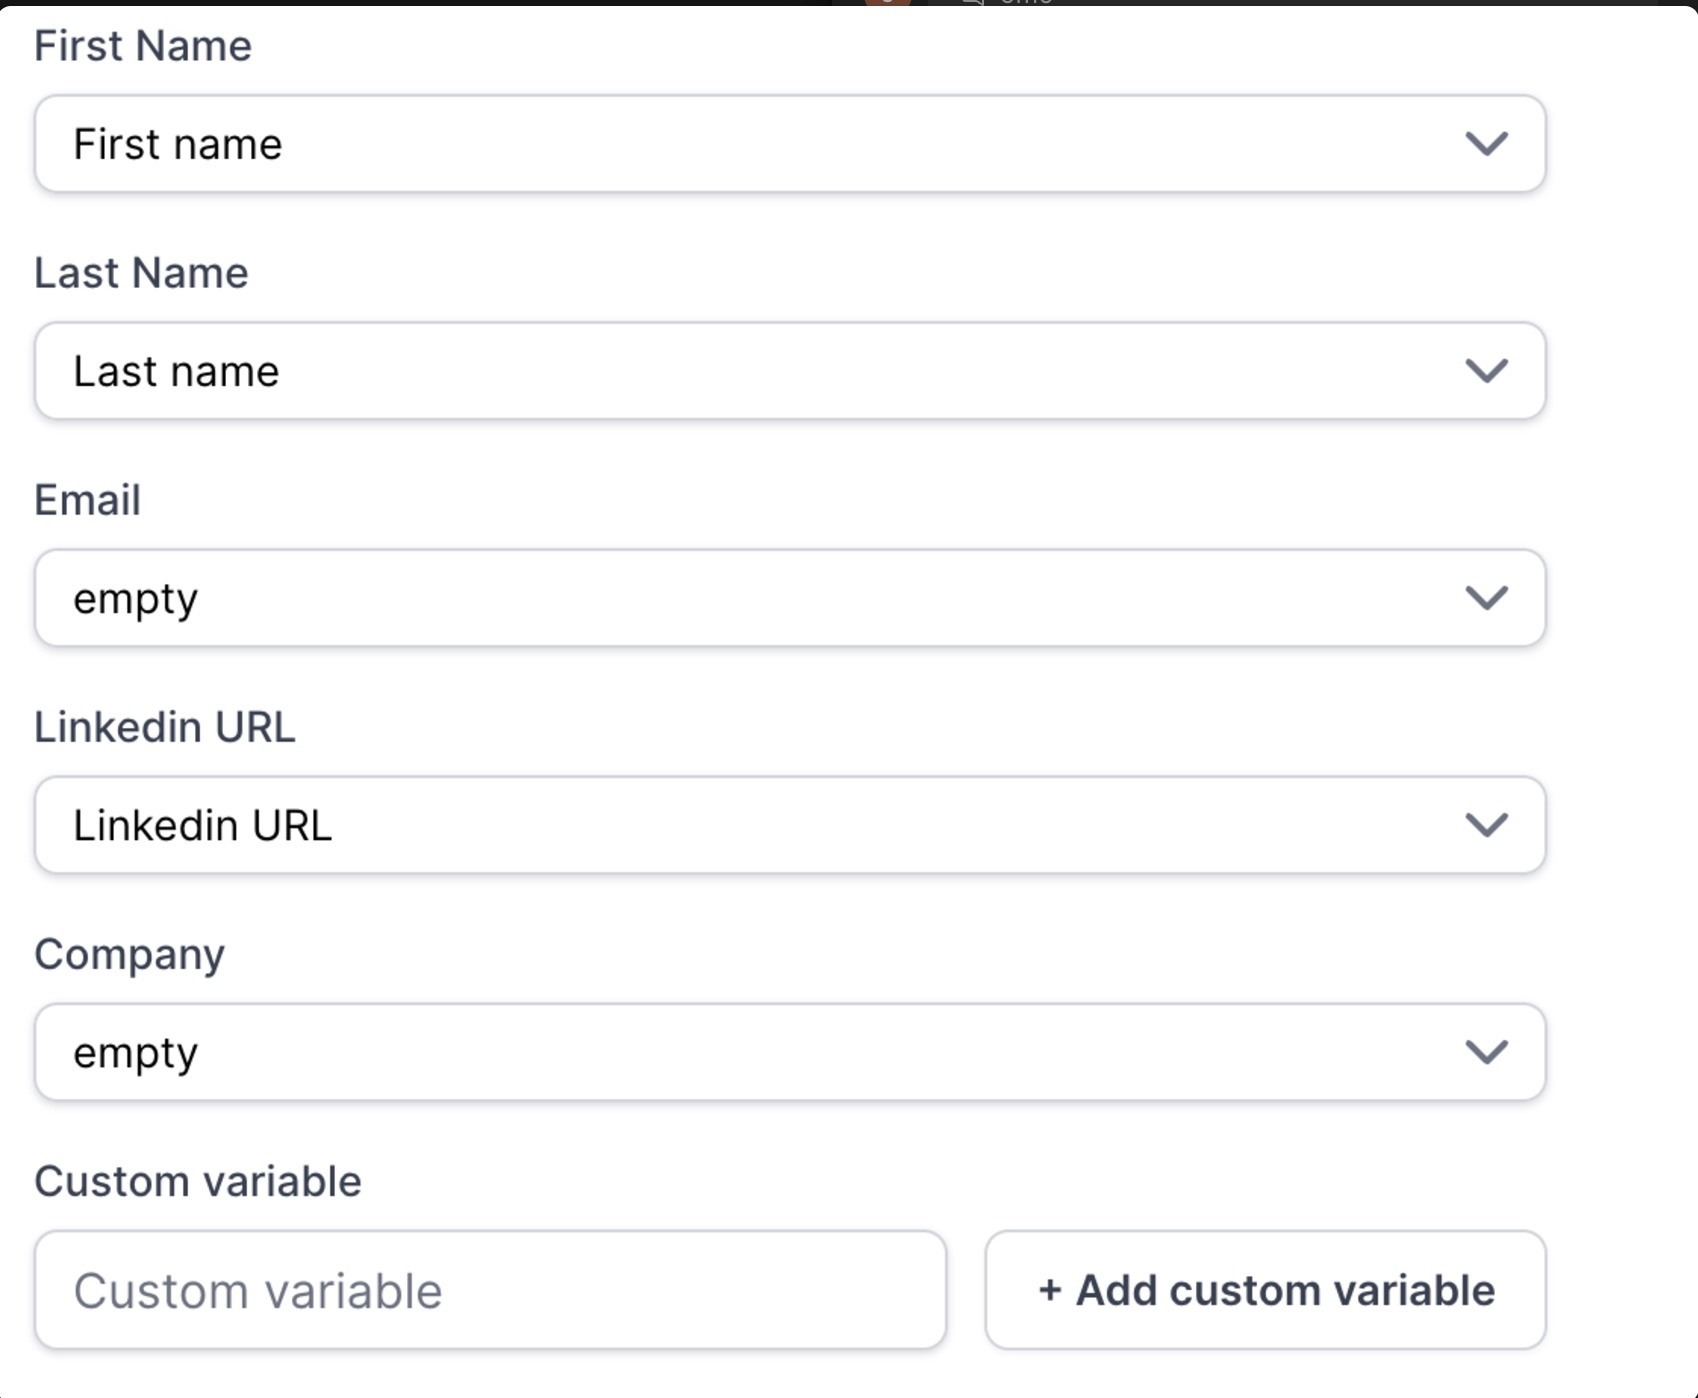
Enter the desired variable name in the input field.

2.Click "Add Variable" to create it.
3.Map the variable to the corresponding column in your CSV file.

And that’s it! Your custom variable is now set up and ready to use.