Salesforge now supports direct integration with HubSpot, enabling seamless deal management between the two platforms. This integration allows you to automatically create deals in HubSpot when a lead's reply in Salesforge is labeled. You can fully customize which labels trigger deal creation and assign deals to specific stages in your HubSpot pipeline.
Automatically create deals in HubSpot based on lead reply labels in Salesforge.
Choose which reply labels trigger deal creation.
Map deals to specific stages in your HubSpot pipeline.
DNC synchronisation based on HubSpot’s Contact Lifecycle Stages.
Integration of Salesforge activity data for streamlined synchronization.
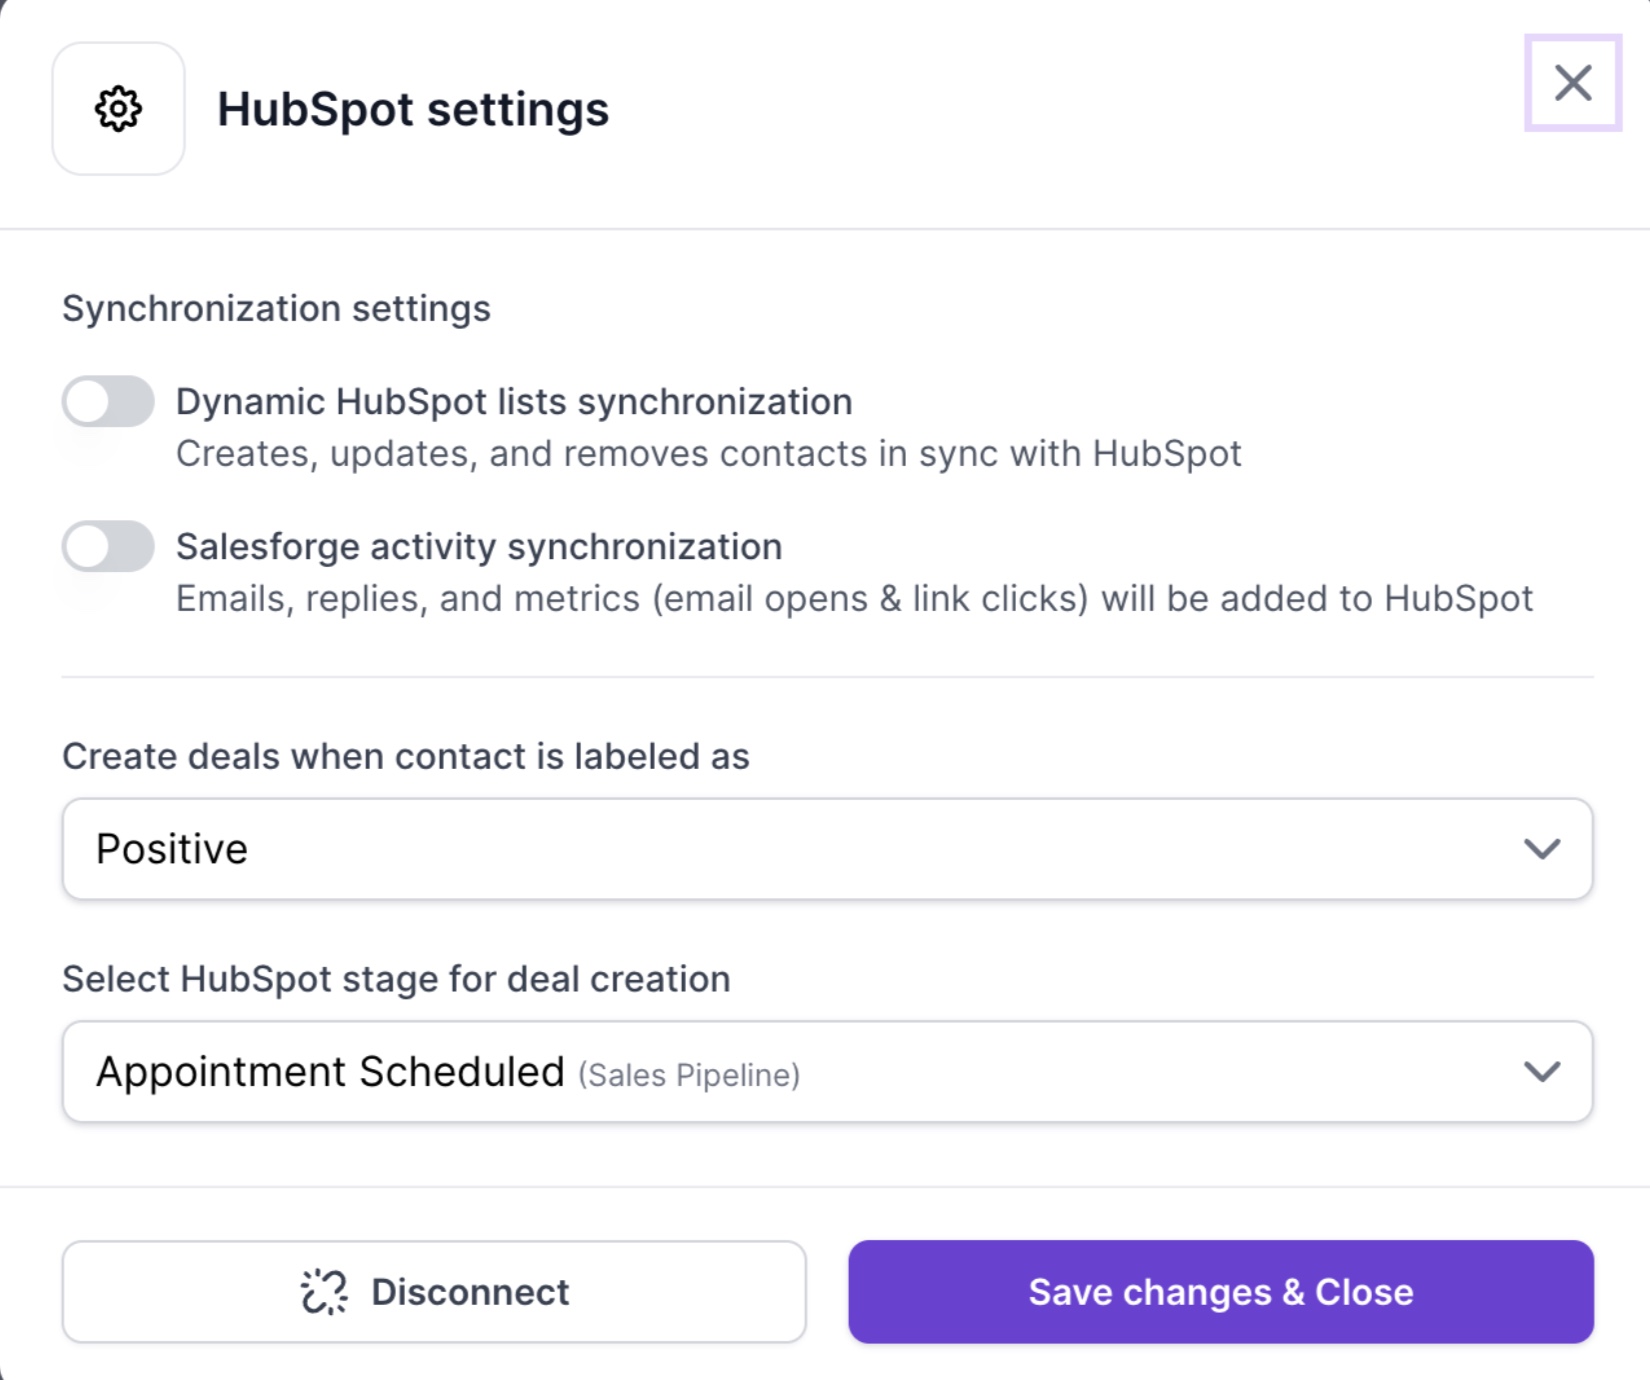
Log in to Salesforge.
Go to Settings > Integration > HubSpot
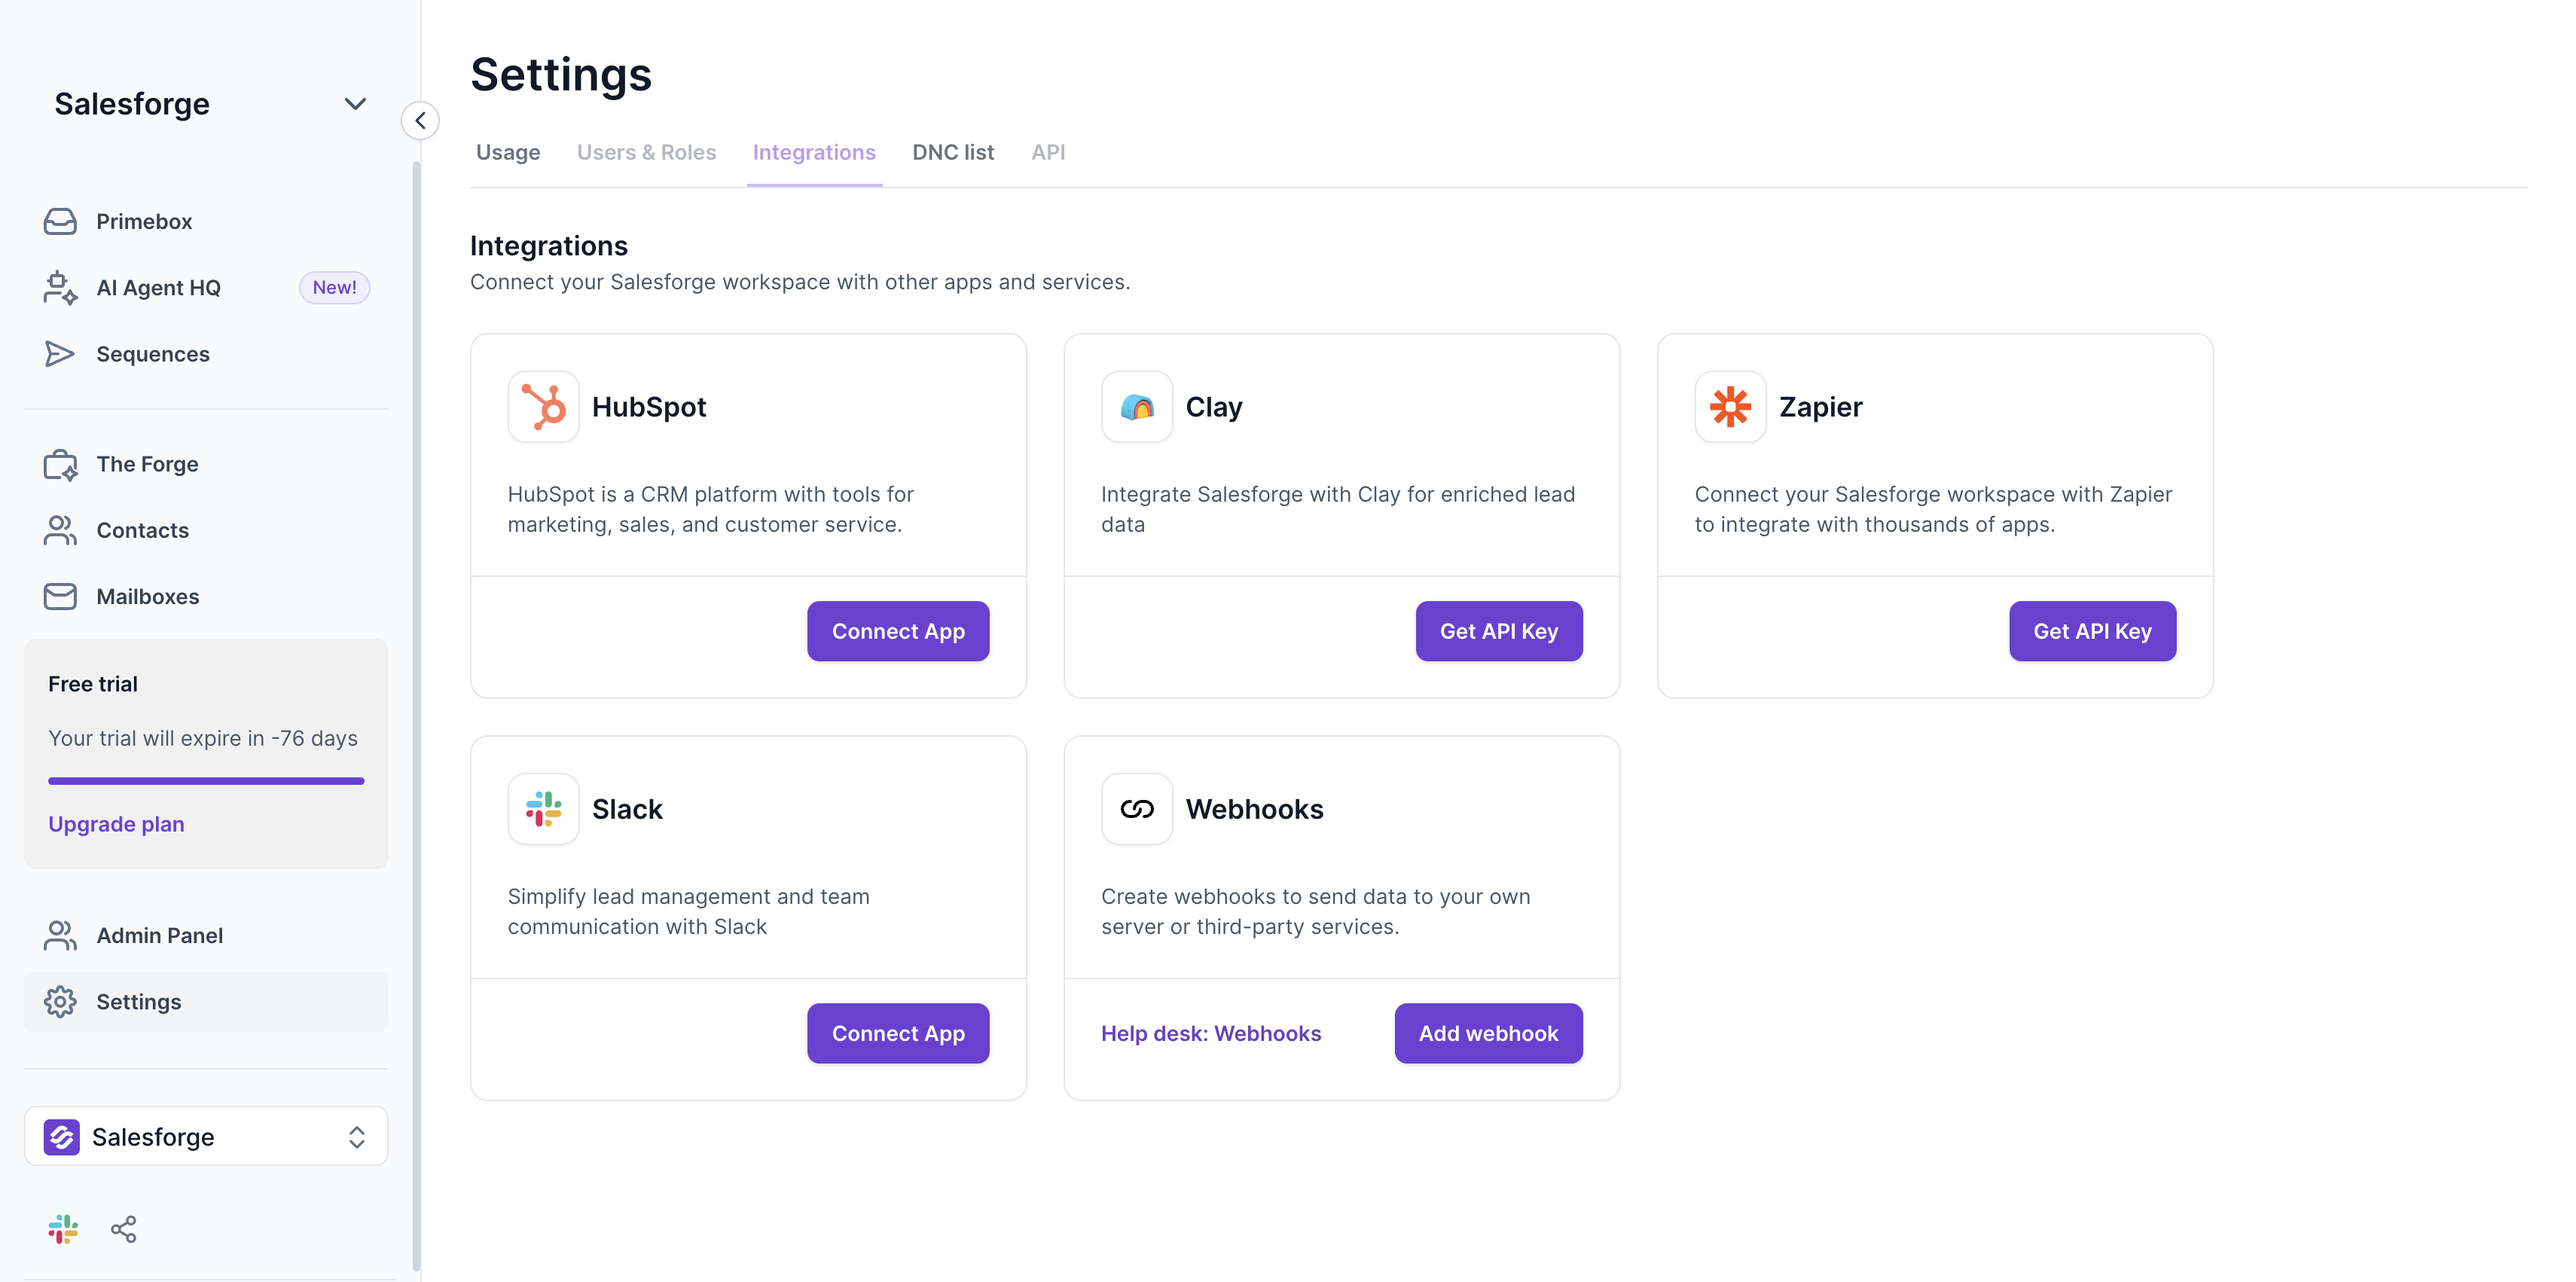
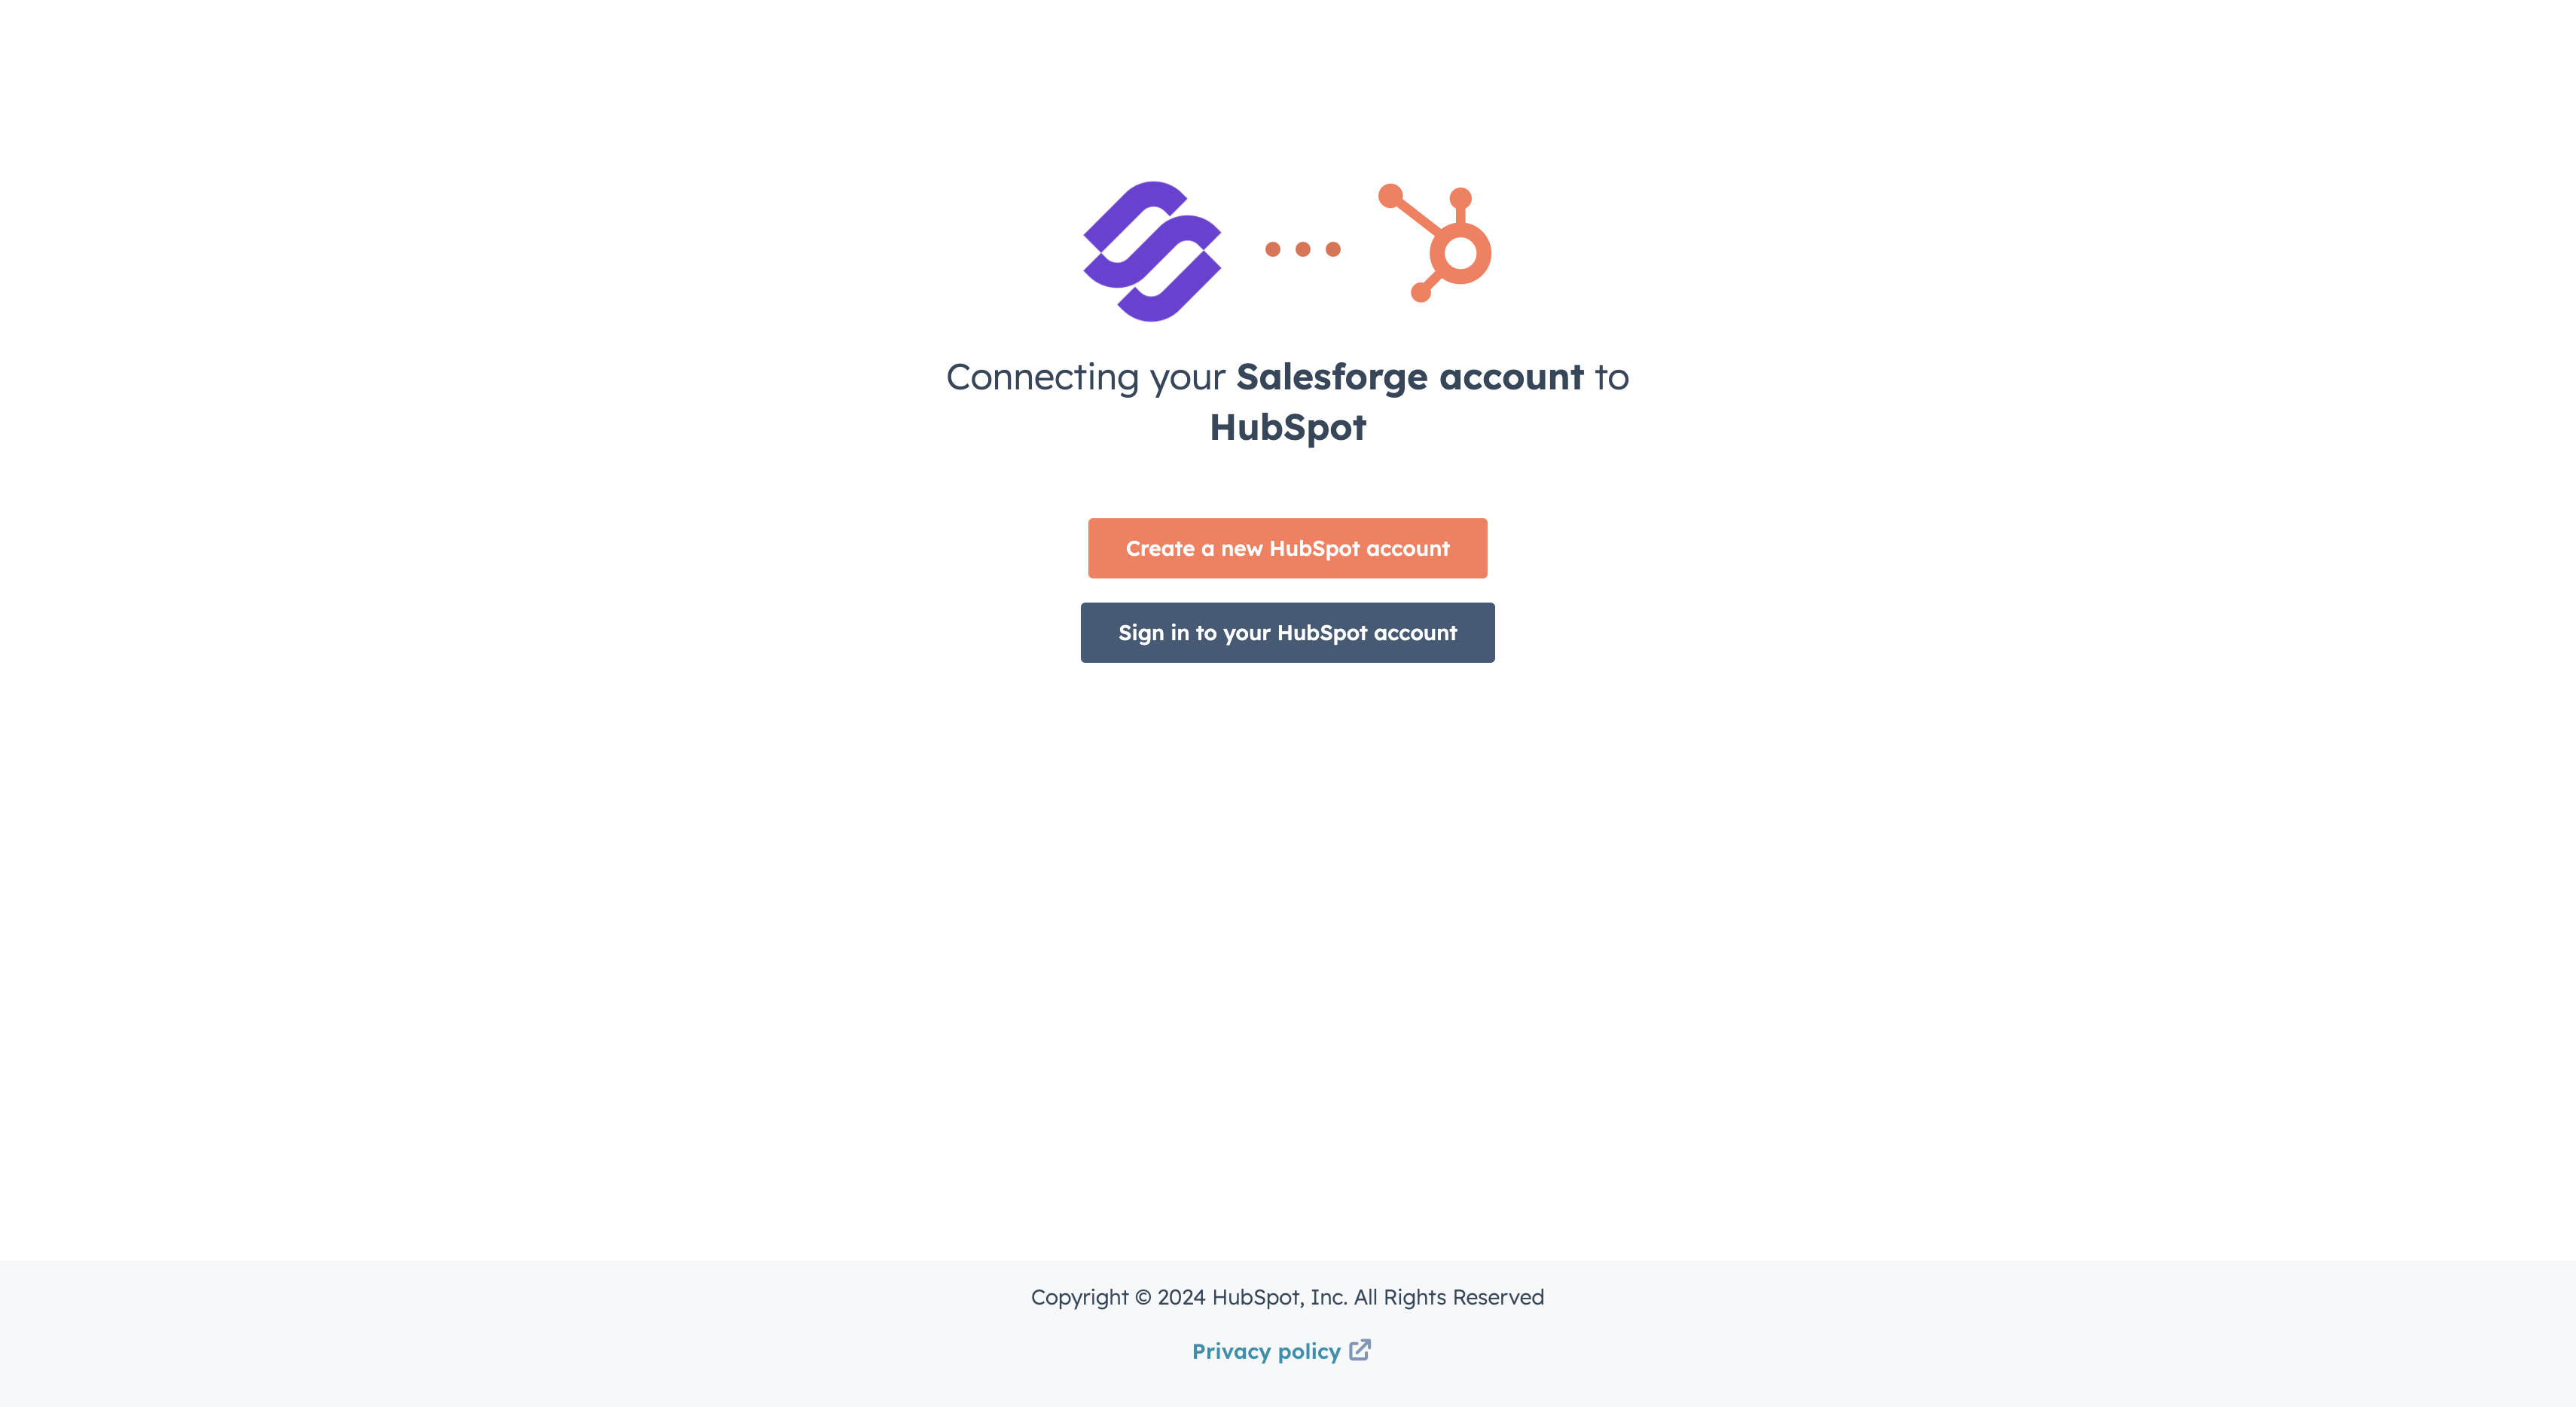
Click Connect and follow authentication steps
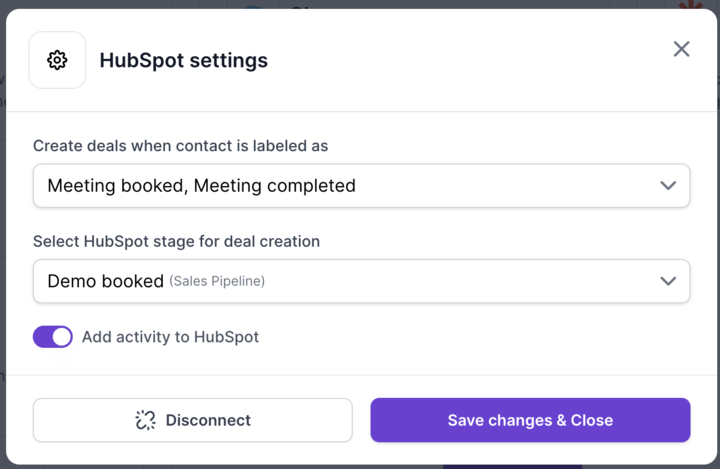
After connecting HubSpot, you can set rules for which lead reply labels will trigger deal creation.
In the HubSpot Integration Settings in Salesforge:
Locate the Deal Creation Settings section.
You’ll see a list of available reply labels:
Closed
Wrong Contact
Positive
Negative
Meeting Booked
Meeting Completed
Out of Office
Select the labels you want to use for deal creation. For example, you may want to create deals only for Positive or Meeting Booked replies.
Under Deal Stage Mapping, you’ll see all the stages available in your HubSpot pipeline.
Assign a specific stage to selected label.
Save your settings.
When a lead replies in Salesforge, their reply is assigned a label (e.g., Positive or Meeting Booked).
If the reply label matches your configured settings, Salesforge automatically creates a deal in HubSpot.
The deal is added to the HubSpot pipeline at the stage you assigned for that label.
You can view, update, and manage these deals directly in HubSpot.
Contact Sync: You can choose to sync only the contacts that were manually imported from HubSpot. By default, updates made in HubSpot (considered the source of truth) are automatically pulled into Salesforge every 15 minutes.
Optional Push & Deletion Sync: You can configure the system to automatically push updates from Salesforge to HubSpot and to sync deletions between both platforms. These are optional and can be turned on or off based on your needs.
Full Bi-Directional Sync: You also have the option to enable full sync. This will sync all contacts — not just those imported from HubSpot — and will automatically activate push updates and deletion sync for every contact.
Choose Relevant Labels: Focus on labels like Positive, Meeting Booked, and Meeting Completed to ensure only high-value leads trigger deal creation.
Keep Pipeline Stages Aligned: Regularly review your HubSpot stages to ensure they match your sales process.
Monitor Deal Flow: Use HubSpot's reporting tools to track how deals created through Salesforge progress through your pipeline.
The HubSpot integration allows you to connect Salesforge with HubSpot so contacts, activities, labels, deals, and Do Not Contact rules can stay aligned between both platforms.
With this integration, you can manage how data moves between Salesforge and HubSpot using flexible sync controls. You can choose whether to pull updates from HubSpot, push updates from Salesforge, sync deletions, or extend syncing to all eligible leads using Full Sync.
The HubSpot integration supports:
Contact synchronization between HubSpot and Salesforge
Pulling updates from HubSpot into Salesforge
Pushing updates from Salesforge into HubSpot
Full Sync for all eligible leads
Contact deletion sync
Primebox Label mapping to HubSpot Dropdown Select properties
Salesforge activity synchronization
DNC synchronization based on HubSpot Contact Lifecycle Stages
Deal creation in HubSpot based on Salesforge reply labels
Deal stage mapping between Salesforge labels and HubSpot pipeline stages
To connect HubSpot:
Log in to Salesforge.
Go to Settings.
Open Integrations.
Select HubSpot.
Click Connect.
Follow the HubSpot authentication steps.
Once connected, configure the sync settings based on your workflow.
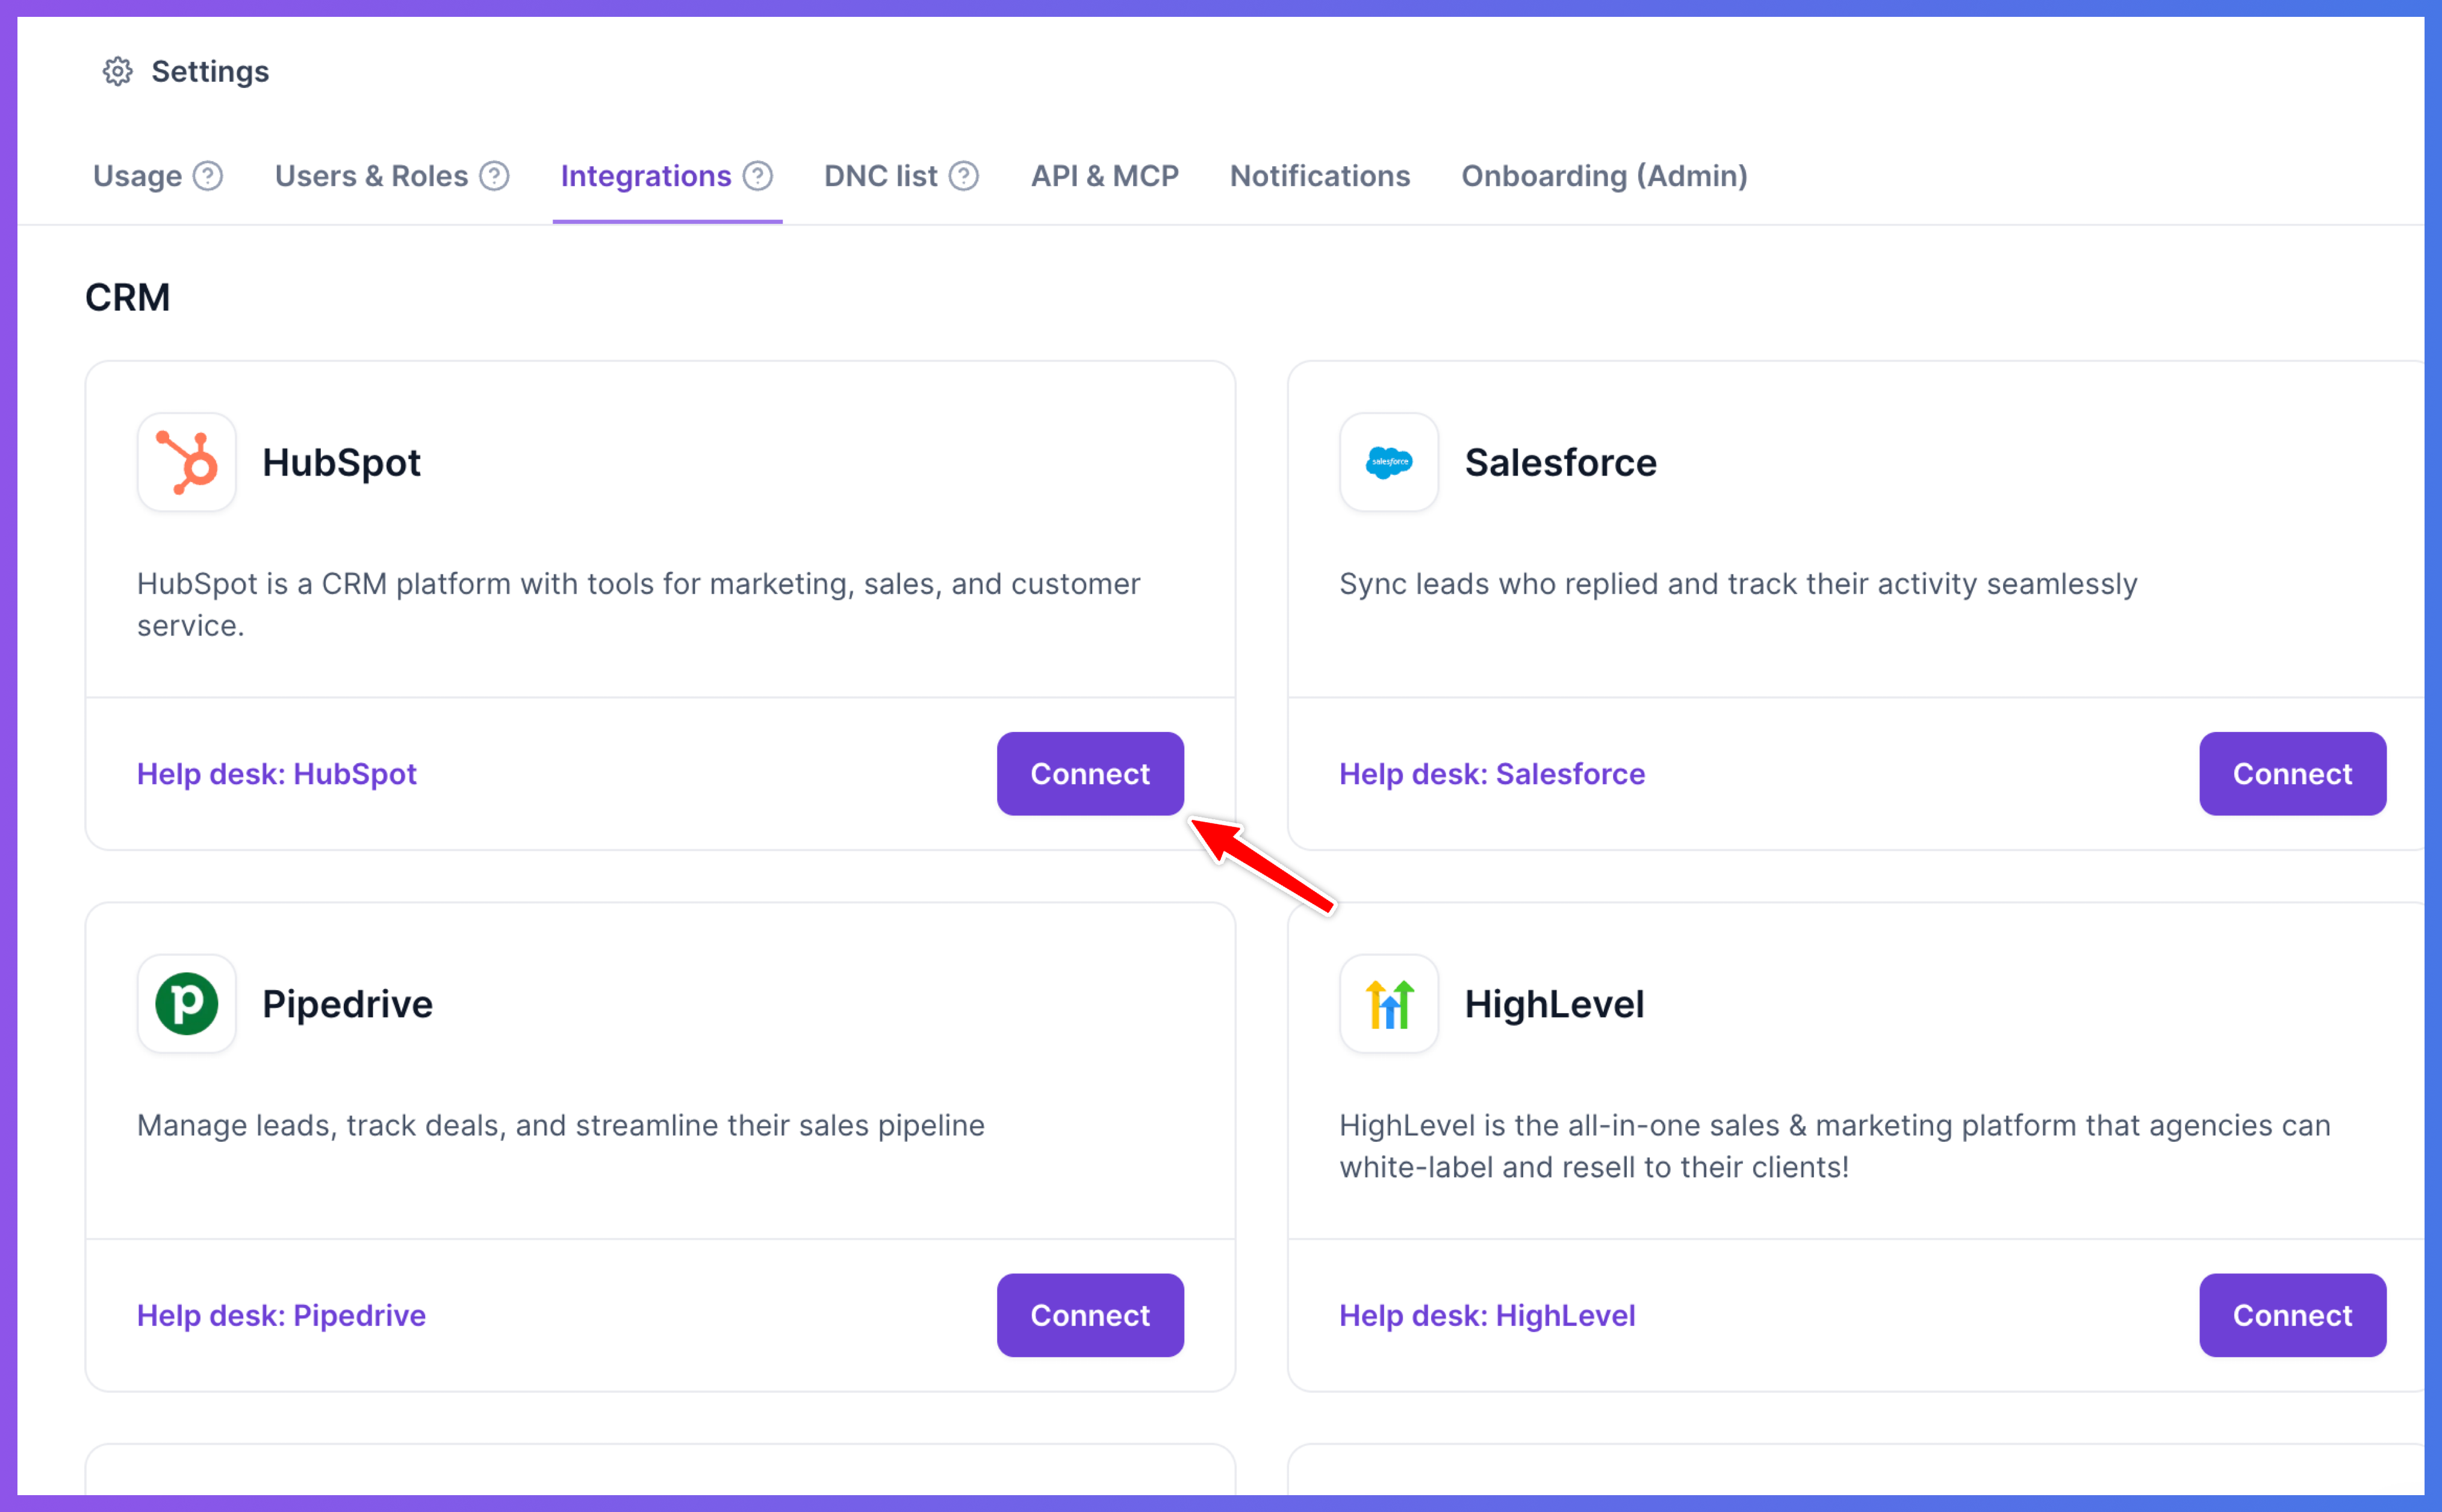
After HubSpot is connected, you can decide how contacts and activities should move between Salesforge and HubSpot.
Salesforge gives you granular control over how contacts are synchronized between Salesforge and HubSpot.
You can configure each sync direction independently.
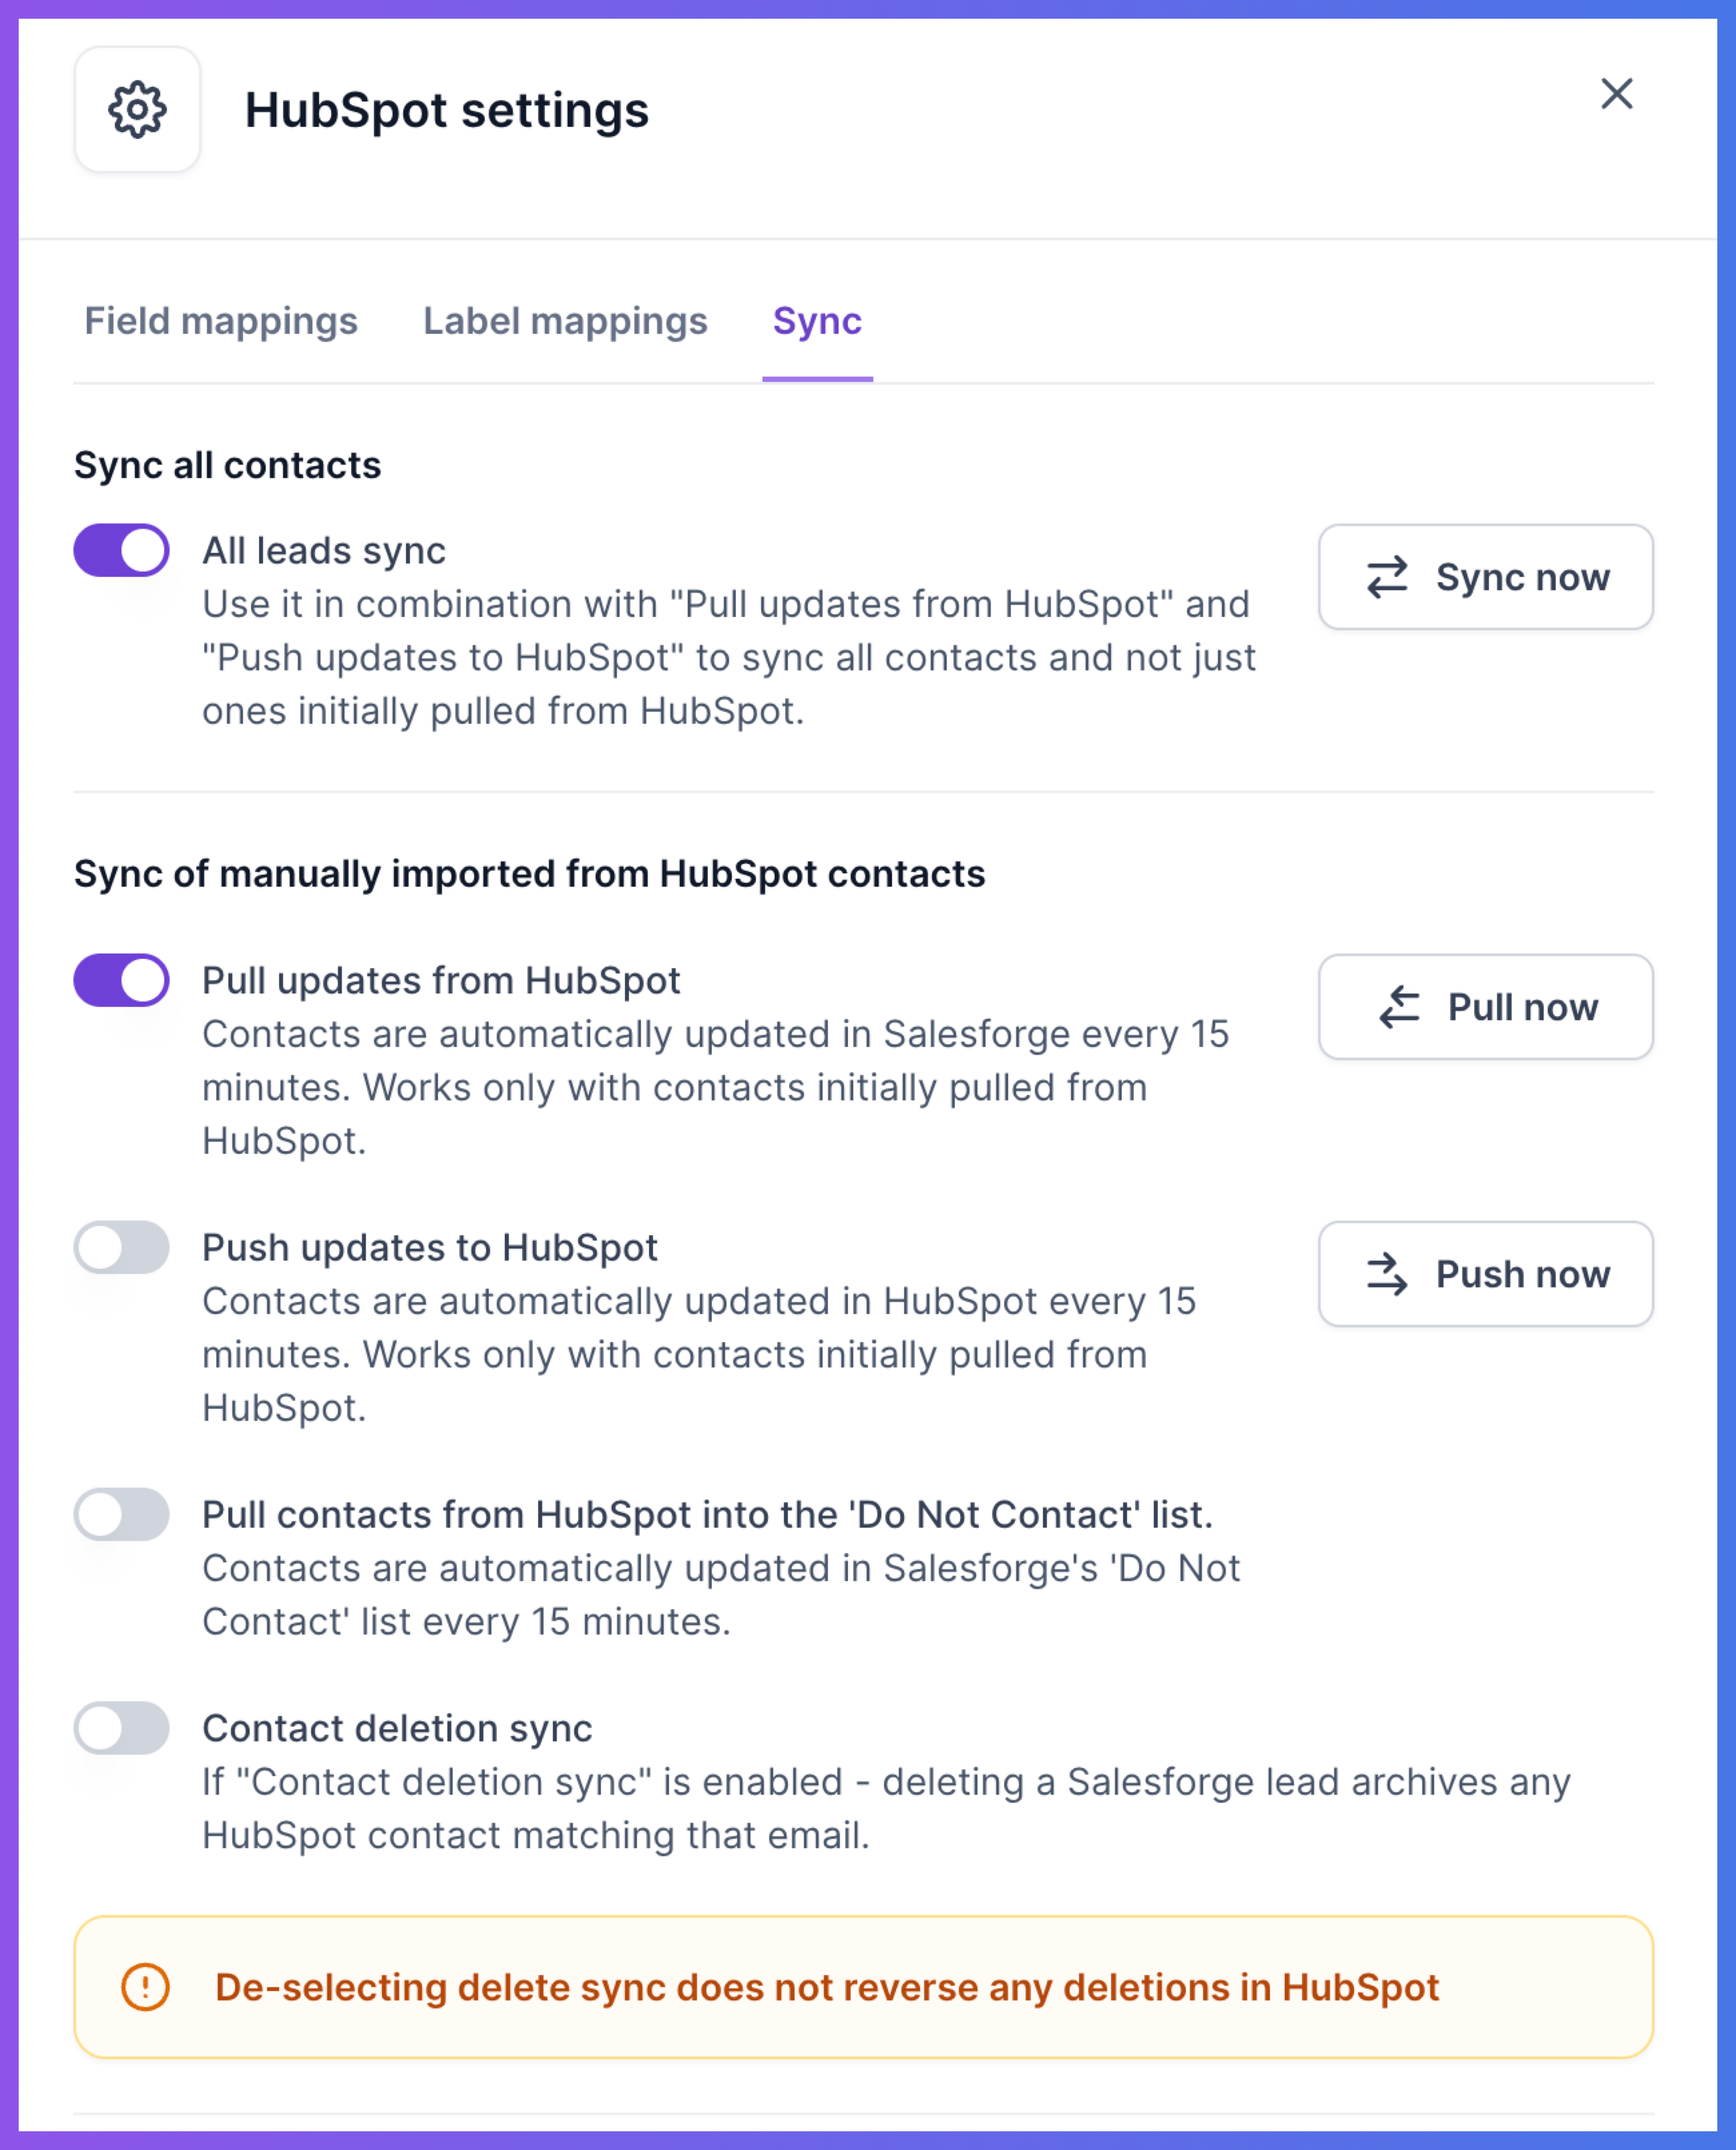
Enable Pull if you want Salesforge contacts to be updated when changes are made in HubSpot.
When Pull is enabled, HubSpot can update matching contacts in Salesforge.
Use this when HubSpot is one of your main sources of truth for contact information.
Enable Push if you want changes made in Salesforge to be sent to HubSpot.
When Push is enabled, Salesforge can update matching contacts in HubSpot.
Use this when your team works replies, labels, or lead updates inside Salesforge and wants those updates reflected in HubSpot.
Enable Delete if you want contact deletions to be synchronized between HubSpot and Salesforge.
When Delete sync is enabled, deletions can be reflected between the two systems depending on your selected sync configuration.
Use this carefully, especially if your team manages contacts in both platforms.
Enable Full Sync if you want synchronization to apply to all eligible leads, not only contacts that were originally imported from HubSpot Segments.
Full Sync works together with Pull and Push.
For example:
If Pull and Full Sync are enabled, Salesforge can pull eligible HubSpot contacts into Salesforge.
If Push and Full Sync are enabled, Salesforge can push eligible Salesforge contacts into HubSpot.
If both Pull and Push are enabled with Full Sync, eligible contacts can sync in both directions.
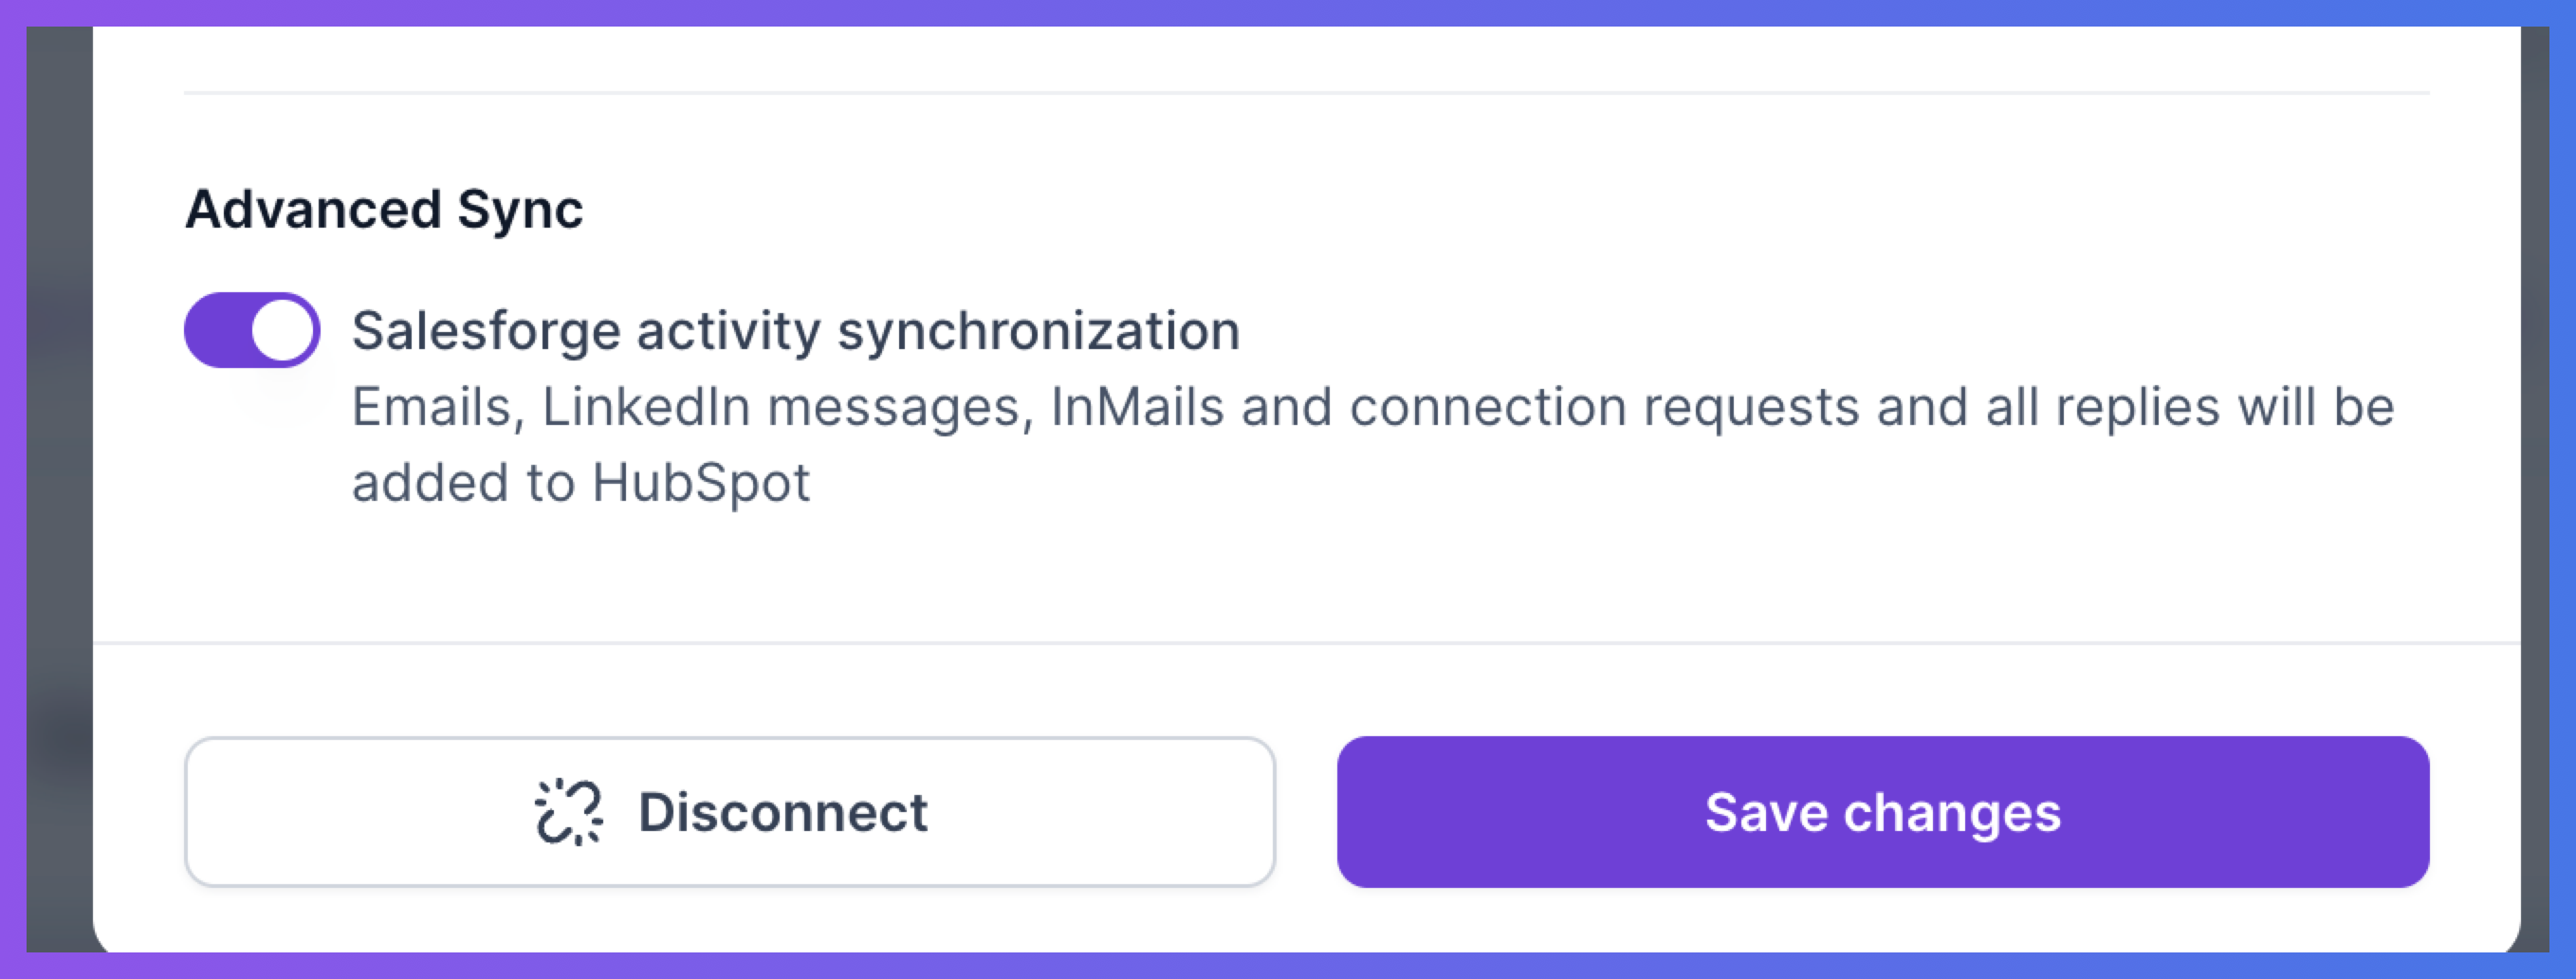
Full Sync is useful when you want all relevant leads across both workspaces to stay synchronized instead of limiting sync to contacts that were already shared between Salesforge and HubSpot.
Setting
What it does
Pull | Sends updates from HubSpot to Salesforge |
Push | Sends updates from Salesforge to HubSpot |
Delete | Syncs contact deletions between HubSpot and Salesforge |
Full Sync | Extends syncing to all eligible records, not only contacts imported from HubSpot Segments |
Full Sync does not replace Pull or Push. It extends the scope of the sync.
This means you should enable Full Sync alongside the direction you want to use.
You can map Primebox Labels to HubSpot Dropdown Select property values.
This allows HubSpot contact properties to be updated automatically when a contact’s Primebox Label changes in Salesforge.
For example, if you use Primebox Labels such as:
Positive
Negative
Meeting Booked
Meeting Completed
Out of Office
Wrong Contact
Closed
You can map those labels to values inside a HubSpot Dropdown Select property.
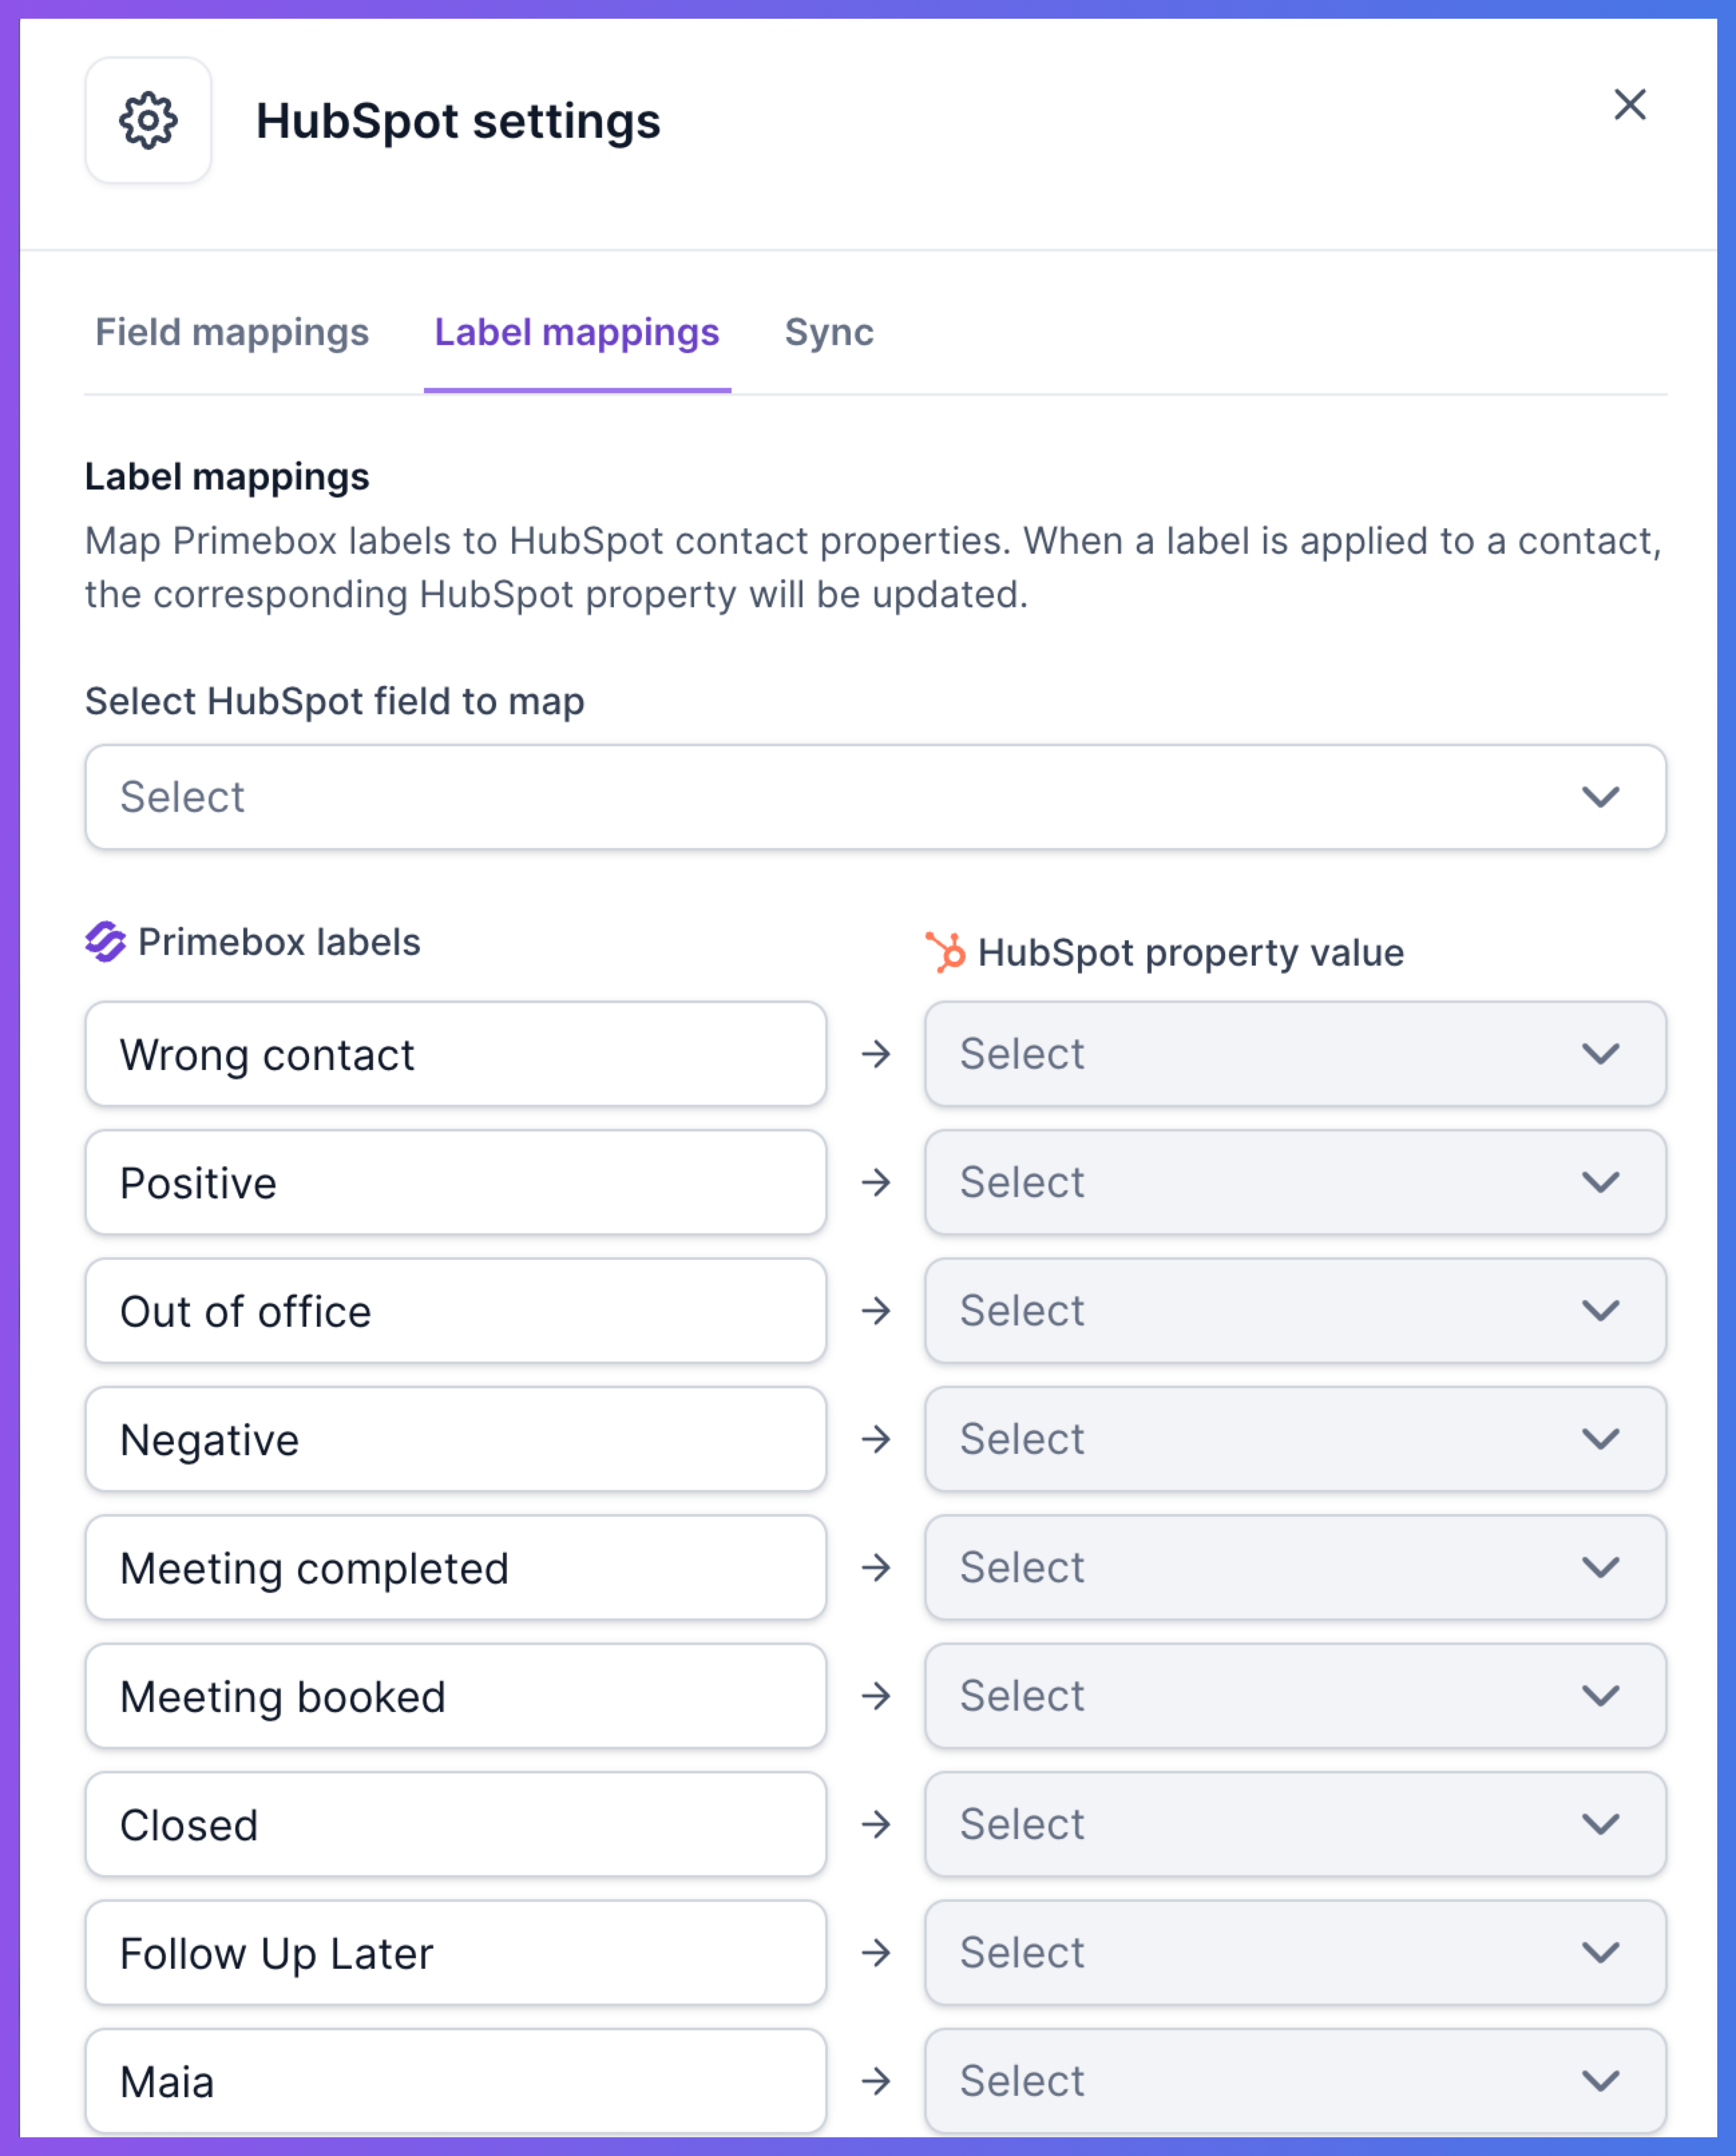
To configure label mapping:
Open the HubSpot integration settings in Salesforge.
Go to the label mapping section.
Select a HubSpot Dropdown Select contact property.
Map each HubSpot dropdown value to the matching Primebox Label.
Save your settings.
Once configured, when a contact’s label is updated in Primebox, the mapped HubSpot Dropdown Select property is updated for that contact.
This sync works from Primebox to HubSpot. It does not work in the opposite direction.
That means changing the dropdown value in HubSpot will not update the Primebox Label in Salesforge.
You can automatically add contacts to the Salesforge Do Not Contact list based on HubSpot Contact Lifecycle Stages.
This is useful when certain HubSpot lifecycle stages should prevent future outreach from Salesforge.
For example, you may want to add contacts to DNC when they become:
Customer
Opportunity
Unqualified
Evangelist
Any other lifecycle stage your team uses to stop outreach
To configure DNC synchronization:
Open the HubSpot integration settings in Salesforge.
Go to the DNC sync settings.
Select one or more HubSpot Contact Lifecycle Stages.
Choose whether Salesforge should add individual email addresses or entire domains to the DNC list.
Save your settings.
When a contact matches the selected HubSpot lifecycle stage, Salesforge can automatically add that contact to DNC based on your configuration.
You can choose between:
Email-level DNC: only the specific email address is added to DNC.
Domain-level DNC: the entire domain is added to DNC.
Use domain-level DNC carefully, as it can prevent outreach to all contacts from the same company domain.
The HubSpot integration can create deals in HubSpot based on Salesforge reply labels.
This allows you to automatically create deals when a lead reaches a specific stage in Salesforge.
For example, you may want to create a HubSpot deal when a lead is labeled:
Positive
Meeting Booked
Meeting Completed
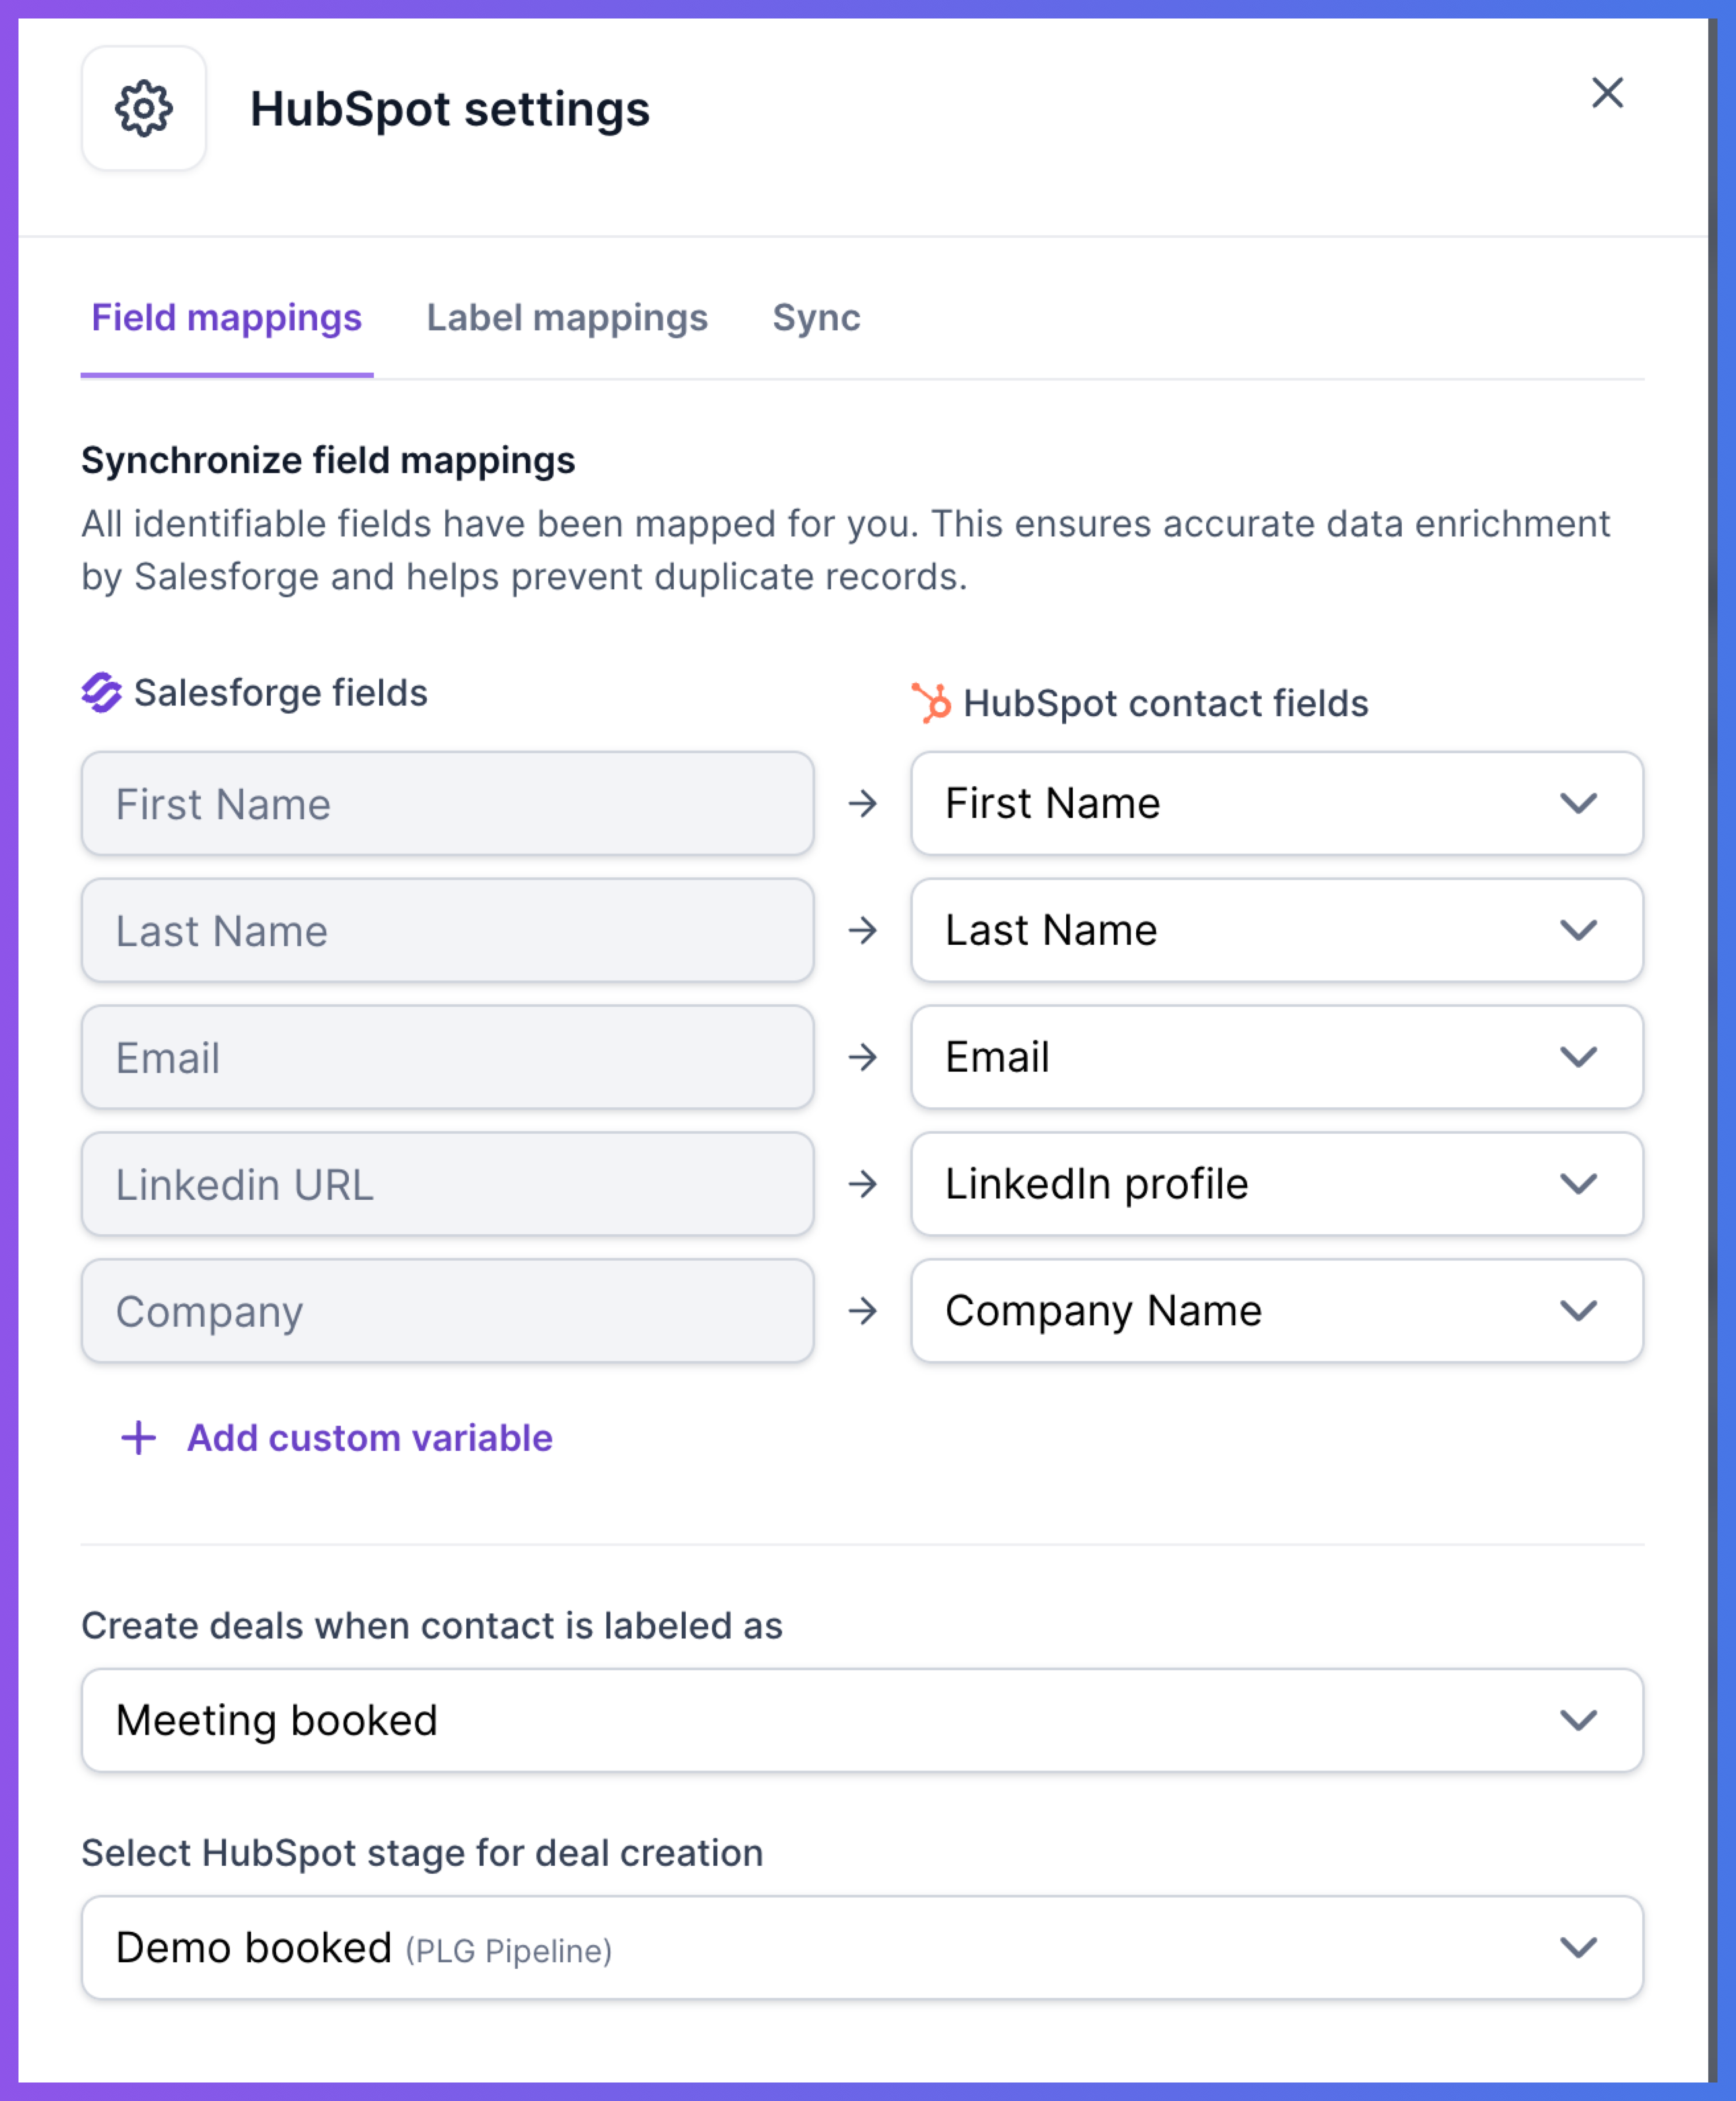
To configure deal creation:
Open the HubSpot integration settings in Salesforge.
Find the deal creation settings.
Select the Salesforge reply labels that should trigger deal creation.
Choose the HubSpot pipeline.
Map each selected label to the correct HubSpot deal stage.
Save your settings.
Once configured, Salesforge can automatically create a HubSpot deal when a lead receives one of the selected labels.
Your exact stages depend on your HubSpot pipeline setup.
Make sure your Salesforge labels and HubSpot deal stages match your sales process.
Before enabling sync settings, review how your team uses HubSpot and Salesforge.
Keep the following in mind:
Full Sync expands syncing to all eligible leads, not just contacts imported from HubSpot Segments.
Primebox Label mapping updates HubSpot from Salesforge, not the other way around.
LinkedIn can help with contact matching, but LinkedIn-only sync is not supported.
Domain-level DNC block outreach to an entire company domain.
Delete sync should be enabled carefully if your team deletes contacts in either platform.